
How to Set Up a Miter Saw Stand?
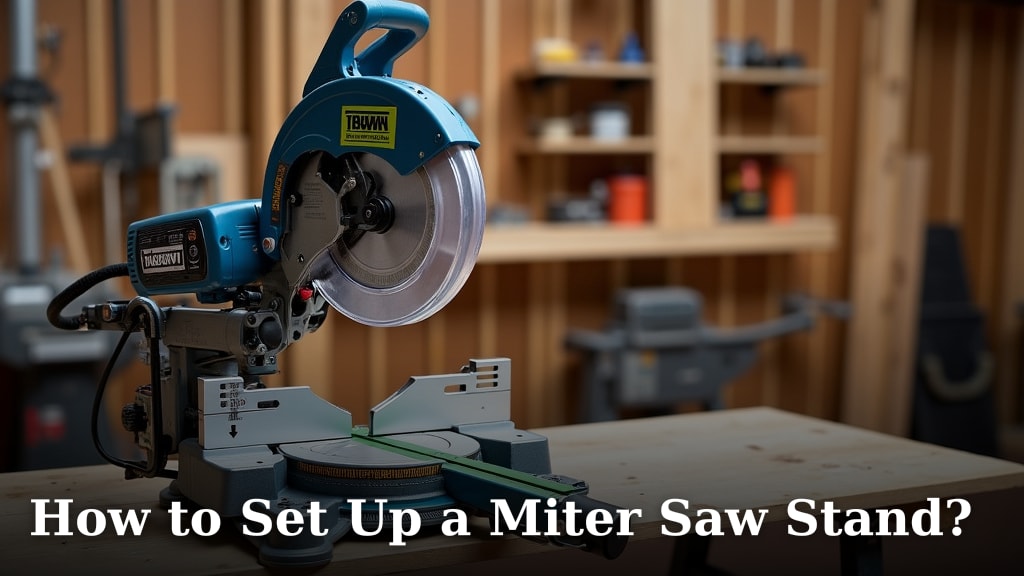
To set up a miter saw stand, begin by unpacking all components and identifying the main frame, legs, and mounting brackets. Next, attach the legs securely, ensuring they lock into place, then position your miter saw on the stand and fasten it using the provided hardware. This ensures a stable and safe workspace for your cutting projects.
A well-set-up miter saw stand makes your work easier and safer. You’ll have a stable surface, which is really important for accurate cuts. Plus, it brings your saw to a comfortable height, helping you avoid back strain. We found that taking a few extra minutes during setup can save you headaches down the road.
- Unpack all parts and identify them.
- Attach the legs to the main frame and lock them.
- Mount your miter saw onto the stand.
- Tighten all bolts and ensure stability.
Let’s walk through exactly how to set up a miter saw stand, step by step, so you can get to work confidently and safely.
Getting Your Miter Saw Stand Ready for Action
Setting up your miter saw stand correctly is key to safe and accurate cuts. We’ll guide you through each step, ensuring your workspace is stable and efficient.
Unpacking and Identifying Components
First things first, clear some space. You’ll need room to lay out all your parts. Gently open the box and remove everything. It’s like opening a puzzle box, but with a much clearer picture.
Taking Stock of What You Have
As you pull parts out, refer to your owner’s manual. We found that matching each piece to the diagram helps a lot. You should see a main frame, several legs, and various bolts, knobs, and small brackets. Don’t worry if a few small pieces are taped together; that’s common.
Lay everything out on a clean, flat surface. This helps you confirm all parts are present. Missing a bolt can really slow things down. Check the parts list carefully against what’s in the box.
Assembling the Stand’s Frame
Now, let’s build the base. This is where your saw will eventually sit. Most stands have a main body that unfolds or locks together. Think of it as putting together a sturdy workbench.
Attaching the Legs Securely
Locate the legs. They usually attach to the main frame with pins, bolts, or clamps. Follow the instructions for your specific model. You want to hear a satisfying click or feel a firm lock. This confirms the legs are fully extended and secured. Wobbly legs mean a wobbly saw, and that’s not ideal for precision (Occupational Safety and Health Administration).
If your stand has adjustable legs, leave them at their lowest setting for now. You can always raise them later. Ensure all pins are fully engaged or bolts are tightened. Give the stand a gentle shake to test its stability. Better to find a loose connection now than when your saw is mounted.
Mounting Your Miter Saw
This is where the stand starts to look like a functional workstation. Each miter saw stand usually comes with its own universal mounting brackets. These brackets are designed to fit most saw models.
Securing the Brackets to Your Saw
First, detach the mounting brackets from the stand if they came pre-attached. Place your miter saw upside down or on its side, if safe to do so. Align the holes on the brackets with the mounting holes on the base of your miter saw. Most saw bases have pre-drilled holes for this purpose. We recommend using all available holes for maximum stability.
Insert the bolts through the saw’s base and into the brackets. Hand-tighten them first. Once all bolts are in place, use a wrench or socket to snugly tighten them down. Don’t overtighten, but make sure there’s no play. A saw that shifts even slightly on its brackets can lead to inaccurate cuts.
Attaching the Saw (with Brackets) to the Stand
Now, carefully lift your miter saw, with the brackets attached, onto the stand. Most stands have a quick-release system or clamps to secure the saw. Align the brackets on your saw with the slots or rails on the stand. It should slide or click into place. This connection is often the stand’s most important safety feature.
Once seated, engage any locking levers or tighten any knobs that secure the saw to the stand. Give the saw a gentle push and pull. It should feel like one solid unit with the stand. We’ve seen many folks rush this step, leading to frustrating wobbles later on. Take your time here.
Adjusting for Optimal Workflow and Safety
A well-set-up stand isn’t just about assembly; it’s about making it work for you. Proper adjustments can reduce fatigue and improve your cut quality.
Setting the Stand Height and Level
Now that your saw is mounted, you can adjust the height. Many stands have telescopic legs or height-adjustable elements. The ideal height is usually found when the saw’s table aligns with your waist. This allows you to stand upright and operate the saw comfortably without bending over too much (National Institute for Occupational Safety and Health).
Use a level to ensure the stand is perfectly flat. This is especially important if you’re working on uneven ground. Some stands have adjustable feet to compensate. A level saw means more accurate cuts, especially long ones. Small adjustments make a big difference.
| Adjustment Type | Purpose | Check |
|---|---|---|
| Leg Height | Ergonomic comfort, reduce back strain. | Waist-height saw table for you. |
| Leveling Feet | Ensure stable, flat cutting surface. | Use a spirit level on stand and saw. |
| Outfeed Supports | Support long workpieces, prevent tipping. | Extend to workpiece length, match saw height. |
Extending Outfeed Supports
For longer materials, your stand likely has extendable outfeed supports. These are crucial for preventing boards from tipping after you make a cut. Pull them out to accommodate the length of your material. Adjust their height to match the saw table.
Make sure these supports are also locked into place. You don’t want a support arm collapsing mid-cut. Always prioritize supporting your material. This is a common safety tip from woodworking experts.
Final Safety Checks Before You Cut
Before you plug in that saw and make your first cut, a few last checks are essential. Safety is paramount when working with power tools.
Tightening All Fasteners
Go back over every bolt, knob, and lever you touched during assembly. Give them one last tighten. Think of it as a pre-flight check for your workstation. This quick check can prevent unexpected shifts or wobbles during operation.
Pay special attention to the saw-to-stand connection points. These are under the most stress during use. A loose connection here is a primary cause of instability (National Safety Council).
Confirming Stability
Give the entire setup a firm shake. Does it feel solid? Does anything wobble or shift? If so, identify the loose point and correct it. Your miter saw stand should be as steady as a rock. A stable base is a safe base.
Imagine pushing a long board through the saw; you don’t want the stand to rock. Ensure it can handle the vibration and force of cutting. Once you’re confident it’s sturdy, you’re ready to power up!
Electrical Connections and Workspace Clearance
Finally, consider your power source. Is your extension cord rated for your saw’s power? Is it clear of the cutting path? Keep cords organized and out of the way. We always advise checking for a clear path for the saw blade and your material.
Make sure there’s nothing on the stand or around your workspace that could interfere with the saw’s operation or your comfort. Clear your work area of clutter. A clean workspace is often a safe workspace.
Your Miter Saw Stand Setup Checklist
Here’s a quick summary to ensure you haven’t missed anything important:
- Unpacked and identified all stand components.
- Assembled all legs and ensured they are locked.
- Attached mounting brackets securely to the miter saw.
- Mounted the miter saw (with brackets) onto the stand.
- Adjusted stand to a comfortable working height.
- Leveled the stand, especially on uneven surfaces.
- Extended and locked outfeed supports for long materials.
- Re-tightened all fasteners on the stand and saw.
- Confirmed stand stability with a firm shake.
- Ensured clear workspace and safe electrical routing.
Conclusion
Setting up your miter saw stand correctly is a small investment of time that pays off big in safety and accuracy. You’ve learned how to unpack, assemble, mount your saw, and adjust everything for your workflow. Remember, a stable saw means cleaner cuts and a reduced risk of accidents. We’ve seen firsthand how taking these steps can make a real difference in your projects.
Now, with your miter saw stand properly assembled and secured, you’re ready to tackle your woodworking projects with confidence. Go ahead and start making those precise cuts you’ve been planning!
Frequently Asked Questions
How often should I check my miter saw stand for stability?
You should check your miter saw stand for stability every time you set it up for a new project. Even if it’s been stored and not moved far, connections can loosen. A quick check before you start cutting takes just moments and ensures safety.
Can I use any miter saw with any stand?
Most miter saw stands are designed with universal mounting brackets, meaning they can accommodate many different saw brands and models. However, it’s always best to check the stand’s specifications or consult your saw’s manual. Some heavy-duty saws might have specific mounting requirements.
What’s the ideal height for a miter saw stand?
The ideal height allows you to operate the saw comfortably without excessive bending or reaching. Generally, the saw’s table should be around your waist height. This ergonomic position reduces back strain and improves control during cuts.
My stand wobbles even after tightening everything. What should I do?
First, ensure you’re on a flat, even surface. Many stands have adjustable feet to compensate for uneven ground. If it still wobbles, recheck all leg connections and the saw-to-bracket connection. Sometimes, a component might be slightly bent, or you might have missed a locking pin engagement.
Are outfeed supports really necessary for all cuts?
Outfeed supports are highly recommended for any material that extends beyond the saw’s table, particularly longer boards. They prevent the material from tipping or dropping after a cut, which can be dangerous and lead to inaccurate results. For very short pieces, they might not be critical, but it’s good practice to use them.
