
What Is the Best Miter Saw for Beginners?
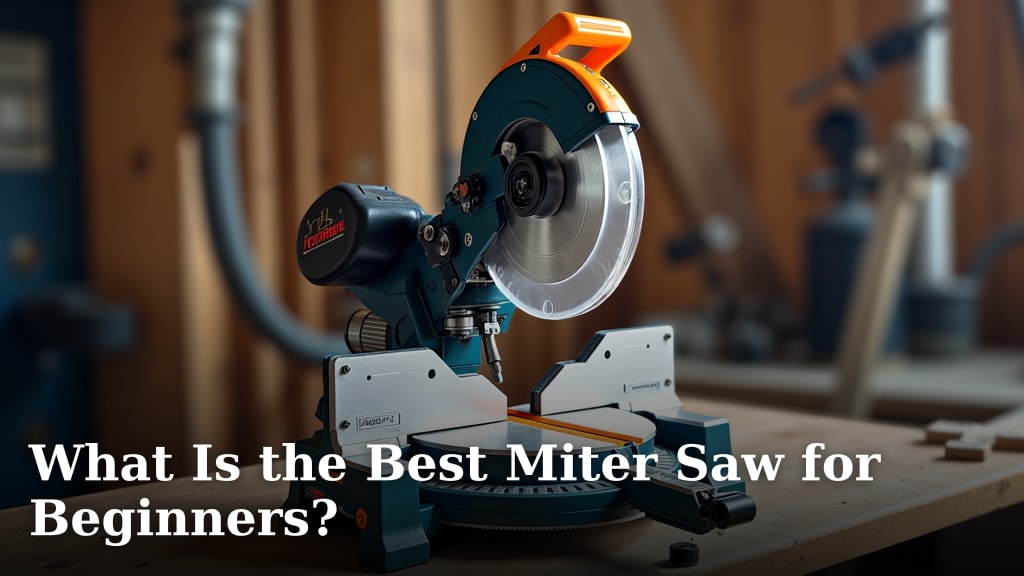
The best miter saw for beginners is typically a 10-inch single-bevel sliding compound miter saw because it offers versatility without being overly complex. This type of saw handles most common DIY projects well, making it a great starting point for new users.
When you’re just starting out with woodworking or home improvement, choosing the right tools can feel overwhelming. You want something powerful enough for your needs but also easy to learn. A good beginner miter saw should offer a balance of simplicity and capability, allowing you to tackle various cuts confidently.
- A 10-inch single-bevel sliding compound miter saw is often ideal for beginners.
- It offers a good balance of features for common DIY tasks.
- Look for saws that are easy to set up and adjust.
- Safety features are especially important for new users.
Let’s dive into why this choice makes sense and what factors you should consider when picking out your first miter saw.
Choosing Your First Miter Saw: Why a 10-Inch Slider is Often Best
The 10-inch single-bevel sliding compound miter saw truly hits that sweet spot for new DIYers. It balances power, precision, and ease of use, making it a fantastic starting point for almost any project.
You can make a wide variety of cuts with this type of saw. From basic crosscuts on decking lumber to more complex angled cuts for picture frames, it offers excellent versatility. We’ve found that it handles most common home improvement tasks without being overly specialized or intimidating.
Understanding Miter Saw Types
Before you dive in, let’s quickly break down the main types of miter saws you’ll encounter. Knowing the differences helps you understand why the recommended choice stands out.
Standard Miter Saw
A standard — or chop — miter saw cuts at 90 degrees and can pivot for angled (miter) cuts. It’s the most basic type. You can only cut material as wide as its blade radius allows. These are usually the least expensive option.
Compound Miter Saw
A compound miter saw takes things a step further. It can still create miter cuts, but the blade also tilts (or “bevels”) to cut angles. This means you can make compound cuts – cuts that are angled in two directions at once. Think crown molding or complex trim work. These are much more versatile for interior finish work.
Sliding Miter Saw
Now, add a sliding rail system to a compound miter saw, and you get a sliding compound miter saw. The blade can move forward and backward along these rails, significantly increasing the width of the material it can cut. This is a game-changer for wider boards, like shelves or cabinet pieces.
Single vs. Dual Bevel
A compound miter saw can be either single-bevel or dual-bevel. A single-bevel saw tilts in one direction only (usually to the left). To make an opposite-angle bevel cut, you have to flip your workpiece. A dual-bevel saw tilts in both directions, making it quicker to complete some tasks without repositioning. While dual-bevel seems better, it often adds cost and complexity that a beginner might not need. A single-bevel is perfectly adequate for learning.
Why the 10-Inch Blade Size?
Blade size determines how deep and wide your cut can be. Miter saws typically come with 8, 10, or 12-inch blades.
A 10-inch blade offers a great balance. It can cut through standard 2x4s and even 4x4s with ease, depending on the saw’s design. It’s also large enough to handle wider shelving material if it’s a sliding model. You’ll find 10-inch blades are also more affordable and readily available than 12-inch blades, which is a plus for your budget.
A 12-inch saw might seem more powerful, but it’s often overkill for an amateur. Bigger blades mean more torque, more weight, and often a higher price tag. There’s also more chance of blade deflection with larger blades, potentially impacting accuracy (Woodworker’s Journal, “Miter Saw Shootout”). For most DIYers, the extra capacity isn’t worth the trade-offs.
Key Features to Look for in a Beginner Miter Saw
When you’re shopping, keep these features in mind. They make a big difference in your experience as a new user.
Ease of Use and Adjustability
You want a saw that feels intuitive. Look for miter and bevel controls that are easy to access and lock securely. Quick-release levers and clearly marked angle stops will save you frustration. Some saws even have detents at common angles, like 22.5, 30, and 45 degrees, which is very helpful.
Safety Features
Your safety is paramount. A good miter saw for a beginner will have several layers of protection. Look for a blade guard that automatically covers the blade when not cutting. Many saws also have a safety trigger that prevents accidental starts. Good dust collection isn’t just for cleanliness; it also helps keep your workspace clear for better visibility, reducing accident risk.
Integrated Laser Guide
While not strictly necessary, a laser guide can be a fantastic tool for new users. It projects a line onto your workpiece, showing you exactly where the blade will cut. This helps you align your work accurately and builds confidence in your cuts. Some professionals prefer to eye-ball cuts or use pencil marks, but for a beginner, a laser is a welcome helper.
Material Clamp
A material clamp securely holds your workpiece in place during cutting. This is incredibly important for consistent, accurate cuts and greatly enhances safety. Never cut freehand! Ensure the saw you choose includes a reliable clamping mechanism.
Portability and Weight
Will you be moving your saw around a lot, or will it stay in one place? Many beginner-friendly saws are designed to be relatively lightweight and portable. Consider the overall weight and existence of carrying handles if you plan to transport it to different job sites or simply move it around your garage.
Benefits of a 10-Inch Single-Bevel Sliding Compound Miter Saw for Beginners
Let’s recap why this specific type of saw is such a strong recommendation for you.
- Versatility for Projects: It handles crosscuts, miter cuts, bevel cuts, and compound cuts. This means you can tackle everything from deck boards to trim molding.
- Increased Capacity: The sliding feature means you can cut wider boards than a non-sliding saw of the same blade size. Think 10-12 inches wide, which covers most DIY needs.
- Simpler Operation: Single-bevel design keeps things a little less complicated than dual-bevel. You learn one tilt direction first.
- Cost-Effective: Generally more affordable than 12-inch or dual-bevel models, giving you excellent value for your money.
- Common Blade Size: 10-inch blades are easy to find at any hardware store when you need a replacement or a specialized blade type.
Setting Up Your Miter Saw for the First Time
Once you get your new saw home, it’s natural to want to jump right into cutting. But taking a few minutes to set it up correctly will make a big difference in both safety and accuracy.
- Read the Manual: Seriously, this is your best friend. Every saw has unique quirks.
- Calibrate Your Saw: Use a speed square or known accurate protractor to check that your blade is truly at 90 degrees to the fence and 0 degrees to the table. Adjustments are usually simple.
- Secure Your Workspace: Place your saw on a stable workbench or a dedicated miter saw stand. It shouldn’t wobble.
- Dust Collection: Connect the dust bag or a shop vacuum. Keeping saw dust clear improves visibility and reduces respiratory irritation, as recommended by OSHA for wood dust exposure.
- Practice Cuts: Before you cut your good material, make some practice cuts on scrap wood. This helps you get a feel for the saw’s power and rhythm.
Essential Miter Saw Accessories for Beginners
To get the most out of your miter saw, a few accessories are highly recommended.
Quality Blades
The blade that comes with your saw is often a basic general-purpose blade. For cleaner, more precise cuts on specific materials, you might want specialized blades. A fine-tooth crosscut blade (60-80 teeth for a 10-inch saw) is excellent for smooth cuts on trim and plywood.
Miter Saw Stand
A dedicated stand provides a stable, ergonomic work height. Many stands come with extendable wings to support longer workpieces, which is crucial for accuracy and safety.
Measuring and Marking Tools
A good quality tape measure, a pencil or marking knife, and a reliable speed square or combination square are indispensable. You can’t make an accurate cut without accurate measurements and marks.
Hearing and Eye Protection
Never skip these! Miter saws are loud, and flying debris is a real hazard. Always wear safety glasses and hearing protection (earmuffs or earplugs) every single time you operate the saw.
Comparing Miter Saw Options for Beginners
Here’s a quick overview to help you visualize why a 10-inch single-bevel sliding compound saw is often the top recommendation for beginners.
| Saw Type | Key Benefits | Limitations | Beginner Suitability |
|---|---|---|---|
| Standard Miter (Chop) | Least expensive, compact. | No bevel cuts, limited width. | Basic crosscuts only. |
| Compound Miter (Non-Sliding) | Bevel and miter cuts, good precision. | Limited width capacity. | Good, but limited on wider stock. |
| 10″ Single-Bevel Sliding Compound | Excellent versatility, handles wide boards, good value. | Only bevels one direction. | Highly Recommended! |
| 12″ Dual-Bevel Sliding Compound | Maximum capacity & versatility. | Heavier, more expensive, larger footprint. | Often overkill for initial DIY. |
Your Beginner Miter Saw Checklist
As you near your purchase, use this quick checklist to ensure you’re getting a saw that will serve you well.
- Is it a 10-inch sliding compound model?
- Does it feel easy to adjust and lock down?
- Are the safety features prominent and functional?
- Does it have a reliable material clamp?
- Is it a manageable weight for your needs?
- Does it fit within your budget without compromising on core capabilities?
Choosing your first miter saw is an exciting step into woodworking and home improvement. By focusing on a 10-inch single-bevel sliding compound miter saw, you’re setting yourself up for success with a tool that’s versatile, relatively easy to learn, and capable of handling a vast array of projects. Happy cutting!
Conclusion
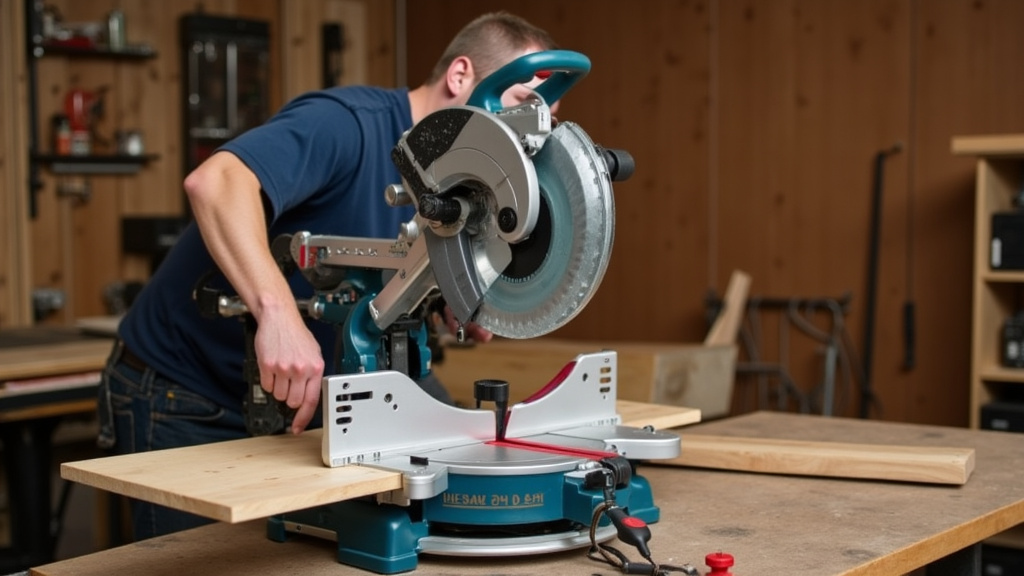
You’ve seen why a 10-inch single-bevel sliding compound miter saw stands out for beginners. It offers excellent versatility and capacity for most DIY projects. You can make precise cuts for anything from framing to finish work.
By focusing on ease of use, safety features, and a manageable size, you’ll feel confident tackling new challenges. Equip your workshop with the right saw, add essential accessories, and remember to always prioritize safety.
Now, you’re ready to confidently choose your first miter saw and start building your woodworking skills!
Frequently Asked Questions
What’s the absolute minimum I need in a miter saw for basic trim?
For basic trim, a 10-inch compound miter saw (non-sliding) will likely suffice. It allows for both miter and bevel cuts, which are essential for trim work. However, a slider gives you more flexibility for wider trim pieces.
How important is a dust bag, or should I always connect a shop vac?
A dust bag is helpful for capturing some sawdust, but a shop vac is significantly more effective. We recommend connecting a shop vac whenever possible. This keeps your workspace cleaner and improves visibility for safer cutting.
Can I put a different size blade on my miter saw?
No, you should only use the blade size your miter saw is designed for. Using a different size can be very dangerous and damage your saw. Always refer to your saw’s manual for the correct blade diameter and arbor size.
Is a stand really necessary, or can I just use a regular workbench?
While you can use a regular workbench, a dedicated miter saw stand is highly recommended. It provides a stable, ergonomic height for cutting and often includes extendable supports for longer workpieces. This greatly improves accuracy and safety, especially as you gain experience.
What’s the first project a beginner should try with a new miter saw?
A great first project is making simple crosscuts on scrap wood to get a feel for the saw. Once comfortable, try cutting some picture frames with 45-degree mitered corners. This helps you practice precise measurements and angle adjustments in a low-stakes way.
