
What Is the Best Miter Saw for Crown Molding?
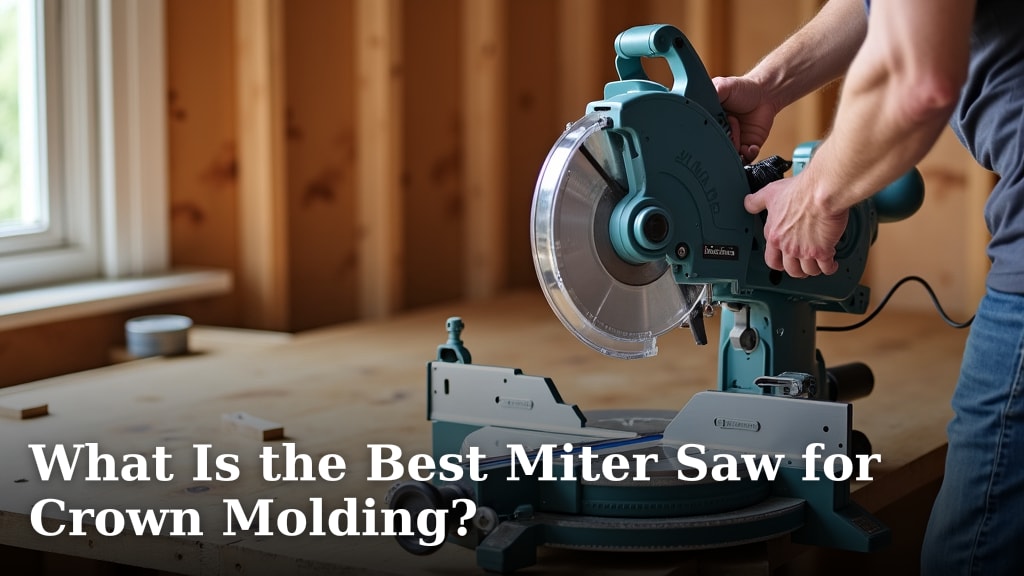
For most DIYers and pros, the best miter saw for crown molding is a 10-inch or 12-inch sliding compound miter saw. These saws offer the capacity and versatility you need for accurate cuts. They handle a wide range of crown molding sizes with ease.
When you’re installing crown molding, precision is key. A sliding compound miter saw allows for wider cross-cuts. This means you can cut even tall crown molding without flipping it over. It makes your work much faster and more accurate. Plus, the compound action lets you cut both bevel and miter angles at the same time.
- A 10-inch or 12-inch sliding compound miter saw is ideal.
- It provides the necessary cutting capacity for tall molding.
- Compound action allows for simultaneous bevel and miter cuts.
- Accuracy and ease of use are major benefits.
- This type of saw handles most crown molding tasks.
Ready to pick the right saw for your next project? Let’s walk through what makes these saws so great and help you choose the perfect one.
Choosing the Right Miter Saw for Your Crown Molding Project
The best miter saw for crown molding needs to have the right features. You want a tool that makes your work easier and your cuts more accurate. Let’s look at what truly matters when you’re picking one out.
Understanding Miter Saw Types and Their Capabilities
Not all miter saws are created equal. Each type has its strengths and weaknesses. Knowing the differences helps you pick the perfect saw for crown molding.
Standard Miter Saws (Chop Saws)
A standard miter saw, sometimes called a chop saw, is the most basic type. It cuts straight down at various angles. You can make miter cuts (side-to-side angles) with it. But it doesn’t tilt for bevel cuts (up-and-down angles). For crown molding, this means you’d have to use a miter box setup or compound cuts with a jig. This can be awkward and less precise.
Compound Miter Saws
A compound miter saw takes things up a notch. It can make both miter and bevel cuts. This is a huge benefit for crown molding. You can cut complex angles in one pass. Some are single-bevel, meaning they only tilt one way. Double-bevel saws tilt left and right, which is more convenient. We often find that double-bevel saws save time and hassle.
Sliding Compound Miter Saws
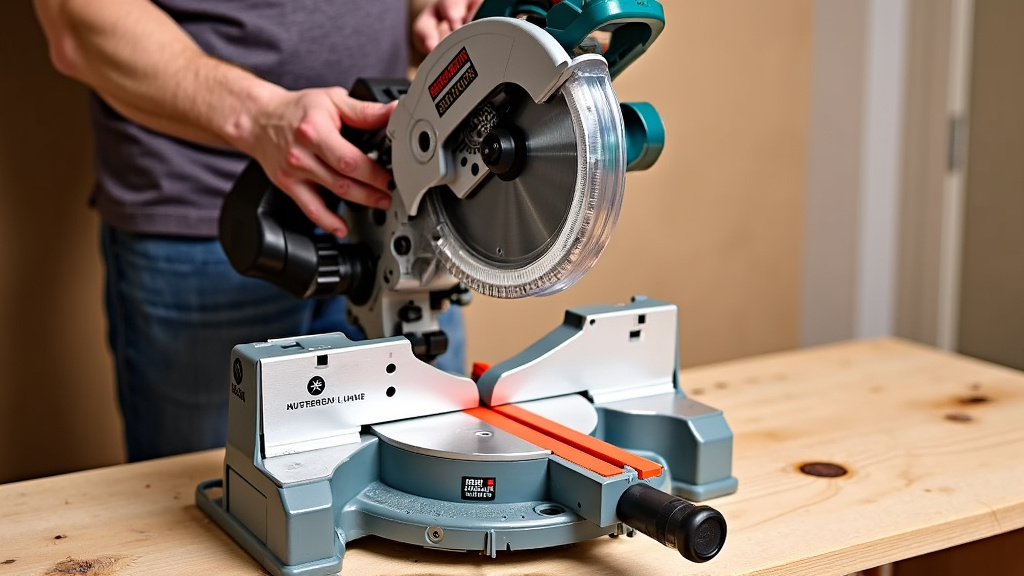
This is where the magic happens for crown molding. A sliding compound miter saw has all the features of a compound saw, plus it can slide forward and backward. This sliding action significantly increases the cutting capacity. Why does this matter for crown molding? Tall crown molding can be cut flat on the saw’s bed. You don’t have to “cope” it or use complex jigs as often.
Key Features to Look for in a Crown Molding Miter Saw
When you’re ready to buy, what specific features should grab your attention? You’re looking for a saw that offers precision, power, and ease of use. These elements will make your crown molding project a success.
Blade Size Matters: 10-inch vs. 12-inch
The blade size directly affects your saw’s cutting capacity. A 10-inch blade is a great all-around choice for many DIYers. It handles most common crown molding sizes. But if you’re working with very tall crown molding (over 6 inches), a 12-inch blade is often preferred. We’ve seen that the extra diameter gives you more clearance, especially with sliding saws. This lets you cut wider material in a single pass.
Sliding vs. Non-Sliding Capability
For crown molding, the sliding feature is incredibly important. It allows you to cut much wider boards. Imagine a piece of crown molding that’s 7 inches tall. A non-sliding miter saw might struggle with this. But a sliding saw can handle it easily. This means fewer complicated setups and more accurate cuts for you.
Compound Angle Functionality
Crown molding requires two angles: a miter (side-to-side) and a bevel (up-and-down). A compound miter saw can cut both at once. This saves you from having to flip the workpiece or use multiple setups. We generally recommend a double-bevel saw. It can tilt both left and right, making it more versatile. This is especially helpful if you’re cutting a lot of molding or working in tight spaces.
Power and Motor Performance
A powerful motor ensures smooth, consistent cuts. Look for a saw with a motor rated in amperes (amps). For most crown molding work, a motor with 13 to 15 amps is ideal. This power level helps the blade cut through dense hardwoods without bogging down. A smooth cut means less sanding and a better finished look.
Accuracy and Adjustability
Precision is paramount for crown molding. Look for features that enhance accuracy. These include positive stops at common angles (like 22.5, 30, 45 degrees). A good laser guide can also be helpful for lining up cuts. Many users find that a sturdy fence and easily adjustable miter and bevel scales make a big difference.
Essential Accessories and Features for Crown Molding
Beyond the basic saw, certain accessories and built-in features can make your crown molding installation much smoother. Don’t overlook these details when making your decision.
Dust Collection
Cutting wood creates a lot of sawdust. A good dust collection system keeps your workspace cleaner and safer. Look for a saw with an effective dust port. You can connect it to a shop vac or dust extractor. This helps keep cut lines visible and reduces cleanup time. A cleaner workshop is a happier workshop, right?
Workpiece Clamps and Support
Holding your molding securely is vital for accurate and safe cuts. Many miter saws come with a built-in clamp. This secures the material against the fence. Also, consider saws with extension wings or integrated supports. These prevent long pieces of molding from tipping, ensuring consistent cuts. Stability is key when you’re aiming for perfection.
Blade Quality and Tooth Count
The blade itself makes a huge impact on cut quality. For crown molding, you want a fine-tooth blade. A blade with 60 to 80 teeth is usually recommended for smooth cuts in wood and trim. More teeth mean a smoother finish and less tear-out. Many saws come with a general-purpose blade, but upgrading to a dedicated trim blade is often a good idea.
Checklist for Your Crown Molding Miter Saw
To help you keep track, here’s a quick checklist of what to look for:
- Sliding Capability: Essential for wider cuts.
- Compound Bevel: Ideally double-bevel for versatility.
- Blade Size: 10-inch for common, 12-inch for large molding.
- Motor Power: 13-15 amp motor for consistent cutting.
- Accuracy: Positive stops and precise adjustments.
- Dust Collection: An effective system is a big plus.
Comparing Top Miter Saw Features for Crown Molding
Let’s look at how different features stack up. This table provides a quick overview to help you compare your options. We find this helps many people visualize the differences.
| Feature | Benefit for Crown Molding | Recommendation Level |
|---|---|---|
| Sliding Rails | Allows cutting of tall crown molding laid flat. | Highly Recommended |
| Double Bevel | Cuts both left and right angles without flipping. | Highly Recommended |
| 12-inch Blade | Maximum cutting capacity for very tall molding. | Recommended (for larger projects) |
| Laser Guide | Helps align blade to cut line for precision. | Helpful Bonus |
| Dust Port | Keeps workspace clean and improves visibility. | Important for Health/Cleanliness |
| Workpiece Clamp | Secures molding for safer, more accurate cuts. | Essential for Safety/Accuracy |
Maximizing Your Miter Saw for Crown Molding Success
Once you have your saw, there are still a few things you can do to get the best results. Proper technique and setup are just as important as the tool itself. We often see that careful preparation leads to superior outcomes.
Understanding Crown Molding Angles
Crown molding isn’t cut at a true 45-degree angle. Because it sits at an angle between the wall and ceiling, you need compound cuts. Most crown molding springs at either a 38/52 degree or 45/45 degree angle. Knowing your specific molding’s spring angle is critical for accurate cuts. You’ll need to set your saw to a specific miter and bevel combination. Many online calculators and jigs can help with this. Many experts suggest practicing on scrap pieces first (Fine Homebuilding).
Using a Crown Stop or Jig
Even with a sliding compound miter saw, a crown stop or jig can make things easier. These accessories hold the molding at its correct spring angle against the fence. This often simplifies the cutting process. Instead of complex compound miter and bevel settings, you can often make simple miter cuts. This is especially true for inside and outside corners. It reduces the chance of error and makes the process more intuitive for many users.
Proper Support for Long Pieces
Long pieces of crown molding need support. Don’t let them hang off the saw. This can cause inaccurate cuts and even be dangerous. Use roller stands, sawhorses, or extra hands to support the molding. Consistent support across the entire length of the workpiece ensures the cut remains stable and precise. This small effort can prevent big headaches later on.
Conclusion
Choosing the best miter saw for crown molding truly comes down to capacity and precision. We’ve seen that a 10-inch or 12-inch sliding compound miter saw will be your most reliable partner. These saws handle tall molding and complex angles with ease. They provide the accuracy you need for a professional finish. Investing in the right saw means smoother projects and stunning results.
Now, take what you’ve learned and confidently select the perfect miter saw. Your next crown molding project will thank you for it!
Frequently Asked Questions
What is the main advantage of a double-bevel miter saw for crown molding?
A double-bevel miter saw lets you tilt the blade both left and right. This means you don’t have to flip your crown molding when cutting opposing angles. It saves time and helps maintain accuracy, especially with long pieces.
Can I cut crown molding with a non-sliding compound miter saw?
Yes, you can, but it’s more challenging. You might need to “cope” the molding or use a crown molding jig to hold it at an angle. This can limit the size of molding you can cut and often requires more complex calculations.
How important is motor power for cutting crown molding?
Motor power is quite important for clean cuts. A 13-15 amp motor ensures your saw won’t bog down when cutting through dense hardwoods or thick molding. This results in smoother edges and less strain on the tool.
Should I buy a specialized crown molding blade for my miter saw?
While many saws come with a general-purpose blade, upgrading to a fine-tooth blade (60-80 teeth) is a good idea. A specialized blade reduces tear-out and leaves a much smoother finish on delicate crown molding.
Are laser guides essential for accurate crown molding cuts?
Laser guides can be very helpful for lining up your cuts quickly. However, they are not a substitute for proper measurement and setup. Always double-check your cuts with the blade itself before cutting your final piece.
