
Can You Cut a 4×4 Post with a Miter Saw?
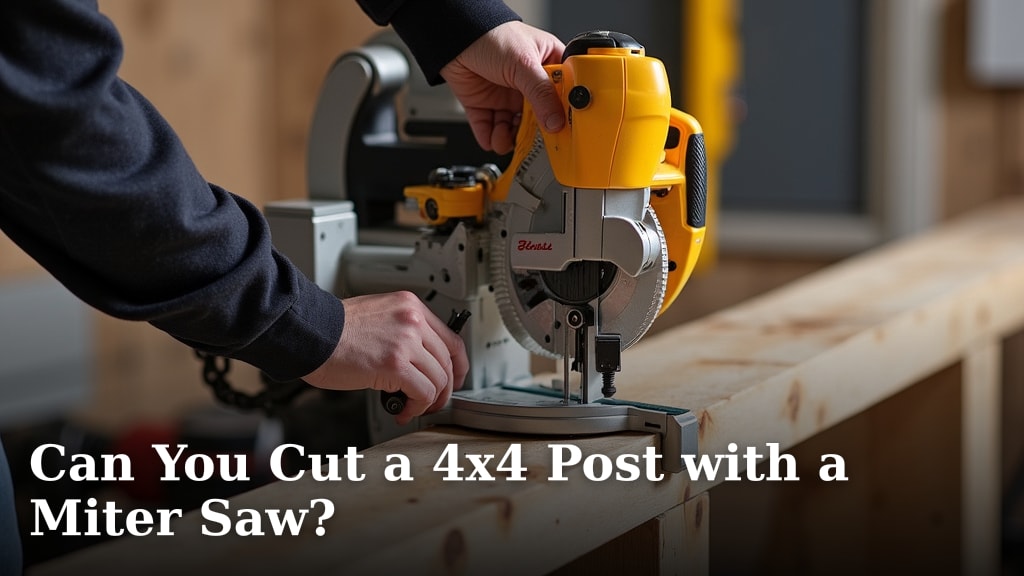
Yes, you can absolutely cut a 4×4 post with a miter saw, but it often requires a few extra steps. While many standard miter saws have blades too small for a single pass, you can still achieve a clean cut. You’ll likely need to use a two-pass method or a sliding miter saw.
Don’t worry if your saw seems too small at first glance. We’ve all been there, standing in the workshop, scratching our heads. With the right technique and perhaps a little patience, your miter saw can handle those thicker wood posts. It’s all about working safely and smartly.
TL;DR:
- You can cut a 4×4 with a miter saw.
- Most cuts need a two-pass method.
- A sliding miter saw makes it easier.
- Safety precautions are very important.
- Always check your saw’s blade size.
Let’s walk through exactly how to safely and effectively cut a 4×4 post using your miter saw, making sure you get a perfectly square cut every time.
Cutting 4×4 Posts with Your Miter Saw
You’re ready to tackle that 4×4 post, and your miter saw is waiting. That’s great! While it might seem a bit challenging at first glance, knowing the right techniques makes it straightforward. The key often lies in understanding your saw’s capabilities and, more importantly, how to compensate for its limitations when cutting thicker materials like a 4×4. Let’s make sure you get a perfectly square and safe cut.
Understanding Your Miter Saw’s Capacity
Before you even think about placing that lumber, it’s smart to know what your miter saw can actually do. Not all saws are created equal, especially when it comes to cutting depth and width. A 4×4 post, which actually measures 3.5 inches by 3.5 inches, presents a unique challenge for many standard miter saws.
Standard Miter Saw Limitations
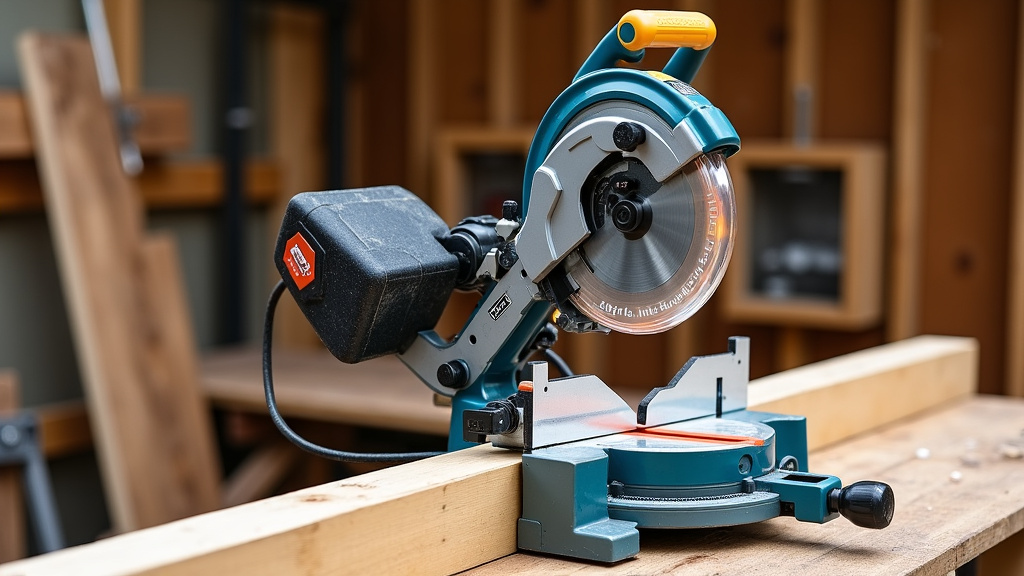
Most basic miter saws, often called “chop saws,” have a fixed pivot point. This means the blade only moves up and down. A typical 10-inch miter saw can usually cut a board that’s about 2 inches thick and 6 inches wide in a single pass. For a 12-inch miter saw, that might increase to about 3 inches thick and 8 inches wide. Notice the problem here? A 4×4 is 3.5 inches thick. This means your saw’s blade, no matter if it’s 10 or 12 inches, probably won’t cut all the way through in one go. You’ll be left with a small, uncut section at the bottom. This is where the two-pass method comes in handy.
Sliding Miter Saw Advantages
If you own a sliding miter saw, you’re in a slightly better position. These saws allow the blade to move forward and backward on rails, significantly increasing their cutting capacity. A good 10-inch sliding miter saw might cut up to 12 inches wide and 3.5 inches thick. A 12-inch slider can often manage even larger dimensions. This means some sliding miter saws can indeed cut a 4×4 in a single, clean pass. If you have one, you might not need the two-pass method for this task, which saves time and effort.
Safety First: Essential Precautions for Cutting 4x4s
Cutting large lumber like a 4×4 post demands serious attention to safety. These pieces are heavier and can be trickier to control than smaller boards. We always recommend reviewing basic safety guidelines before starting any project (OSHA). Your well-being should always be your top priority.
- Wear Safety Glasses: Protect your eyes from flying sawdust and wood chips. This isn’t optional; it’s essential.
- Use Hearing Protection: Miter saws are loud. Prolonged exposure can damage your hearing.
- Wear a Dust Mask: Especially when cutting treated lumber or certain hardwoods, fine dust can be a respiratory irritant.
- Clear Your Workspace: Make sure there’s nothing that can snag or trip you. You need a stable, uncluttered area.
- Ensure Proper Support: A 4×4 post is heavy. It needs full support on both sides of the cut to prevent it from dropping unexpectedly, which could cause kickback or an uneven cut.
- Keep Hands Clear: Never place your hands near the blade path. Always use clamps or hold-downs to secure the workpiece.
- Unplug When Adjusting: If you need to change the blade, clean the saw, or make major adjustments, always unplug the tool first.
Setting Up Your Miter Saw for the Cut
Proper setup is critical for both safety and achieving an accurate cut. Don’t rush this step. Taking a few extra minutes here will save you frustration later on. Think of it like building a strong foundation for your project.
Stabilizing the Post
A 4×4 post is substantial and can be unwieldy. You absolutely need to keep it steady. We find that using roller stands or sawhorses with support blocks works best. The goal is to have the post perfectly level with the miter saw’s base, both on the infeed and outfeed sides. If the post sags, the cut won’t be square, and it can create unsafe binding.
Securing the Workpiece
Clamping is your best friend when cutting larger materials. Many miter saws come with built-in clamps. Use them! If your saw doesn’t have one, or if it’s not adequate, use C-clamps to hold the 4×4 firmly against the saw’s fence and base. This prevents the wood from shifting during the cut, which is a major cause of crooked cuts and kickback.
Checking the Blade
Is your blade sharp? Is it the right type? A dull blade will burn the wood, make the cut harder, and increase the risk of kickback. For general wood cutting, a blade with around 40-60 teeth is a good all-around choice. For a smoother finish on hardwoods, you might opt for a higher tooth count. Always ensure the blade is clean and free of resin buildup.
The Two-Pass Method: Your Go-To Technique
This is the bread and butter for cutting 4x4s with most standard miter saws. It’s not complicated, but it requires precision and patience. Think of it as making two thoughtful cuts to achieve one perfect one. This method helps maintain accuracy and reduces strain on your saw.
- Mark Your Cut Line Clearly: Use a speed square and a pencil to draw a crisp line all around the 4×4. This line will be your guide for both passes. Accuracy here is paramount.
- First Pass – Cut from the Top: Position the 4×4 on your saw’s fence, aligning one side of your marked line with the blade. Make sure the wood is clamped down securely. Power on the saw, let the blade reach full speed, and slowly bring the blade down through the top of the post as far as it can go. It won’t cut all the way through, leaving an uncut section at the bottom.
- Rotate the Post: Turn the 4×4 exactly 90 degrees. You want to align a new, uncut side with the blade. Crucially, make sure your marked line on this new side aligns perfectly with the previous cut’s kerf (the slot the blade made). This ensures your second cut will meet the first one precisely.
- Second Pass – Complete the Cut: Clamp the post securely again. Power on the saw, let the blade reach full speed, and slowly bring it down to complete the cut. If done correctly, the two cuts will meet, and you’ll have a clean, square cut through the 4×4.
Sometimes, if your saw’s depth is very limited, you might need a third or even a fourth pass, rotating the post each time. The principle remains the same: align your cut line with the previous kerf to keep it square.
Tips for Achieving a Perfect Cut
Getting a factory-perfect cut isn’t just about technique; it’s also about paying attention to the details. A little extra care here goes a long way. We’ve compiled some research-backed advice to help you fine-tune your process.
Checking for Squareness
After each practice cut, use a reliable speed square or a combination square to check the cut. Is it truly 90 degrees? Are the edges smooth? Small adjustments to your clamping technique or saw alignment might be needed. “Measure twice, cut once” isn’t just a saying; it’s a golden rule in woodworking. Research shows that careful measurement significantly reduces material waste (Woodworking Magazine).
Managing Tear-Out
When the blade exits the wood, especially with cross-grain cuts, you might experience “tear-out” – splintering on the back side of the cut. To minimize this, we often recommend placing a piece of scrap wood underneath the 4×4 at the cut line. This “sacrificial” piece provides support for the fibers, reducing splintering. You can also apply painter’s tape along the cut line before marking and cutting.
Miter Saw vs. Other Tools for 4x4s
While your miter saw is a capable tool for cutting 4x4s, it’s not the only option. Sometimes, another tool might be more efficient or safer depending on the situation. Here’s a quick comparison:
| Tool | Pros for Cutting 4x4s | Cons for Cutting 4x4s | Best Use Case |
|---|---|---|---|
| Miter Saw | Excellent accuracy, repeatable cuts (if set up well), good for multiple cuts. | May require two-pass method, limited depth for non-sliding models, less portable. | Precision cuts, production work, cross-cutting for framing. |
| Circular Saw | Highly portable, can cut through 4×4 in one pass (with a large enough blade), versatile. | Requires good technique for square cuts, more prone to tear-out, needs a guide. | On-site work, rough cuts, when portability is key. |
| Reciprocating Saw | Good for demo, can cut through almost anything, highly portable. | Very rough cuts, difficult to get straight or square, often leaves ragged edges. | Demolition, cutting through nails, when precision isn’t critical. |
| Hand Saw | No power needed, very portable, quiet. | Slow, requires significant effort, difficult to maintain squareness over long cuts. | Small number of cuts, no power available, quiet work needed. |
Quick Checklist Before You Cut
To ensure you’ve covered all your bases, use this handy checklist before you make that first cut. It’s a quick way to double-check everything and boost your confidence.
- Is your miter saw unplugged for adjustments and blade changes?
- Are your safety glasses, hearing protection, and dust mask on?
- Is the 4×4 post fully supported on both sides of the cut?
- Is the post securely clamped to the saw fence and base?
- Is your cut line clearly marked and aligned with the blade?
- Are there any obstructions in your work area?
Conclusion
Cutting a 4×4 post with your miter saw is definitely achievable. While it often requires the two-pass method, this technique is straightforward once you master it. Always prioritize safety, take your time with setup, and support your workpiece properly. With a sharp blade and careful alignment, you’ll be making clean, precise cuts through 4x4s in no time. So, confidently tackle your next project, knowing you have the skills to get the job done right.
Frequently Asked Questions
What is the smallest miter saw that can cut a 4×4?
Generally, a 10-inch miter saw can cut a 4×4 using the two-pass method. However, some 10-inch sliding miter saws might manage it in a single pass if the 4×4 actually measures 3.5 inches and the saw has sufficient depth capacity.
Can I cut a 4×4 at an angle with a miter saw?
Yes, you can cut a 4×4 at an angle (miter cut) with your miter saw. The two-pass method will still apply if your saw can’t cut through in one go. Just make sure to set your miter angle first and then perform the rotational passes.
Is it better to use a circular saw for 4x4s instead of a miter saw?
It depends on your priority. A circular saw offers more portability and can often make a single pass cut. However, a miter saw provides greater accuracy and repeatability for square and angled cuts, especially when using a fence and clamping system.
How do I prevent the wood from binding when cutting a 4×4?
Prevent binding by ensuring the 4×4 is fully supported on both sides of the cut and clamped securely to the saw fence. Also, allow the blade to reach full speed before engaging the wood and avoid forcing the cut.
What kind of blade is best for cutting 4×4 posts?
For general cross-cutting of 4x4s, a carbide-tipped blade with 40-60 teeth is a good choice. Look for a blade designed for cross-cutting to get cleaner results and minimize tear-out. Ensure it’s sharp for optimal performance and safety.
