
Why Is My Miter Saw Not Cutting Straight?
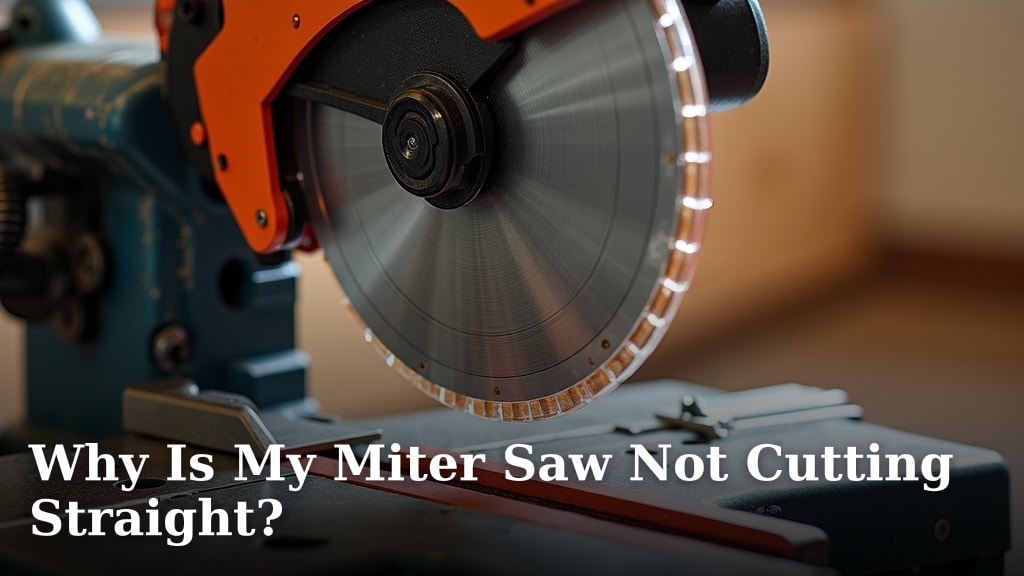
Your miter saw is not cutting straight because of several common issues, including a misaligned fence, a bent blade, or a loose saw head. These problems throw off your cuts.
Many woodworkers experience this frustrating issue. An inaccurate saw ruins projects and wastes materials. We understand you want clean, precise cuts every time.
- Check your saw’s fence alignment.
- Inspect the saw blade for damage.
- Tighten any loose components.
- Calibrate the miter angle.
- Clean your saw regularly.
Let’s find out why your miter saw isn’t cutting straight. We will help you get it back to making perfect cuts.
Troubleshooting Your Miter Saw’s Inaccurate Cuts
There are several common reasons why your miter saw might not be cutting straight. Understanding these issues helps you fix them quickly. We will walk you through the most frequent culprits, from simple adjustments to part replacements.
Blade-Related Problems
The saw blade is where the rubber meets the road, or, in this case, where the steel meets the wood. A bad blade can cause a lot of headaches. It often leads to angled or rough cuts.
Bent or Damaged Blade
Is your saw blade perfectly flat? Sometimes, a blade gets bent during storage or from hitting a knot in the wood. A bent blade wobbles as it spins. This wobble makes your cut line curved, not straight. Even a small bend can make a big difference.
Look closely at your blade. Is it perfectly circular? Are any teeth missing or chipped? Chipped teeth can also cause an uneven cut. They might tear the wood instead of slicing it cleanly. A visual inspection is a good first step.
Dull Blade
A sharp blade cuts smoothly and efficiently. A dull blade struggles. It pushes against the wood more than it cuts. This extra friction can cause the blade to wander slightly. Imagine trying to cut a steak with a butter knife – it’s going to be messy and difficult.
Dullness can also lead to more splintering and burn marks on your wood. If you notice your saw is working harder or the cuts are rough, your blade might need sharpening or replacing. Blade maintenance is key for precision.
Incorrect Blade Type
Did you know there are different blades for different tasks? A blade designed for rough framing isn’t ideal for fine trim work. Blades have varying tooth counts and designs. A low tooth count blade (e.g., 24 teeth) is fast but leaves rough cuts. A high tooth count blade (e.g., 60-80 teeth) gives a smoother finish but cuts slower.
Using the wrong blade type for your project can impact cut quality. Always match your blade to the material and desired finish. This simple choice can greatly improve your saw’s accuracy. We found that matching the blade to the job reduces many cutting issues.
Alignment Issues with Your Miter Saw
Your miter saw is a precision tool, but it can lose its calibration over time. Small misalignments add up. These small errors create big problems in your woodworking projects. This is where most accuracy issues originate.
Fence Alignment
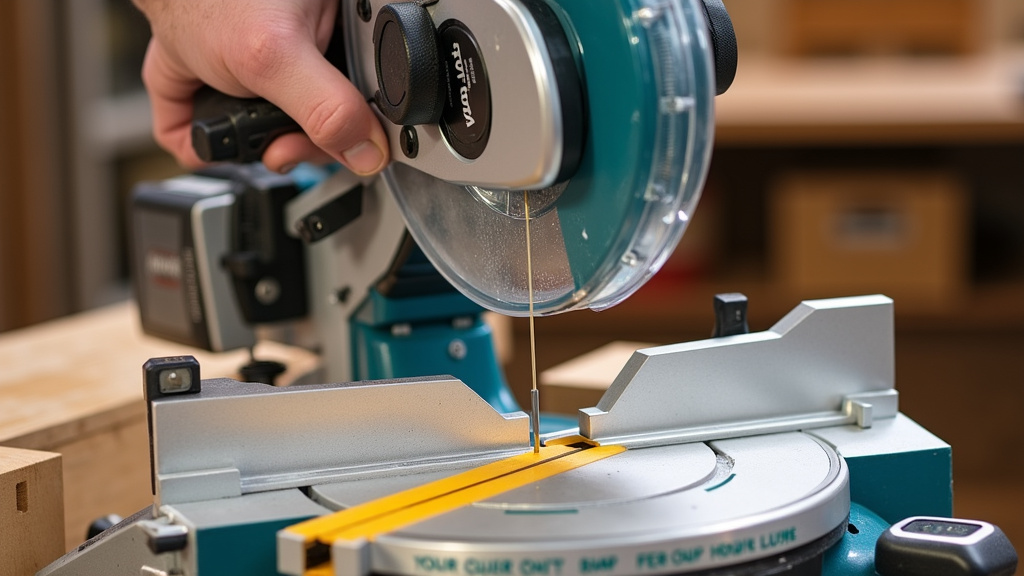
The fence is the back guide for your wood. It must be perfectly perpendicular to the blade when the saw is at 0 degrees. If the fence is not square, your wood will not sit correctly. This results in cuts that are not 90 degrees, even if your saw’s angle is set to zero.
To check this, use a reliable square. Place it against the fence and the blade. Is there any gap? A common issue is the fence not being perfectly straight across its length. Any slight bend means your material won’t be held securely. Proper fence alignment is critical.
Miter Angle Calibration
Your saw has detents for common angles, like 0 and 45 degrees. These are supposed to be accurate. But sometimes, they get knocked out of calibration. If your 0-degree stop isn’t truly 0 degrees, every cut will be off. This is a very common cause of crooked cuts.
Use a trusted digital angle finder or a high-quality machinist’s square to verify your saw’s zero-degree setting. Many manufacturers provide instructions for calibrating this. Making sure your saw’s miter scale is true to its setting is essential for accurate angles. We found this step helps many woodworkers.
Bevel Angle Calibration
Similar to the miter angle, the bevel angle (tilting the blade sideways) can also be off. If your saw is set to a 45-degree bevel, but it’s actually cutting at 44 or 46 degrees, your joints won’t fit right. This is especially noticeable in crown molding or complex trim work.
Again, use an accurate angle measuring tool to check your saw’s bevel stops. Adjusting the bevel can be a bit trickier than the miter. But it’s worth the effort for precise results. A correctly calibrated bevel saves a lot of rework.
Mechanical Problems and Wear
Even well-maintained tools can develop mechanical issues. These problems often relate to moving parts or general wear and tear. Don’t overlook these possibilities when troubleshooting.
Loose Saw Head or Arm
Does your saw head wobble when you move it? Or is there play in the arm that holds the saw head? A loose saw head means the blade isn’t held firmly in place. When you push the blade through the wood, this looseness can cause the blade to deflect. This deflection leads to an uneven cut.
Check all bolts and fasteners securing the saw head and arm. Over time, vibrations can loosen them. Tightening these components can often restore your saw’s stability. A stable saw head is fundamental for straight cuts.
Arbor Nut or Flanges
The arbor is the shaft that the blade mounts onto. The arbor nut tightens the blade against two flanges. If the arbor nut is loose, or if the flanges are dirty or damaged, the blade might not be held securely. This can cause it to wobble slightly during operation.
Always ensure the arbor nut is tightened correctly (hand-tighten, then a quarter turn with a wrench – check your manual for exact instructions). Clean the flanges to remove any sawdust or debris. A clean, tight connection here is vital for a stable blade.
Table or Base Instability
Your miter saw needs a stable base. If your workbench is wobbly or the saw isn’t clamped down securely, the whole setup can shift during a cut. This movement translates directly into inaccurate cuts.
Ensure your saw is mounted firmly to a solid, level surface. Check for any play in the saw’s own base. Sometimes, small rubber feet can wear out, causing unevenness. A rock-solid foundation for your saw is not just about safety, it’s about precision too.
Operator Error and Technique
Sometimes, the saw isn’t the problem. Our technique can also contribute to inaccurate cuts. Even seasoned woodworkers can make small errors without realizing it.
Improper Workpiece Support
Are you supporting your workpiece correctly? If long pieces of wood hang off the saw table without support, they can sag or tilt. This sagging will affect the cut angle. The saw blade will follow the path of least resistance, which won’t be straight.
Always use outfeed supports or roller stands for longer materials. Make sure your wood is held firmly against the fence. Proper support eliminates movement and ensures the material stays flat against the fence throughout the cut.
Forcing the Cut
Are you rushing the cut? Pushing the blade through the wood too quickly can stress the motor and deflect the blade. This deflection causes the blade to bend slightly, resulting in an uneven cut. Let the saw do the work. A smooth, steady feed rate is always best.
Listen to your saw. If the motor sounds strained, you’re probably pushing too hard. A moderate, consistent feed speed ensures the blade cuts cleanly without deflection. Patience in cutting pays off in accuracy.
Ignoring Sawdust Buildup
Sawdust is the enemy of precision. It can build up on the fence, under the blade guard, and around the pivot points. This buildup can create false surfaces, preventing your wood from sitting flat against the fence or raising the workpiece slightly.
Regularly clean your saw, especially around the fence, table, and blade area. A clean saw functions as designed. A small amount of dust can throw off a critical measurement. We found that a simple dust-free environment greatly improves saw performance (OSHA, Woodworking Dust Control Guide).
Quick Checklist for Accurate Miter Saw Cuts
To help you diagnose and fix your miter saw, here’s a quick checklist to run through:
- Inspect the blade: Is it straight, sharp, and the correct type for your material?
- Check fence alignment: Use a square to confirm it’s perfectly perpendicular to the blade at 0 degrees.
- Verify miter and bevel angles: Use a digital angle finder or reliable square to confirm true 0 and 45-degree settings.
- Tighten all fasteners: Ensure the saw head, arm, and arbor nut are secure.
- Ensure stable support: Your saw and workpiece need firm, level support during the cut.
- Clean thoroughly: Remove all sawdust and debris from the saw, especially around the fence and table.
| Problem Area | Common Symptoms | Immediate Solution |
|---|---|---|
| Dull/Damaged Blade | Rough cuts, burning, splintering, blade struggling | Replace or sharpen blade |
| Misaligned Fence | Cuts not square, material not sitting flat | Adjust fence, use a reliable square |
| Loose Saw Head/Arm | Wobble during cut, inconsistent angles | Tighten bolts and fasteners |
| Incorrect Angle Calibration | Angles consistently off (e.g., 89° instead of 90°) | Calibrate miter/bevel stops with angle finder |
| Lack of Workpiece Support | Long boards sag, angled cuts | Use outfeed supports or roller stands |
Conclusion
Getting your miter saw to cut straight again doesn’t have to be a mystery. By systematically checking for common issues like a bent blade, misaligned fence, or loose components, you can pinpoint the problem.
Remember that precision comes from attention to detail. Take your time with adjustments and don’t rush your cuts. A little troubleshooting now saves a lot of frustration later.
You can restore your saw’s accuracy. Follow the steps we’ve outlined. Get back to making perfect, clean cuts on all your projects.
Frequently Asked Questions
How often should I check my miter saw’s alignment?
We recommend checking your saw’s alignment, especially the fence and miter angle, every few months or whenever you start a critical project. Frequent use or moving the saw can cause small shifts. A quick check before important cuts ensures continued accuracy.
Can a dirty miter saw cause inaccurate cuts?
Absolutely. Sawdust buildup is a sneaky culprit. It can prevent wood from sitting flat against the fence or table. This creates false reference points. Always keep your saw clean, especially around critical contact areas.
What’s the best way to store miter saw blades to prevent damage?
Store your blades in their original packaging or in a dedicated blade storage case. This protects them from accidental bending, chipping, or dulling. Keeping them dry also prevents rust, which can affect performance.
Is it worth buying a more expensive miter saw for better accuracy?
Often, yes. Higher-end miter saws typically have more robust construction, better bearings, and more precise adjustment mechanisms. This can translate to greater inherent accuracy and less drift over time. However, even an expensive saw needs proper maintenance.
Can I sharpen my miter saw blade myself?
While possible for some basic blades, we generally recommend professional sharpening for miter saw blades. They require specific tooth angles and grinds. Incorrect sharpening can damage the blade or make it unsafe to use. It’s often safer and more effective to have it done by an expert.
