
How to Set a Miter Saw to 45 Degrees Accurately?
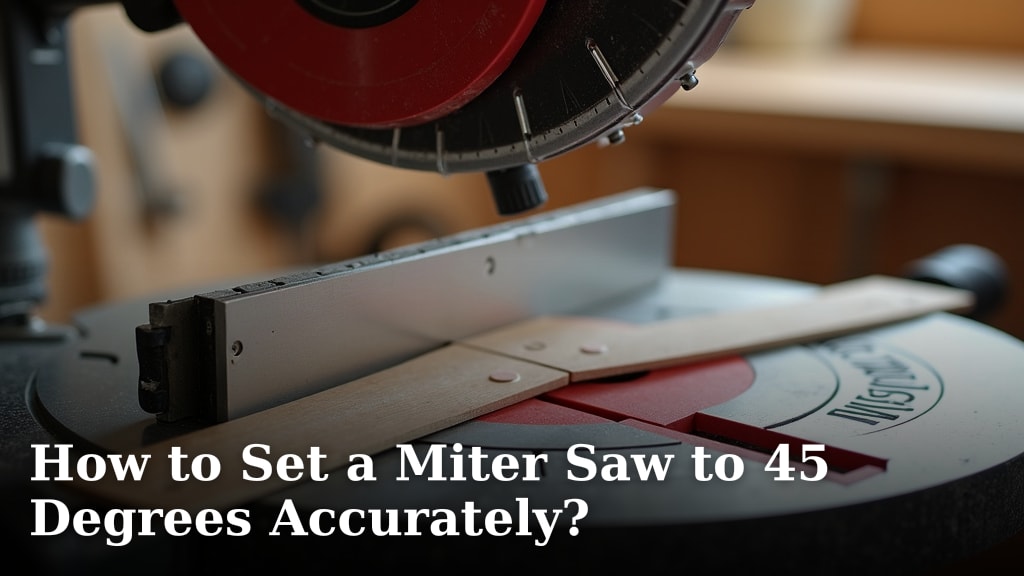
To accurately set a miter saw to 45 degrees, you need to first ensure your saw is unplugged and clean. Then, loosen the miter lock handle, pivot the saw head until the indicator aligns perfectly with the 45-degree mark on the miter scale, and finally, tighten the lock handle securely for precise cuts.
Getting that perfect 45-degree angle is super important for clean miter joints in trim work or picture frames, right? We found that even a tiny misalignment can throw off your whole project, creating unsightly gaps. Many experts agree that calibration and careful adjustment are key to professional-looking results.
- Unplug your miter saw for safety.
- Clear any sawdust or debris from the saw’s base.
- Loosen the miter lock to allow the saw head to pivot.
- Align the indicator with the 45-degree mark precisely.
- Lock the saw head firmly in place for stability.
Ready to tackle those angled cuts with confidence? Let’s walk through exactly how to get that perfect 45-degree setup every time you use your miter saw.
Setting Your Miter Saw for Accurate 45-Degree Cuts
Achieving a perfect 45-degree angle on your miter saw is essential for professional-looking projects. We’ll guide you through the process, ensuring your cuts are precise and your joints seamless.
Prioritizing Safety Before Any Adjustments
Before you even think about moving that saw blade, safety comes first. Think of it like checking your seatbelt before driving. Ignoring safety steps can lead to serious injuries, and we don’t want that for you.
Unplugging Your Miter Saw
This is non-negotiable. Always unplug your saw from the power source. An accidental bump or flick of a switch can power on the blade, creating a very dangerous situation. It’s a simple step that provides immense peace of mind.
Clearing the Work Area
A cluttered workspace is an unsafe workspace. Make sure your saw’s table and the surrounding area are free from debris. Sawdust, wood scraps, or tools can interfere with your adjustments or cause the material to shift during a cut.
Understanding Your Miter Saw’s Components
To accurately set your saw, you need to know its parts. Think of it as knowing the controls of your car before hitting the road. We’ll focus on the specific components that help you achieve that perfect 45-degree angle.
The Miter Scale and Indicator
Most miter saws have a miter scale, a numbered arc that shows the cutting angle. A small arrow or line, known as the indicator, moves along this scale. Your goal is to align the indicator precisely with the 45-degree mark. We found that some indicators can be slightly off, so a good visual check is always smart.
The Miter Lock Handle
This handle is your best friend for securing your angle. It allows you to loosen and tighten the saw head. When loose, you can pivot the saw. Once you’ve found your angle, tightening it locks the head firmly in place, preventing any unwanted movement during your cut.
Step-by-Step Guide to Setting the 45-Degree Angle
Now, let’s get down to the actual adjustment. We’ll walk through this methodically, ensuring you don’t miss a beat. We want you to feel confident with every adjustment you make.
- Loosen the Miter Lock: Locate the miter lock handle, usually at the front or top of the saw’s base. Turn it counter-clockwise to loosen it. You should now be able to move the saw head freely from left to right.
- Pivot the Saw Head: Gently move the saw head until the indicator starts approaching the 45-degree mark on the miter scale. Do this slowly; precision matters here.
- Align with the 45-Degree Mark: Carefully nudge the saw head until the indicator lines up exactly with the 45-degree mark. Many saws have detents (preset stopping points) for common angles like 45 degrees, which can help. You might hear a “click” as it settles into place.
- Engage the Detent (if applicable): If your saw has detents, make sure the indicator is fully seated in the 45-degree detent. This ensures it’s truly locked into that specific angle.
- Tighten the Miter Lock: Once the indicator is perfectly aligned, firmly turn the miter lock handle clockwise to secure the saw head. Give it a good snug tighten to prevent any shifting during your cut.
Verifying Your 45-Degree Setting
Even with the most careful adjustment, it’s wise to double-check your work. Think of it as a final quality control step. We found that a quick verification can save you from wasted material and frustration.
Using a Combination Square or Protractor
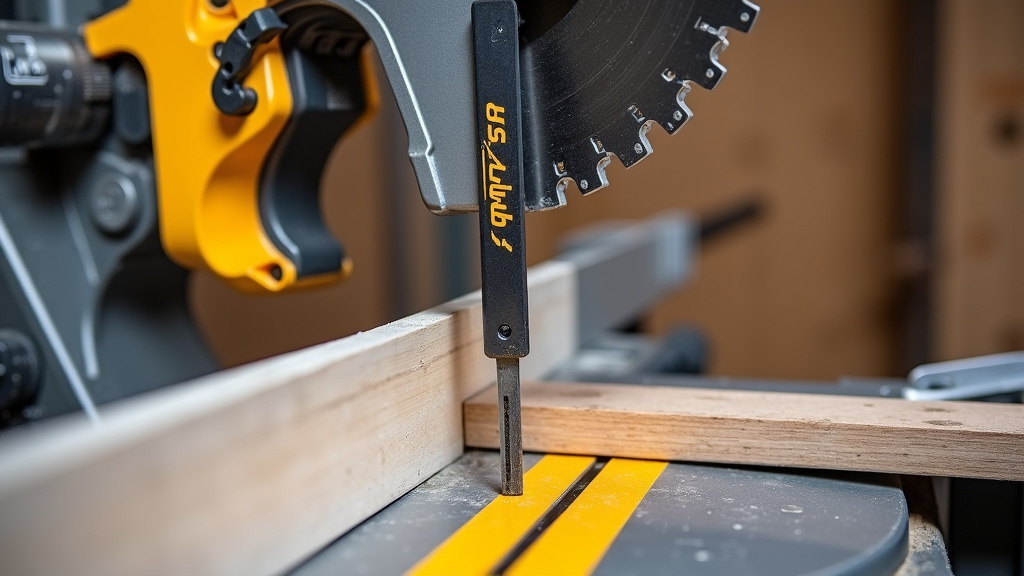
After you’ve locked your saw at 45 degrees, use a reliable angle-measuring tool. A combination square set to 45 degrees, or a digital protractor, can confirm your saw’s setting. Place the tool against the fence and the blade. There should be no gaps, indicating a true 45-degree angle.
| Tool | Pros | Cons |
|---|---|---|
| Combination Square | Affordable, easy to use, good for rough checks | Can be less precise for tiny discrepancies |
| Digital Protractor | High precision, digital readout, very accurate | More expensive, requires batteries |
| Engineer’s Square (45°) | Extremely accurate, durable, specific purpose | Less common, might need to purchase separately |
Performing a Test Cut
The ultimate test is a cut on a scrap piece of wood. Cut a piece of scrap wood, then flip one of the cut pieces over and place the two cut ends together. If your angle is truly 45 degrees, the two pieces should form a perfect 90-degree corner with no gap. If you see a gap, you’ll need to re-adjust.
Tips for Achieving Consistent Accuracy
Precision isn’t just about one perfect setup; it’s about consistency. Here are some tips we’ve gathered to help you maintain that accuracy over time, ensuring your projects always look their best.
Regular Cleaning and Maintenance
Sawdust and debris can build up, causing components to stick or indicators to misalign. We found that a clean saw operates more accurately. Regularly clean the miter scale, indicator, and the area around the pivot points. Many experts suggest a brush and compressed air for this.
Calibrating Your Saw (When Necessary)
Over time, even the best saws can drift out of calibration. If you find your 45-degree cuts are consistently off, your saw might need calibration. This usually involves adjusting small screws on the fence or the miter scale itself. Consult your saw’s manual for specific calibration instructions. The manufacturer’s guidelines are always the best place to start (Manufacturer’s Manuals).
A Quick Checklist for Perfect 45-Degree Cuts
- Safety first: Saw unplugged?
- Work area clear of debris?
- Miter lock loosened for adjustment?
- Indicator precisely on 45-degree mark?
- Miter lock securely tightened?
- Angle verified with a square or test cut?
Conclusion
You now have the knowledge and steps to confidently set your miter saw to a perfect 45-degree angle. Remember, safety always comes first, so unplug your saw every time. We’ve learned that careful alignment and a secure lock are what make the difference between good cuts and great ones. By taking the time to verify your settings and keeping your saw clean, you’ll achieve professional results consistently.
So, go ahead and tackle those projects with precision. Your next mitered joint will thank you!
Frequently Asked Questions
Why is my miter saw not cutting a perfect 45-degree angle even after setting it?
If your saw isn’t cutting true 45-degree angles, check for debris affecting the pivot or scale. Also, the factory detents can sometimes be slightly off. You might need to calibrate your saw’s fence or indicator using its manual.
Can I use a speed square to check my 45-degree miter saw setting?
A speed square can give you a quick visual check for 45 degrees, but it’s often not precise enough for critical cuts. We recommend using a combination square or digital protractor for a more accurate verification against the blade and fence.
My miter saw doesn’t have detents. How do I accurately set it to 45 degrees?
Without detents, you’ll need to rely entirely on the miter scale and indicator. Move the saw head slowly and use a magnifying glass if needed for precise alignment. Always double-check with an external angle gauge before making your cut.
How often should I clean my miter saw for accuracy?
We found that cleaning your miter saw after each significant use helps maintain accuracy. Sawdust buildup can easily interfere with moving parts and scale visibility. Pay special attention to the miter scale, pivot points, and blade area.
What if my saw’s indicator doesn’t perfectly line up with the 45-degree mark when it clicks into the detent?
This suggests your saw might be out of calibration. Many miter saws have small adjustment screws near the miter scale or fence that allow you to fine-tune the indicator. Consult your saw’s user manual for calibration instructions specific to your model.
