
How to Make Repeat Cuts with a Miter Saw Stop Block?
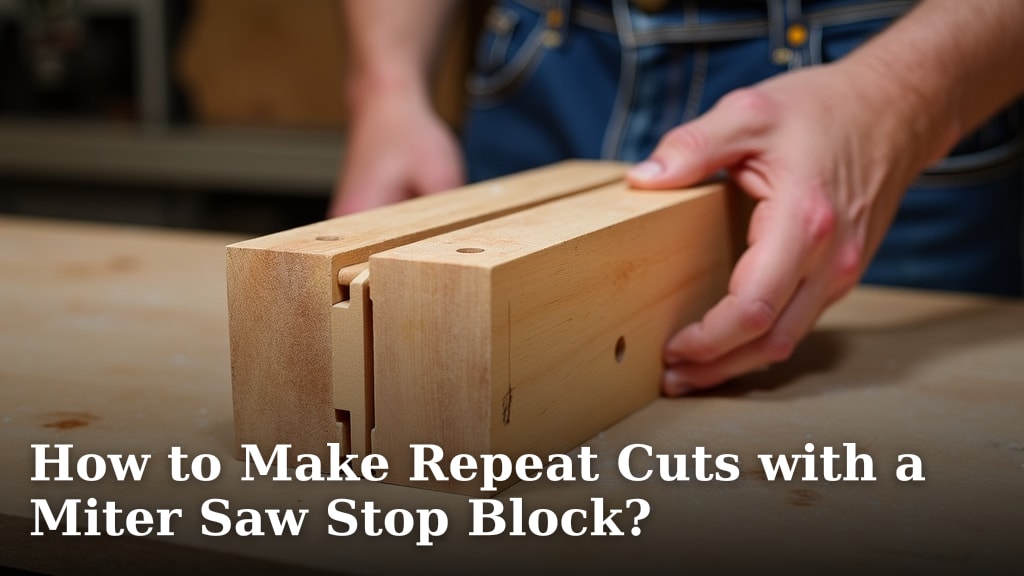
The easiest way to make repeat cuts with a miter saw stop block is by setting the stop block at your desired measurement and then butting your workpiece against it. This creates a reliable reference point for consistent cuts, saving you time and effort.
You want every piece to be the same length, right? Using a miter saw stop block ensures your cuts are identical, which is super important for projects like flooring or framing. We found that this simple tool boosts accuracy and efficiency on almost any woodworking job.
- Set up your stop block correctly.
- Measure once, cut many times.
- Understand different stop block types.
- Ensure safety while working.
- Troubleshoot common issues.
Let’s walk through exactly how to set up and use a miter saw stop block for perfect repeat cuts every time. We’ll show you the steps for flawless results.
Achieving Consistent Cuts with Your Miter Saw Stop Block
Making identical cuts isn’t just about speed. It’s about precision. A miter saw stop block helps you get that perfect, repeatable length every single time. Let’s get into how to set it up.
Understanding Different Types of Stop Blocks
Before you even think about cutting, it helps to know your tools. There isn’t just one kind of stop block. Each has its own strengths, making certain jobs easier for you.
Basic Clamp-On Stop Blocks
These are perhaps the most common and simplest. You literally clamp them to your saw’s fence. They’re affordable and easy to move around. We found them great for quick projects where super fine adjustments aren’t critical.
Integrated Fence Systems
Some miter saws come with built-in stop block systems. These often slide along a track on the saw’s fence. They tend to be very stable and precise. Many woodworkers prefer these for their robust design, especially for longer, heavier materials.
Aftermarket Miter Saw Stations
For serious DIYers or pros, an entire miter saw station can be a game-changer. These stations often feature long, adjustable fences with high-precision stop blocks. They’re designed for high volume, accurate repeat cuts. Think of them as giving your saw a whole new workbench setup.
Setting Up Your Stop Block for Accuracy
Proper setup is everything. A poorly set stop block is just a piece of wood in the way. You want it to be your reliable partner in precision.
Measure Once, Set Correctly
This is where the magic happens. Grab your tape measure. Measure the desired length of your workpiece from the saw blade to where your stop block will sit. Double-check your measurement. Small errors here multiply quickly across many pieces.
You can use a story stick for even more accuracy. A story stick is a piece of scrap wood marked with your desired lengths. It’s an old trick that still works wonders. We found this method significantly reduces measurement errors compared to just using a tape measure. For more complex or specialized cuts, you might want to learn how to make a jig for miter saw to enhance your saw’s capabilities.
Securing the Stop Block Firmly
Once measured, secure your stop block. If it’s a clamp-on type, clamp it tightly to the saw’s fence. Make sure it doesn’t shift, even with firm pressure from your workpiece. An integrated system will likely have a lever or knob to lock it into place. Give it a wiggle test. Does it move? If so, tighten it more.
A loose stop block is a recipe for inconsistent cuts. It’s like trying to draw a straight line with a wobbly ruler. You won’t get the results you want.
Making Your Repeat Cuts Safely and Efficiently
Now that your stop block is set, it’s time to cut. Safety first, always. Then, we can talk about efficiency.
Positioning Your Workpiece Correctly
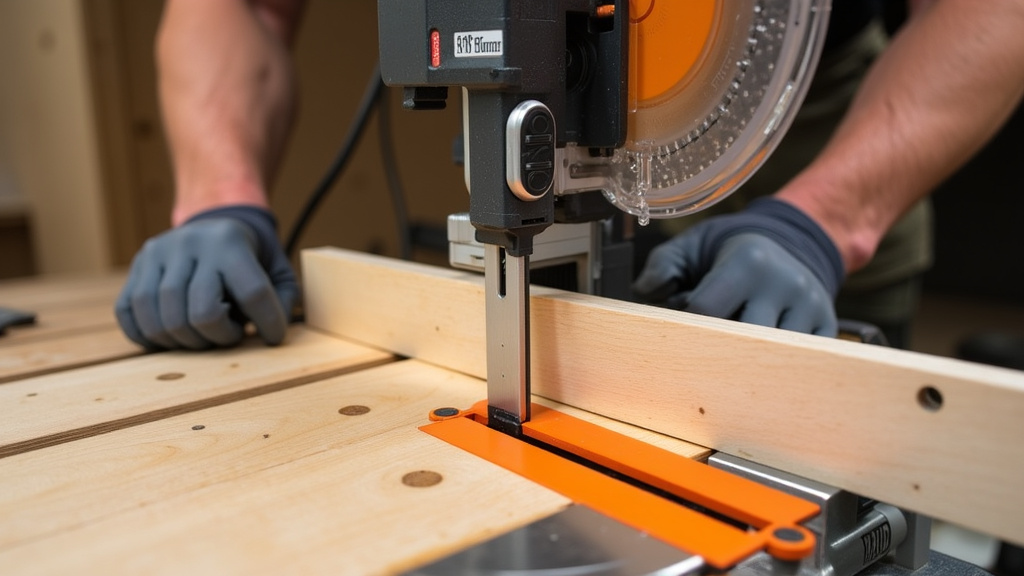
Always place your workpiece against the saw fence first. Then, slide it firmly against the stop block. The stop block acts as a physical barrier, ensuring each piece is the exact same length from the blade. Don’t force the workpiece, just a firm, consistent push.
Many experts emphasize that the scrap piece, or the offcut, should be the one against the stop block, not the good piece. Why? If the stop block pushes the good piece into the blade, you risk splintering the good piece. When the scrap piece takes the impact, your good piece stays pristine.
Understanding Blade Kerf and Its Impact
What’s blade kerf? It’s the width of the cut your saw blade makes. It removes a small amount of material. This is crucial for precise work. If you’re cutting multiple pieces, the kerf means your measurements need to account for that lost material.
We found that beginners often forget to factor in the kerf. If you’re cutting a 2×4 into two 1-foot pieces, your total length needs to be 2 feet plus the kerf. Otherwise, your two pieces will be slightly shorter than 1 foot each. It’s a tiny detail, but it makes a big difference.
| Blade Type | Typical Kerf Width | Impact on Measurement |
|---|---|---|
| Thin Kerf (10-inch blade) | ~1/16 inch (1.6 mm) | Minor material loss, good for saving wood. |
| Standard Kerf (10-inch blade) | ~1/8 inch (3.2 mm) | More material loss, stronger blade for tougher cuts. |
| Dado Blade Set | Up to 3/4 inch (19 mm) | Significant material loss, designed for wide grooves. |
Prioritizing Safety When Cutting
Your fingers are important. Always use proper safety gear: safety glasses, hearing protection, and appropriate clothing. Keep your hands a safe distance from the blade. Many professionals recommend using push sticks or hold-downs when working with smaller pieces. It keeps your hands far away from danger. Your health is worth it!
Troubleshooting Common Stop Block Issues
Even with the best setup, sometimes things go wrong. Don’t worry, most issues are easy to fix.
Inconsistent Cut Lengths
Are your cuts not perfectly identical? The first thing to check is if your stop block has shifted. Give it another wiggle. Is it truly tight? We often see this when people don’t fully tighten the clamp. Also, ensure your workpiece is consistently pushed against the stop block before each cut.
Workpiece Kickback
Kickback can be scary and dangerous. This happens when the saw blade catches the wood and throws it back at you. If your stop block is on the “offcut” side (the piece you’re throwing away), it can get trapped between the blade and the fence. This is a primary cause of kickback (Consumer Product Safety Commission).
To avoid this, make sure your stop block is always on the side of the cut that produces your “good” piece. The offcut should be free to fall away without getting pinched. Alternatively, many woodworkers use a “sacrificial fence” that extends past the stop block, allowing the offcut to clear safely.
Damage to the Stop Block
Sometimes, you might accidentally cut into your stop block. It happens! This usually means your blade went past your intended cut line or your stop block was not positioned correctly. If your stop block is damaged, replace it or reposition it. A damaged stop block won’t give you accurate, repeatable results.
Maximizing Efficiency with Your Stop Block
A stop block isn’t just for accuracy; it’s also a huge time-saver. Think about it: no need to measure each piece individually.
- Checklist for Efficient Repeat Cuts:
- Verify your blade is clean and sharp.
- Set your stop block securely.
- Ensure your workpiece butts firmly against the block.
- Always prioritize safety gear.
- Perform a test cut on scrap material.
- Clean your work area regularly.
By following these simple steps, you’ll be making quick, accurate, and safe repeat cuts in no time. You’ll wonder how you ever managed without one!
Conclusion
You’ve now got the knowledge to master repeat cuts with your miter saw stop block. From understanding different types to setting them up for precise accuracy, you’re ready.
Remember that securing your stop block firmly and accounting for blade kerf are vital for consistent results. Safety should always be your top priority, keeping your hands clear and using appropriate gear.
By following these steps, you’ll not only achieve perfect, identical pieces but also boost your workshop efficiency. Go ahead, make those precise cuts and build something amazing!
Frequently Asked Questions
Can I use any piece of wood as a stop block?
While you technically can, it’s best to use a sturdy, square piece of wood or a manufactured stop block. A makeshift block might shift or not provide a perfectly square surface, leading to inaccurate cuts. For true precision, invest in a proper stop block.
How do I prevent my stop block from shifting during use?
Ensure you clamp it down very tightly if it’s a clamp-on type. For integrated systems, make sure the locking mechanism is fully engaged. We found that adding a non-slip pad under clamp-on blocks can also provide extra grip and stability.
Should the stop block be on the left or right side of the blade?
For safety and accuracy, the stop block should always be on the side that holds your “good” workpiece. This means the offcut (the scrap piece) is free to move away after the cut, preventing kickback. Most often, this places the stop block to the left of the blade.
What if my miter saw doesn’t have an integrated fence or stop block system?
No problem! You can easily use a basic clamp-on stop block. These are affordable and attach directly to your saw’s fence. They work just as effectively for achieving consistent repeat cuts.
Does the type of wood I’m cutting affect how I use the stop block?
Yes, to some extent. Softer woods might compress slightly more against the stop block, while harder woods are less forgiving. Always ensure consistent pressure when butting the workpiece. For delicate wood, we recommend making a test cut on scrap first to fine-tune your setup.
