
Can You Cut MDF with a Miter Saw?
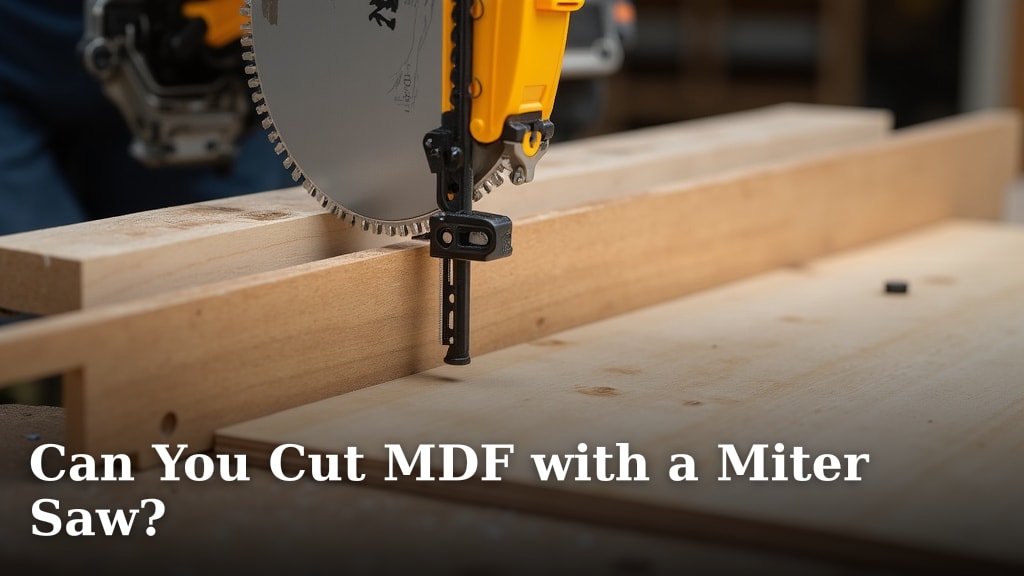
Yes, you can absolutely cut MDF with a miter saw. It’s a common practice for woodworking projects. A miter saw can make clean, straight cuts in MDF with the right blade and some precautions. You just need to know a few tricks to avoid splintering and keep your saw blades sharp.
When cutting MDF, the main challenge is managing its fine dust and tendency to chip. Using a fine-tooth blade designed for particle board or melamine is often recommended. You’ll also want to ensure good dust collection. Keeping your workspace tidy helps prevent dust buildup, which can be a real hazard.
- Yes, miter saws can cut MDF effectively.
- Use a fine-tooth blade for cleaner cuts.
- Proper dust collection is essential.
- Expect fine dust; take safety measures.
- Secure your MDF for stable cuts.
Let’s walk through exactly how to get the best results when cutting MDF with your miter saw.
Using Your Miter Saw for MDF Projects
Yes, you can definitely cut Medium Density Fiberboard (MDF) with a miter saw. It’s a common material in furniture and cabinetry. A miter saw can give you clean, precise cuts on MDF. You just need the right setup and a few tips. We’ll guide you through making successful MDF cuts.
Why Choose a Miter Saw for Cutting MDF?
Miter saws are fantastic tools for making angled and straight cuts. They excel at repetitive cuts. For MDF, this means you can get accurate angles for framing or trim work. It’s much faster than a hand saw for these tasks. Your projects will look more professional.
Accuracy and Speed
When you need to make multiple identical cuts, a miter saw is your best friend. You can set the angle once and make dozens of cuts. This saves a lot of time. It also ensures that each piece is the exact same size. This consistency is key for woodworking.
Versatility in Angles
MDF is often used for projects requiring precise angles. Think of crown molding or intricate cabinet doors. A miter saw lets you easily adjust the blade angle. You can make cuts from 0 to 45 degrees or more. This flexibility is invaluable for custom work.
Preparing Your Miter Saw and Workspace for MDF
Before you even touch the MDF, let’s get your saw ready. Cutting MDF creates a lot of fine dust. This dust can be harmful if inhaled. It can also build up on your saw, causing issues. Proper preparation is essential for safety and good results. We want to avoid problems before they start.
Choosing the Right Blade is Key
The type of blade you use makes a huge difference. Standard wood blades can work, but they often leave a rough edge on MDF. This is because MDF has fine particles. A blade with more teeth designed for hardwoods or melamine is usually better. Aim for a blade with at least 60 teeth. Fewer teeth will tear the material. Using blades with more teeth, like those recommended for trim work, can help achieve smoother MDF cuts.
- Fine-tooth blades are best for MDF.
- Look for blades made for particle board or melamine.
- A 60-tooth count or higher is recommended.
- Ensure the blade is designed for smooth cuts.
Dust Collection is Non-Negotiable
MDF dust is incredibly fine. It’s like talcum powder and gets everywhere. It’s also an irritant and a respiratory hazard. Many experts suggest using a good dust collection system. Connect your shop vacuum or a dedicated dust collector to the saw’s port. This captures most of the airborne particles. The CDC recommends minimizing dust exposure whenever possible. Wearing a respirator is also a smart safety measure.
Securing Your MDF Material
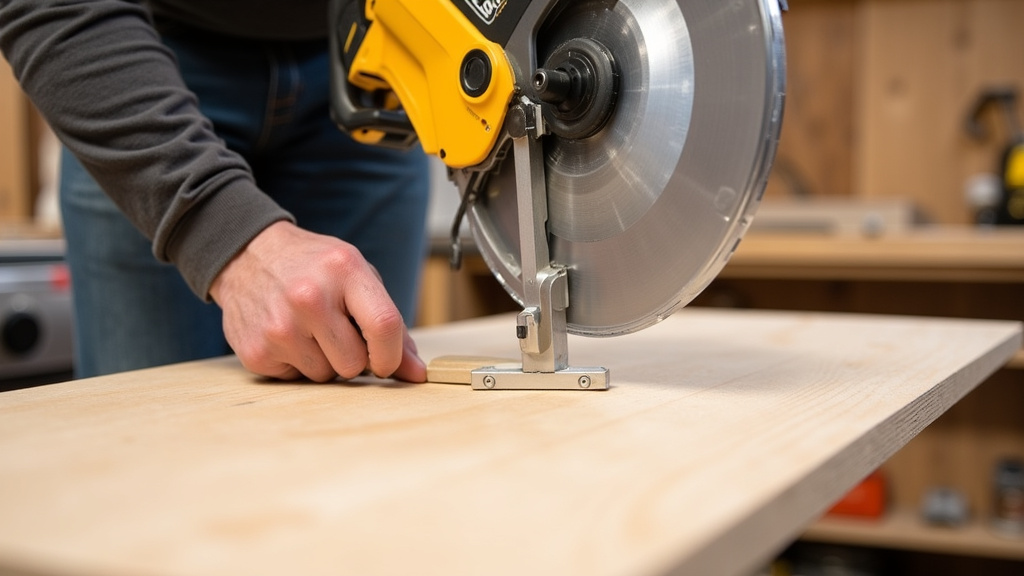
MDF can be heavy and flexible. You must secure it firmly to the saw’s base. Use the saw’s built-in clamp if it has one. If not, consider using external clamps. Ensure the MDF is flat against the fence and the table. A loose piece can shift during the cut. This leads to inaccurate cuts and potential kickback. We want your MDF to stay put. Making sure it’s stable prevents accidents.
Workspace Safety and Cleanliness
Keep your cutting area clean and well-lit. Remove any clutter that could trip you. Ensure you have good ventilation. Many woodworkers recommend a clean space for better focus. A tidy area reduces the risk of accidents. It also makes cleanup much easier later. Remember to wear safety glasses and hearing protection. The fine dust can irritate your eyes too. Taking these steps protects you.
| Feature | Why it Matters for MDF |
|---|---|
| Tooth Count | Higher tooth counts (60+) provide cleaner, smoother cuts by removing less material per tooth. |
| Tooth Geometry | Alternate Top Bevel (ATB) or Triple Chip Grind (TCG) blades can reduce tear-out. |
| Blade Material | Carbide-tipped blades offer durability and stay sharp longer, which is important for MDF’s abrasiveness. |
| Kerf Width | A thin kerf blade removes less material, reducing strain on the saw and dust production. |
Making the Cut: Step-by-Step Guide
Now that your saw is ready, let’s make that cut. Follow these steps carefully. We’ll focus on getting a clean edge with minimal chipping. Patience is your friend here. Rushing can lead to mistakes.
Marking Your Cut Line
Use a sharp pencil to mark your cut line. A fine-tip marker can also work well. For very precise lines, some users use a marking knife. This scores the surface. It helps the blade follow the line exactly. This scoring can further reduce tear-out. Make sure your mark is clear and visible. You don’t want to guess where to cut.
Setting Up the Miter Saw
Adjust your miter saw to the desired angle. Lock it securely in place. Bring the blade down to the MDF without turning it on. Ensure the blade will cut on the waste side of your line. You want the pencil mark to remain on the piece you are keeping. This is a fundamental rule for accurate cuts.
Performing the Cut
Turn on the miter saw. Let the blade reach full speed before it touches the MDF. Gently guide the MDF into the spinning blade. Do not force the material. Let the saw do the work. Move the blade through the material smoothly. Once the cut is complete, let the blade stop spinning before lifting it. Raising the blade while it’s still spinning can cause undesirable chipping.
Dealing with Chip-Out and Splinters
Even with the best blade, MDF can sometimes chip. This is called chip-out. To minimize this, try supporting the back of the MDF. You can use a piece of scrap wood. Place it flush against the back of the MDF. This support helps prevent the fibers from tearing out. Many experienced woodworkers use this trick. You can also place a strip of painter’s tape along your cut line. This can help hold the surface fibers together. Sometimes, a second pass with a slightly adjusted blade angle can clean up minor chips. However, this requires extra care.
MDF Cutting Checklist for Success
Here’s a quick rundown to ensure your MDF cutting goes smoothly:
- Use a fine-tooth blade (60+ teeth).
- Ensure good dust collection is attached.
- Secure the MDF firmly with clamps.
- Mark your cut line clearly.
- Let the blade reach full speed.
- Support the back of the MDF to prevent chipping.
Conclusion
You’ve learned that cutting MDF with a miter saw is completely achievable. By using the right fine-tooth blade and prioritizing dust collection, you can achieve clean, precise cuts. Remember to always secure your material and maintain a safe, clean workspace. Following these steps will help you get professional results on your MDF projects. Now, go ahead and confidently tackle those cuts!
Frequently Asked Questions
Will a regular wood blade ruin my miter saw when cutting MDF?
A standard wood blade can work in a pinch, but it’s not ideal. It will likely create more tear-out and splintering on the MDF surface. More importantly, the fine MDF dust can dull your blade faster than regular wood, reducing its sharpness and cutting efficiency over time.
How can I minimize the dust when cutting MDF with a miter saw?
The best way to minimize dust is by connecting a shop vacuum or a dedicated dust collector to your miter saw’s dust port. For added protection, wear a high-quality respirator mask. Keeping your workspace clean and tidy also helps prevent dust buildup.
Is it safe to cut MDF outdoors to reduce dust indoors?
Cutting MDF outdoors can help manage dust, but it’s essential to still use dust collection and wear your personal protective equipment. Ensure your setup is stable and protected from wind, which can blow dust around. Also, be mindful of noise levels if you’re in a residential area.
What happens if I don’t use enough teeth on my blade for MDF?
If your blade has too few teeth, it will likely rip and tear the MDF fibers as it cuts. This results in rough edges and significant chip-out. You’ll spend more time trying to clean up the edges after cutting, which defeats the purpose of using a power tool for efficiency.
Can I cut very thick MDF sheets with a standard miter saw?
Most standard miter saws can handle common thicknesses of MDF, like 1/2-inch or 3/4-inch. However, always check your saw’s specifications for its maximum cutting depth. For thicker MDF, you might need a more powerful saw or consider using a different cutting tool like a circular saw with a guide.
