
How to Cut a 22.5 Degree Angle with a Miter Saw?
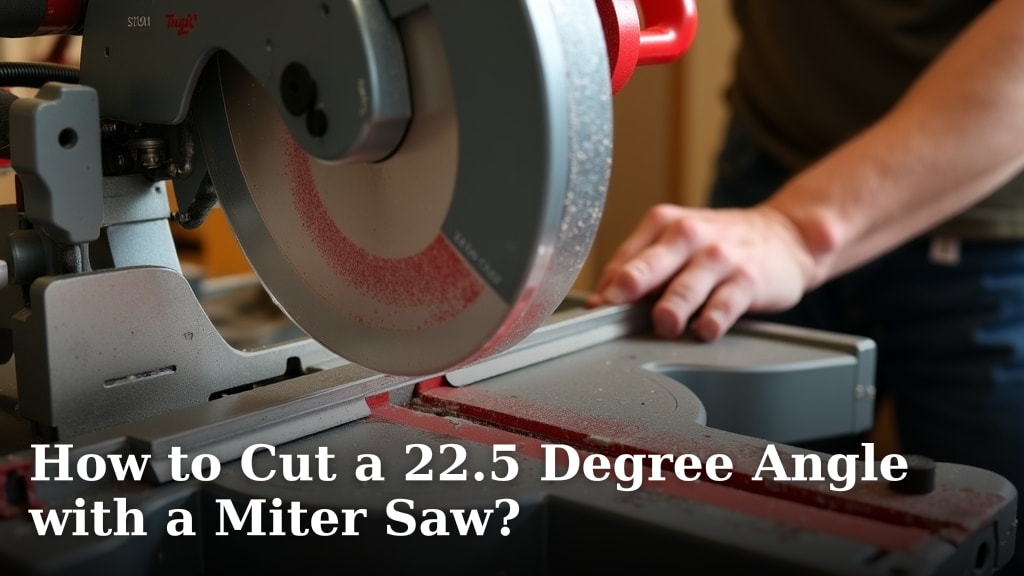
Cutting a 22.5 degree angle with your miter saw is surprisingly straightforward. You’ll simply adjust your saw’s miter angle to 22.5 degrees, lock it in place, and make your cut as usual. This angle is perfect for creating octagons and other decorative projects.
Many DIYers find this specific angle useful for framing projects or adding decorative trim. Getting this precise angle is key to ensuring your pieces fit together tightly and without gaps. We’ve found that practicing on scrap wood first helps build your confidence for the real project.
- Adjust your saw’s miter angle to 22.5 degrees.
- Lock the miter setting securely.
- Position your wood and make the cut.
- Measure and test fit your pieces often.
- Always wear safety glasses.
Ready to get started? Let’s walk through how to set up your miter saw for this specific angle so you can achieve perfect results on your next project.
Mastering the 22.5 Degree Miter Saw Cut
So, you’re ready to tackle a project that needs those precise 22.5-degree cuts? You’re in the right place! This angle is a real workhorse for DIYers, especially when you’re building octagons, picture frames, or adding decorative moldings. Getting it right ensures your pieces join up snugly, creating a professional look. Don’t worry, it’s not as complicated as it might seem.
We’ve found that most people find this angle essential for projects like building custom picture frames or creating unique geometric patterns. The key is understanding how your miter saw works and how to set that specific angle accurately. Let’s get your saw ready!
Understanding Your Miter Saw’s Miter Adjustment
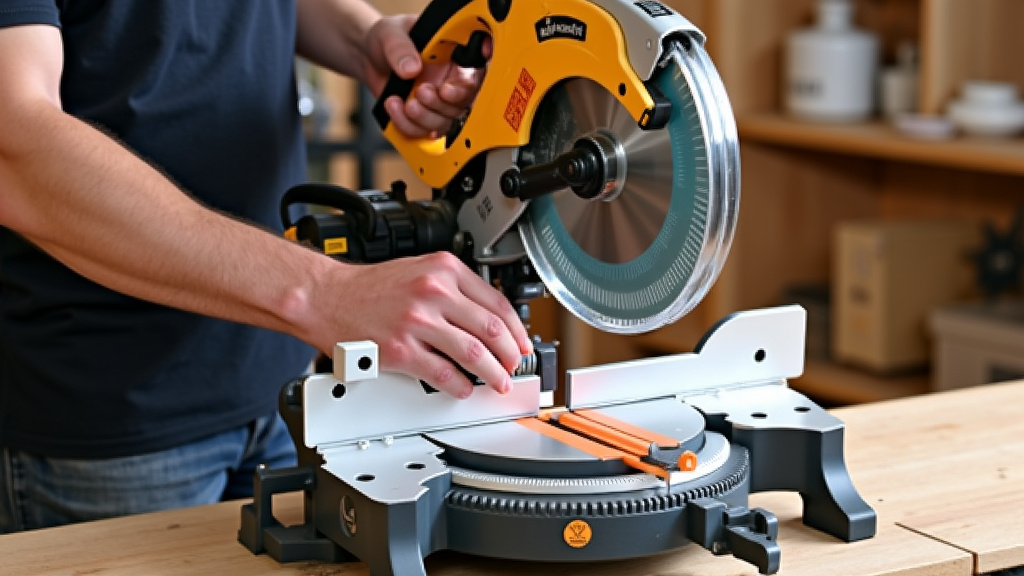
Your miter saw has two main adjustment points: the bevel and the miter. For this specific cut, we’re primarily concerned with the miter angle. This is the part that swings left or right from the fence, allowing you to cut angles across the width of your material.
Locating the Miter Angle Adjustment
Most miter saws have a locking knob or lever located at the base of the saw arm. You’ll need to loosen this to allow the saw head to pivot. Look for markings on the saw’s turntable, usually etched or printed, indicating common angles like 0, 15, 22.5, 30, and 45 degrees.
The Importance of the Positive Stops
Many saws feature positive stops. These are pre-set detents or notches that the saw head clicks into at common angles. The 22.5-degree mark is a very common stop because of its use in creating octagons (8 sides x 22.5 degrees = 180 degrees for a half-circle, meaning two opposing angled cuts create a full 45-degree corner join). Make sure your saw has a stop at this angle for easier and more accurate setting.
Setting Your Miter Saw to 22.5 Degrees
Now, let’s get that angle dialed in. This is the core of making your 22.5-degree cuts accurately.
Step 1: Loosen the Miter Lock
First, find that locking knob or lever we talked about. Loosen it so that the saw head can freely pivot left and right. You might feel a bit of resistance, but it should move smoothly.
Step 2: Swing the Saw Head
Gently swing the saw head to the left or right. Watch the indicator on your saw. You’re looking for the 22.5-degree mark. If your saw has a positive stop at 22.5 degrees, you’ll feel or hear it click into place. This is the most reliable way to get the angle exact.
Step 3: Secure the Miter Lock
Once you’ve reached the 22.5-degree mark and it feels securely seated, it’s time to lock it down. Tighten the knob or lever firmly. You want to ensure the saw head doesn’t move even a millimeter during the cut. A loose lock can lead to inaccurate angles and unsafe conditions.
Step 4: Double-Check Your Angle
Even with positive stops, it’s wise to do a quick visual check. Ensure the indicator is precisely on the 22.5 mark. If your saw doesn’t have a positive stop, you might use a digital angle gauge or a reliable protractor to confirm the setting. Research from woodworking sites often suggests this extra check prevents common errors (Fine Woodworking).
Making Your 22.5 Degree Cut
With the saw set, let’s move on to the actual cutting process. Safety and precision are your best friends here.
Positioning Your Material
Place your workpiece flat against the saw’s table and fence. Make sure it’s firmly seated. For best results, always have your material making solid contact with both surfaces. This provides stability and ensures a clean, straight cut.
Aligning the Cut Line
Many miter saws have a laser guide or an LED light that helps you see where the blade will cut. Align this guide with your pencil mark on the wood. If you don’t have a laser, you can lower the blade (without power) to see the exact cut line.
Ensuring a Square Cut Against the Fence
It’s vital that your wood is held square against the fence. This means the 90-degree edge of your wood should be pushed firmly into the fence. If it’s not square, your angle will be off, even if the saw is set correctly. This is a common mistake for beginners, so pay extra attention here.
Making the Cut Safely
Turn on the saw and let the blade reach full speed before making contact with the wood. Gently and steadily bring the blade down through the material. Don’t force the cut; let the saw do the work. Once the cut is complete, allow the blade to stop spinning completely before raising the saw arm. This is a safety recommendation found in most miter saw manuals and widely practiced by professionals.
Tips for Achieving Perfect 22.5 Degree Joints
Cutting the angle is one thing; making sure your pieces fit together perfectly is another. Here are a few tips we’ve learned along the way.
Cutting Pairs of Angles
Remember that for most projects, you’ll need two pieces cut at 22.5 degrees that fit together. When you make your first cut, the angle is on one side. For the second piece, you’ll typically need to set your saw to 22.5 degrees in the opposite direction. This creates opposing angles that will join nicely.
Measuring and Marking Accurately
Use a reliable tape measure and a sharp pencil. Mark your cut lines clearly. Remember that the blade has a thickness, so measure from the edge of the blade’s cut. For precise projects, many experienced woodworkers use a marking knife for a cleaner line that the saw can follow more accurately.
Test Fitting is Key
Before you glue or assemble, always test fit your pieces. Bring them together at the intended joint. Do they meet flush? Are there any gaps? If you notice a slight issue, you might be able to shave a tiny amount off with a block plane or make a very slight adjustment to your saw setting for the next cut. Many woodworking guides emphasize this step for professional results.
Using the Right Blade
A sharp blade designed for fine cuts will make a big difference. A high-tooth-count blade, typically 60 teeth or more for a 10-inch saw, will give you cleaner edges and reduce tear-out. This is especially important when cutting delicate molding or hardwood.
Safety First: Always Protect Yourself
Working with power tools comes with risks. It’s easy to get caught up in the project, but safety should always be your top priority. We’ve researched best practices and found that consistent safety habits prevent most accidents.
Essential Safety Gear
- Safety Glasses: Non-negotiable. Protect your eyes from flying debris.
- Hearing Protection: Miter saws are loud. Earplugs or earmuffs are essential.
- Dust Mask: Wood dust can be harmful to inhale.
Before and During the Cut
- Keep your hands clear of the blade path at all times.
- Ensure the blade guard is functioning correctly.
- Never reach over the blade while it’s spinning.
- Unplug the saw when changing blades or making adjustments.
Following these guidelines helps ensure you can enjoy your DIY projects without incident. Remember, your safety is paramount.
Troubleshooting Common 22.5 Degree Cut Issues
Sometimes, things don’t go perfectly on the first try. Here are a few common problems and how to solve them.
Gap in the Joint
If you have a small gap, it usually means your angle wasn’t quite 22.5 degrees, or the two pieces weren’t cut perfectly square to each other before the miter was applied. Double-check your saw’s setting and ensure your material is fully seated against the fence. Sometimes, a slight bevel can occur if the saw is not locked down properly.
Cut Not Clean
A rough cut is often due to a dull blade or forcing the wood into the blade. Make sure your blade is sharp and let the saw do the work. A blade designed for crosscuts on your specific material (like hardwood or softwood) will also perform better.
Pieces Don’t Meet at a Point
This can happen if you’re trying to create a full 8-sided shape and the angles are slightly off on multiple pieces. For a perfect octagon, each corner should essentially be two 22.5-degree angles meeting. If one angle is slightly large and the other slightly small, you’ll get an imperfect joint. Precise setting and accurate marking are your best defense.
Don’t get discouraged if your first few cuts aren’t perfect. Every woodworker has been there! Consistent practice and attention to detail will quickly improve your results.
Quick Checklist for Perfect 22.5 Degree Cuts
Keep this handy checklist to ensure you don’t miss any key steps:
- Confirm saw is unplugged before initial setup.
- Loosen miter lock to allow for movement.
- Set saw to 22.5 degrees, using positive stops if available.
- Lock the miter adjustment firmly in place.
- Align material squarely against the fence and table.
- Double-check angle and cut line before powering on.
Conclusion
You’ve learned how to precisely set your miter saw to 22.5 degrees, a skill perfect for octagons and decorative projects. Remember to always lock your miter adjustment securely and ensure your material is firmly against the fence for clean, accurate cuts. Test fitting your pieces before assembly is your secret weapon for a professional finish. Keep practicing these steps, prioritize safety with your gear, and you’ll be making perfect 22.5-degree joints with confidence on your next project. Now go build something amazing!
Frequently Asked Questions
What happens if my miter saw doesn’t have a 22.5 degree positive stop?
If your saw lacks a specific stop, you’ll need to rely on the degree markings on the turntable. For extreme accuracy, consider using a digital angle gauge or a reliable protractor to confirm the setting before you cut. This extra step ensures your angle is precise.
How do I cut angles for a perfect octagon?
To form a perfect octagon, you’ll need eight pieces. Each corner is made of two 22.5-degree angles meeting. Cut each of your eight wood pieces with a 22.5-degree angle on one end, and ensure you create opposing angles on adjoining pieces for them to fit together.
Can I use a 22.5 degree cut for things other than octagons?
Absolutely! This angle is fantastic for creating many decorative patterns, custom picture frames, and adding unique trim details to furniture or walls. It’s a versatile angle for any project requiring precise interlocking pieces.
My cuts are slightly off, what’s the most common mistake?
The most common mistake is not ensuring the wood is held perfectly square against the fence before making the cut. Even if your saw is set correctly, a misaligned workpiece will result in an inaccurate angle. Always push your material firmly into the fence.
How important is the blade type for 22.5 degree cuts?
Using the right blade is very important for clean cuts. We found that a blade with a higher tooth count (60 teeth or more for a 10-inch saw) is best for reducing tear-out and producing smoother edges, especially on hardwoods or trim. A sharp blade makes all the difference.
