
How to Cut a 30 Degree Angle with a Miter Saw?
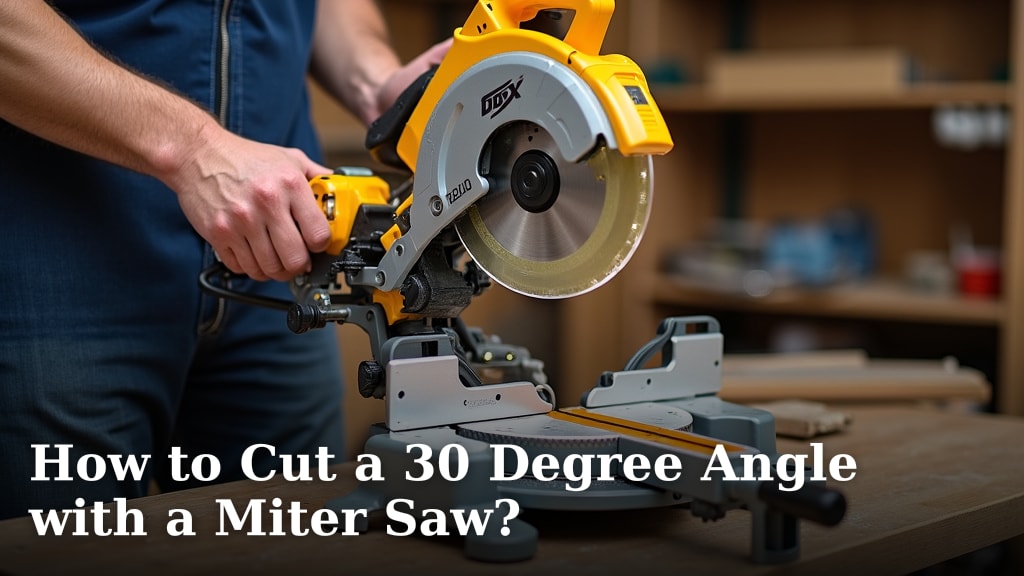
Cutting a 30-degree angle with your miter saw is surprisingly straightforward once you know the trick. You’ll simply adjust the saw’s turntable to the desired angle and make sure your workpiece is securely against the fence. This allows for precise cuts needed in many woodworking projects.
Achieving accurate angles is key to creating professional-looking results. A 30-degree cut, for instance, is common for creating hexagonal shapes or specific joinery. Mastering this skill with your miter saw can open up a whole new world of project possibilities.
- Adjust your saw’s turntable.
- Set it to the 30-degree mark.
- Always clamp your material securely.
- Ensure the wood is flat against the fence. Our guide on how to use a miter saw clamp explains how to clamp your material securely.
Ready to get that perfect angle? Let’s walk through the simple steps to cut a 30-degree angle with your miter saw.
Achieving Precise 30-Degree Cuts with Your Miter Saw
Cutting a 30-degree angle with your miter saw is easier than you might think. You’ll find this skill incredibly useful for many projects. We’ll guide you through the process step-by-step.
Understanding Your Miter Saw’s Adjustments
The Turntable: Your Angle’s Best Friend
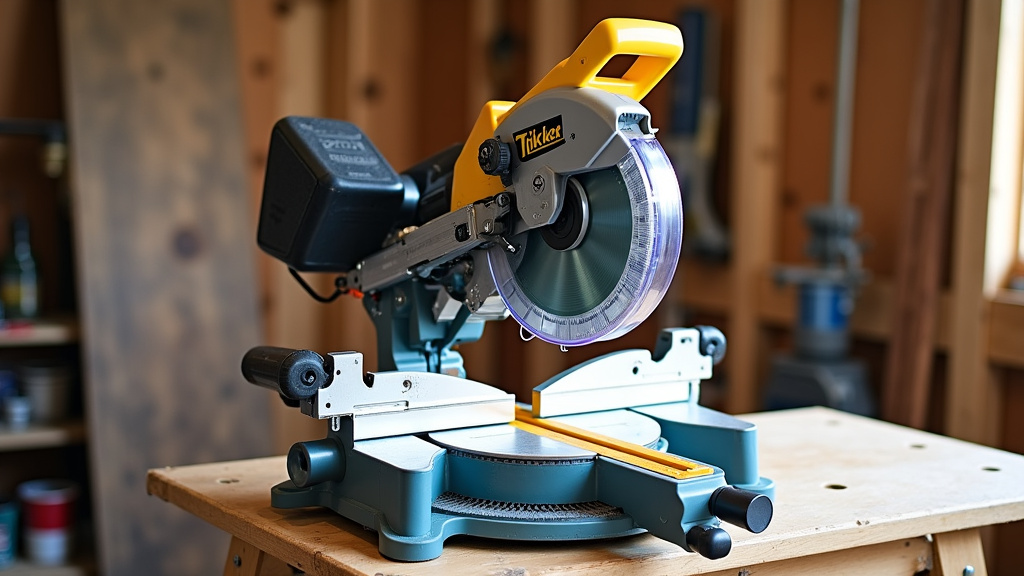
Your miter saw has a part called the turntable. This is the base that the saw blade pivots on. It’s what allows you to make angled cuts. For a 30-degree angle, you’ll need to adjust this turntable precisely.
Most miter saws have markings on the turntable for common angles. You’ll look for the 30-degree mark. Sometimes it’s clearly labeled, other times you might need to use your eye and a ruler. Always ensure the lock mechanism is engaged once you set the angle.
The Fence: Keeping Your Wood Steady
The fence is the vertical part at the back of your saw’s table. It’s designed to hold your workpiece firmly in place. For any accurate cut, especially an angled one, your wood must be pressed securely against this fence. This is non-negotiable for safety and precision.
A loose piece of wood can move during the cut. This leads to inaccurate angles and, more importantly, can be very dangerous. Think of the fence as your wood’s sturdy guardian during the sawing process.
Setting Up for a 30-Degree Cut
Step 1: Loosening and Adjusting the Turntable
First, you’ll need to loosen the lock that holds the turntable in place. Most saws have a lever or knob for this. Once loose, you can swing the saw arm to the side. Look for the indicator or pointer on your saw’s arm assembly.
Carefully move the saw arm until the pointer aligns perfectly with the 30-degree mark on the scale. Ensure you check both the left and right 30-degree marks, depending on which direction you need your angle to go.
Step 2: Locking the Turntable in Place
After you’ve found the 30-degree mark, it’s vital to lock the turntable down. This prevents any accidental shifting during the cut. Double-check that the lock is snug and secure. A quick wobble test will tell you if it’s firmly in place.
We found that sometimes the markings can be a little off on older saws. If you have a precision level or an angle gauge, you can use it to confirm the 30-degree setting for ultimate accuracy.
Step 3: Positioning Your Workpiece
Now it’s time to position your wood. Place your lumber flat on the saw’s table. It needs to be pressed firmly against the fence. Your workpiece should feel stable and unmoving.
Make sure the part of the wood you want to cut is positioned correctly under the blade. You’ll want to see exactly where the blade will intersect the wood. Many users find it helpful to do a dry run first.
Step 4: Performing the Dry Run
Before you power on the saw, lower the blade carefully to see where it will cut. This is called a dry run. Make sure the blade is positioned where you intend to make your 30-degree cut. This helps confirm your setup and avoids mistakes.
This visual check is incredibly important. It confirms the angle of the cut and the position on your material. It’s like proofreading your work before you submit it, but with a power tool!
Making the Cut Safely and Accurately
Safety First: Always Wear Protection
Before you even think about cutting, safety gear is a must. You’ll need safety glasses or a face shield to protect your eyes from flying sawdust. We also recommend hearing protection, as miter saws can be quite loud. Many safety guidelines stress the importance of eye protection (CDC).
Don’t forget about your hands. While you shouldn’t be near the blade, keeping your hands clear is paramount. Consider wearing gloves, but ensure they don’t interfere with your grip on the wood.
Step 5: Powering On and Cutting
Once your material is securely in place and you’re ready, power on the miter saw. Let the blade reach its full speed. Then, slowly and steadily lower the blade through the wood. Don’t force the cut; let the saw do the work.
As you cut, maintain firm pressure on the workpiece against the fence. Keep your hands well away from the blade’s path. Once the cut is complete, allow the blade to stop spinning before raising the saw arm.
Step 6: Inspecting Your Cut
Lift the blade and remove your cut piece. Examine the angle. Does it look like a crisp 30 degrees? Compare it to your expectations. If it’s not quite right, don’t worry! You can adjust your saw and try again.
Sometimes, minor adjustments are needed. It might be a slightly different lock position or a small nudge on the turntable. You might also find that the wood grain affects the cut. This is where practice makes perfect.
Tips for Perfect 30-Degree Angles Every Time
Achieving a perfect 30-degree angle repeatedly requires attention to detail. Here are a few tips that many woodworkers swear by:
- Keep it Clean: Ensure the turntable and fence are free of sawdust and debris. This helps ensure accurate settings.
- Use a Stop Block: For multiple cuts of the same length, a stop block is your best friend. It ensures consistency.
- Test Cuts are Key: Always make a test cut on scrap wood before cutting your final piece. This saves material and frustration.
- Blade Condition Matters: A sharp, clean blade cuts more smoothly and accurately. A dull blade can cause tear-out and imprecise angles.
- Calibrate Your Saw: Periodically check your miter saw’s settings against a known accurate angle finder.
- Don’t Rush: Take your time with each step. Rushing is a common cause of errors and safety hazards.
When to Use a 30-Degree Angle
So, why would you need a 30-degree cut? It’s not just for practice! A 30-degree angle is fundamental for creating specific shapes and joints in woodworking. For example:
- Hexagons: To create a perfect six-sided shape, you need six pieces, each cut at 30 degrees. When joined, these pieces form a complete circle.
- Trapezoids and Other Polygons: Many geometric shapes require angled cuts. A 30-degree angle is often a component of these.
- Picture Frames: While 45-degree angles are common for squares and rectangles, some decorative frames might use 30-degree miters.
- Decorative Trim: For unique architectural details or furniture design, 30-degree angles can add a distinctive touch.
Many woodworking projects rely on precise angles to fit together correctly. Think of it like a puzzle; each piece needs to be cut perfectly to make the whole picture work.
Troubleshooting Common Miter Saw Angle Issues
Inconsistent Angles
If your angles aren’t coming out consistently 30 degrees, first check the saw’s locking mechanism. Ensure it’s fully engaged. Also, inspect the turntable for any damage or wear that might be preventing a solid lock. A loose fence can also cause slight variations. Many experts suggest checking the saw’s manual for recalibration procedures.
Rough or Jagged Cuts
A rough cut is often due to a dull blade or too much force. Try using a blade specifically designed for fine cuts. Ensure you’re letting the saw’s speed build up before cutting. Avoid pushing the blade down too quickly. We found that slow, steady pressure yields the best results (Popular Woodworking).
Tear-Out
Tear-out happens when the wood fibers splinter on the way out. Using painter’s tape along the cut line can help. This reinforces the wood fibers. Also, a higher tooth-count blade can reduce tear-out. Some woodworkers also suggest cutting from the backside first if possible, but this isn’t always feasible with a miter saw.
Understanding these common issues and how to fix them will save you time and materials. Don’t get discouraged if your first few attempts aren’t perfect!
Conclusion
You’ve learned how to confidently cut a 30-degree angle with your miter saw. Remember, precision comes from carefully adjusting the turntable, firmly securing your material against the fence, and performing a dry run before you cut. Always prioritize safety by wearing your protective gear. Don’t get discouraged by minor adjustments; practice is key to mastering this skill. Now you’re ready to take on projects that require this specific angle, adding a professional touch to your woodworking.
Your next step? Grab some scrap wood and make a few test cuts. Feel the saw’s operation and confirm your settings. You’ve got this!
Frequently Asked Questions
Can I cut a 30-degree angle on any miter saw?
Yes, most modern miter saws are designed to cut angles. Check your saw’s manual to confirm its range of motion for angled cuts. Even older models often have this capability, though precision might vary.
What’s the best way to ensure my 30-degree cut is perfectly accurate?
For ultimate accuracy, we recommend using a digital angle gauge or a precision level after setting your saw’s turntable to 30 degrees. Periodically calibrating your saw against a known accurate angle finder is also a good practice.
Why is my 30-degree cut rough or jagged?
A rough cut is often caused by a dull blade or forcing the saw through the material. Ensure your blade is sharp and designed for smooth cuts. Let the saw reach full speed before cutting, and use steady, gentle pressure.
How do I prevent tear-out when cutting a 30-degree angle?
To minimize tear-out, try applying painter’s tape along your cut line to reinforce the wood fibers. Using a higher tooth-count blade can also help. Some woodworkers find success with a slight adjustment to the cut depth or angle.
Can I use my miter saw to make both left and right 30-degree cuts?
Absolutely. Most miter saws allow you to set the turntable to both the left and right 30-degree marks. Just be sure to adjust your workpiece positioning accordingly for the desired angle direction.
