
How to Cut a Splayed Leg Angle with a Miter Saw?
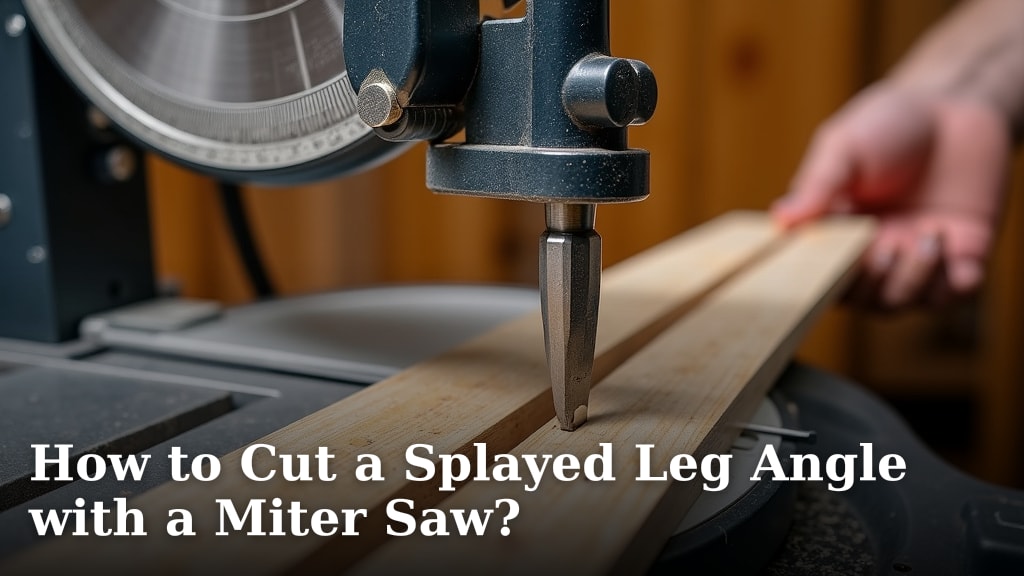
You can absolutely cut a splayed leg angle with a miter saw, and it’s surprisingly straightforward with the right technique. It involves setting your saw’s bevel and miter angles correctly to create that precise, outward-sloping cut. Don’t worry, we’ll show you exactly how to nail this tricky angle for your projects.
Getting this angle right is key for projects like custom furniture or unique shelving units. It adds a professional touch that makes your woodworking stand out. We found that many DIYers struggle with this cut, so we’ve broken down the steps to make it easy and stress-free. This technique is best performed with a compound miter saw for angled cuts.
- Set your miter saw’s miter and bevel angles carefully.
- Use a reliable measurement and marking system.
- Always prioritize safety when operating your saw.
- Practice on scrap wood before your final cut.
- Consider using a stop block for consistent results.
Ready to make that perfect splayed cut? Let’s walk through exactly how this works step by step.
Achieving Splayed Leg Angles with Your Miter Saw
You absolutely can cut a splayed leg angle with a miter saw. It’s a technique that can add a lot of professional polish to your woodworking projects. We’re talking about those angled legs on furniture that splay outwards, giving pieces a more dynamic and modern look. Don’t let the term “splayed” intimidate you; it’s all about setting your saw’s angles correctly. You’ll find that once you get the hang of it, it opens up a world of design possibilities for your custom furniture.
Understanding the Splayed Leg Cut
What exactly is a splayed leg angle? Think about a typical chair leg that might just go straight down. A splayed leg angles outward from the seat or the body of the furniture. This angle isn’t usually a simple 90-degree cut. Instead, it requires a compound angle cut on your miter saw. This means you’re adjusting two different settings on the saw at the same time. You’ll be adjusting the miter angle (the left-to-right pivot) and the bevel angle (the tilt of the blade up and down).
Why Use a Splayed Leg Design?
Why would you want your legs to splay out anyway? Well, it’s not just for looks. A splayed leg design can actually improve the stability of your furniture. By angling the legs outward, you increase the base of support. This is like widening the stance of a tripod for better balance. Research in furniture design often points to splayed legs for stability, especially on pieces like coffee tables or end tables. It also gives furniture a lighter, more airy appearance, making it feel less blocky.
Miter Saw Basics for Angled Cuts
Before we dive into the splayed cut, let’s quickly recap how your miter saw works for angled cuts. Your saw has two main adjustment points:
- The Miter Angle: This is the angle that pivots left or right. It’s what you use for standard miter cuts, like those needed for picture frames.
- The Bevel Angle: This is the angle the blade tilts forward and backward. It’s used for bevel cuts, often seen when joining trim at corners.
For a splayed leg cut, you’ll be using both of these. It’s like giving your saw a double dose of adjustability to create that specific angle. We found that many people struggle with combining these two settings, but with a clear plan, it’s quite manageable.
Setting Up Your Miter Saw for the Splayed Cut
Getting the correct angles is the heart of this process. For a splayed leg, you’re typically cutting an angle on the top of the leg where it meets the furniture frame. This angle allows the leg to sit flush against the frame while also angling outwards. You’ll need to determine two primary angles for your cut: the miter angle and the bevel angle.
Determining Your Miter and Bevel Angles
This is where you need to be precise. Often, you’ll be working with a pre-built jig or you’ll have a specific angle in mind for your design. Many furniture plans will specify the miter and bevel angles needed. If you’re designing your own, you might need to experiment. A common starting point for a moderate splay is often a 5-degree miter angle and a 5-degree bevel angle. However, this can vary greatly depending on your project’s needs. We found that a good way to visualize this is to think of the miter angle as how much the leg turns *inwards* from the front of the saw, and the bevel angle as how much the blade tilts *away* from the fence.
Example Angles for a Common Splay
Let’s consider a common scenario. You want to attach a leg to a table apron. The leg needs to be flush with the apron but also angled outwards. You might set your saw like this:
- Miter Angle: Set to 5 degrees (usually away from the fence, depending on your saw and how you orient the wood).
- Bevel Angle: Set to 5 degrees (usually tilted away from the blade guard, again, depending on your saw’s configuration).
It’s critical to consult your specific saw’s manual or watch videos demonstrating cuts on your model. The orientation of the angles can differ. We found that experimenting on scrap wood is the absolute best way to confirm you have the angles set correctly before cutting your actual project piece.
Using a Cutting Jig (Optional but Recommended)
For repeated splayed cuts, especially on furniture legs, a jig can be a lifesaver. A jig helps you hold the workpiece at the correct angle relative to the saw blade. You can build simple jigs from plywood or scrap wood. These jigs ensure consistency and safety. They position the leg so that the miter and bevel cuts happen at the exact same time without you having to hold the irregularly shaped piece precariously. We’ve seen many woodworkers create clever jigs that hold the leg firmly, allowing the saw to do the work safely. Think of it as a custom cradle for your leg that guides it through the angled cut.
The Step-by-Step Cutting Process
Now that your saw is set, let’s walk through the actual cut. Safety first, always. Ensure you have a clear workspace and your safety glasses are on. You’ll also want to make sure your workpiece is securely positioned.
Step 1: Secure Your Material
Place your workpiece (the leg you want to cut) flat on the saw’s table. For a splayed cut, you’ll likely be resting the edge of the leg against the saw’s fence. Ensure the part of the leg that will connect to your furniture is the part closest to the fence. You need to make sure the leg is held firmly. If you’re not using a specialized jig, you might need clamps. However, many miter saws have limitations on clamping angled pieces. We found that some woodworkers use a simple block of wood clamped to the fence to act as a stop and to help stabilize the piece being cut. Make sure the blade guard is functioning properly.
Step 2: Make Your First Cut
With the leg secured and your miter and bevel angles set, bring the saw blade down through the wood. Do this slowly and steadily. Allow the saw to do the cutting. Do not force the blade. Once the cut is complete, let the blade stop spinning completely before you raise it. Remove the cut piece. You should have one angled surface now.
Step 3: Check Your Angles and Measurements
Before you make the cut on the other side of the leg, or on another identical leg, it’s time for a crucial check. Take your cut piece and measure it. Does it match your planned dimensions? Use a reliable measuring tape and a square to check. Many experts say that a small error early on can lead to much larger problems later in your project. We’ve found that using a digital angle gauge can be very helpful here if you’re unsure about the exact angles achieved.
Step 4: Set Up for the Second Cut (If Needed)
For many furniture legs, you’ll need to make a matching angled cut on the opposite side. This is where it gets a little trickier. You need to mirror the angles. If your first cut used a 5-degree miter to the left and a 5-degree bevel tilted down, the second cut might need a 5-degree miter to the right and a 5-degree bevel tilted down. Again, the specifics depend on your saw and your desired outcome. Researching how to reverse miter and bevel angles on your specific saw model is highly recommended. We found that many woodworkers label their saw settings or make test cuts on scrap wood to confirm the second angle is the correct mirror image.
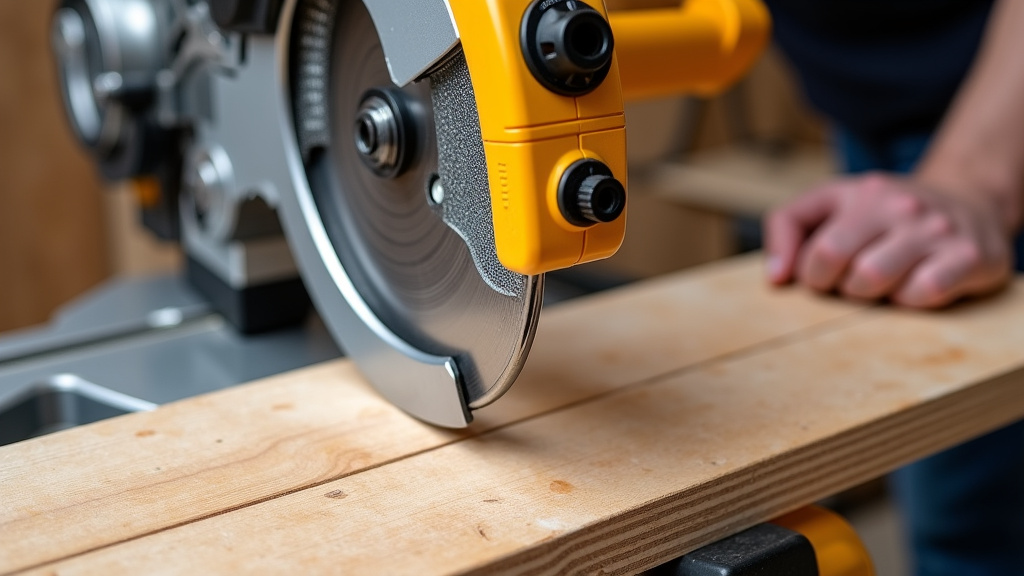
Tips for Consistent and Accurate Splayed Cuts
Achieving perfect, repeatable splayed cuts takes a bit of practice and some smart techniques. You want those legs to be identical, right?
Using a Stop Block for Repetition
If you’re cutting multiple legs to the same length with a splayed angle, a stop block is essential. A stop block is a piece of wood or a manufactured device that you set against your saw’s fence or miter track. It allows you to position your workpiece at the exact same spot for each cut. This ensures that all your legs are the same length, even with an angled cut. You can attach it directly to the miter track or clamp it to the fence. Many woodworkers find this simple addition makes a huge difference in consistency. We found that investing in a good quality stop block system can save you a lot of time and frustration.
The Importance of a Sharp Blade
A dull blade can tear the wood, leading to a rough cut and inaccurate angles. Always ensure your miter saw blade is sharp and clean. A sharp blade will slice through the wood cleanly, making the cut easier and the results much better. If you notice splintering or the saw struggling, it might be time to change or sharpen your blade. For fine woodworking, many professionals recommend using a blade with a higher tooth count.
Practice on Scrap Wood First
We can’t stress this enough. Before you make the cut on your actual project piece, practice on some scrap wood. This allows you to dial in your angles, test your jig, and get comfortable with the process. You can make several test cuts and check them with a protractor or angle finder. This is the best way to avoid costly mistakes. We’ve seen projects where builders skipped this step and ended up with misaligned pieces. It’s a small step that prevents big headaches.
Double-Check Your Material Orientation
When cutting angles, the orientation of your wood matters. Is the face you want to show on the outside of the furniture facing up or down? Is the edge that sits against the fence the correct one? Misunderstanding the orientation can lead to cuts that are mirrored incorrectly or don’t fit as intended. Take a moment to visualize the final piece and how the leg will attach. We found that marking your wood with an arrow indicating the “show” face can be a helpful reminder before you start cutting.
Safety Considerations for Angled Cuts
Working with power tools, especially angled cuts, requires careful attention to safety. Don’t let the ease of the cut lull you into a false sense of security.
Always Use Safety Gear
This includes safety glasses or a face shield to protect your eyes from flying debris. Hearing protection is also advisable, as miter saws can be quite loud. Wear snug-fitting clothing and avoid loose jewelry that could get caught in the blade. Many safety organizations, like OSHA, point out that eye protection is non-negotiable when operating any power tool. We always ensure our safety gear is readily accessible before we even turn the saw on.
Ensure Proper Blade Guard Use
Make sure the blade guard on your miter saw is in place and functioning correctly. It’s designed to protect you from accidental contact with the spinning blade. Never operate the saw without the guard. Some woodworkers feel the guard gets in the way, but its purpose is critical for preventing serious injury. We found that understanding how the guard works with your specific saw helps build confidence in its protective capabilities.
Keep Hands Away from the Blade Path
This might sound obvious, but it’s the most important rule. Maintain a safe distance between your hands and the blade at all times. Use push sticks or clamps if necessary to keep your hands clear of the cutting zone. Never reach over or behind the blade while it’s spinning. When you’re finished cutting, wait for the blade to come to a complete stop before you remove the workpiece or the cut-off piece. Many accident reports cite that hands were too close to the blade during operation or removal of material.
Secure the Base of the Saw
Ensure your miter saw is stable. If it’s on a portable stand, make sure the stand is on a level surface and properly deployed. If it’s mounted to a workbench, ensure it’s securely fastened. A wobbling saw is a dangerous saw. We’ve found that a sturdy, well-anchored saw makes all the difference in control and safety. Sometimes, people use vibration-dampening mats underneath their saws, which can also help.
Cutting splayed leg angles with a miter saw is achievable with the right approach. By understanding your saw’s capabilities, carefully setting your angles, and prioritizing safety, you can execute these cuts with confidence. Remember to measure twice, cut once, and don’t be afraid to practice on scrap wood until you feel completely comfortable. Happy woodworking!
Conclusion
You’ve learned that cutting splayed leg angles with your miter saw is entirely achievable with the right setup and careful execution. By mastering your saw’s miter and bevel adjustments, prioritizing safety, and practicing on scrap, you can create those stable and stylish furniture legs. Don’t let complex angles intimidate you; they’re just combinations of basic settings. Take the knowledge you’ve gained here, set up your saw, and make that first precise splayed cut. Your furniture projects will thank you for the professional touch.
Frequently Asked Questions
What’s the easiest way to determine the correct splay angles?
The best method is often to consult your furniture plans, as they usually specify the exact miter and bevel angles required. If you’re designing your own, test cuts on scrap wood are essential. Use a protractor or digital angle gauge to measure your desired outward angle and translate that into your saw’s settings.
Can I cut splayed legs without a special jig?
Yes, you can cut splayed legs without a jig, but it requires extra care. You’ll need to firmly secure your workpiece against the saw’s fence and table. Using clamps or a temporary stop block can help maintain stability and ensure consistent placement for each cut.
How do I ensure the splayed angle is consistent on all four legs?
Consistency comes from precise setup and repetition. Once you’ve dialed in the correct miter and bevel angles for one leg, mark those settings clearly on your saw. Using a stop block is also vital for ensuring all legs are cut to the same length, even with the angled cut.
What kind of blade is best for cutting splayed leg angles?
A sharp, high-quality blade with a moderate tooth count (around 60 teeth) works well for clean cuts on most wood types. Ensure your blade is clean and free of pitch buildup, as this can lead to tear-out and affect the accuracy of your angled cut.
How do I make the second angled cut on the opposite side of a leg?
You’ll need to reverse your miter and bevel angles. If your first cut angled left and tilted down, your second cut will typically angle right and tilt down (or vice-versa, depending on your saw). Always perform test cuts on scrap wood to confirm you have the correct mirrored angles before cutting your project piece.
