
How to Set Up a Miter Saw for Repeat Cuts?
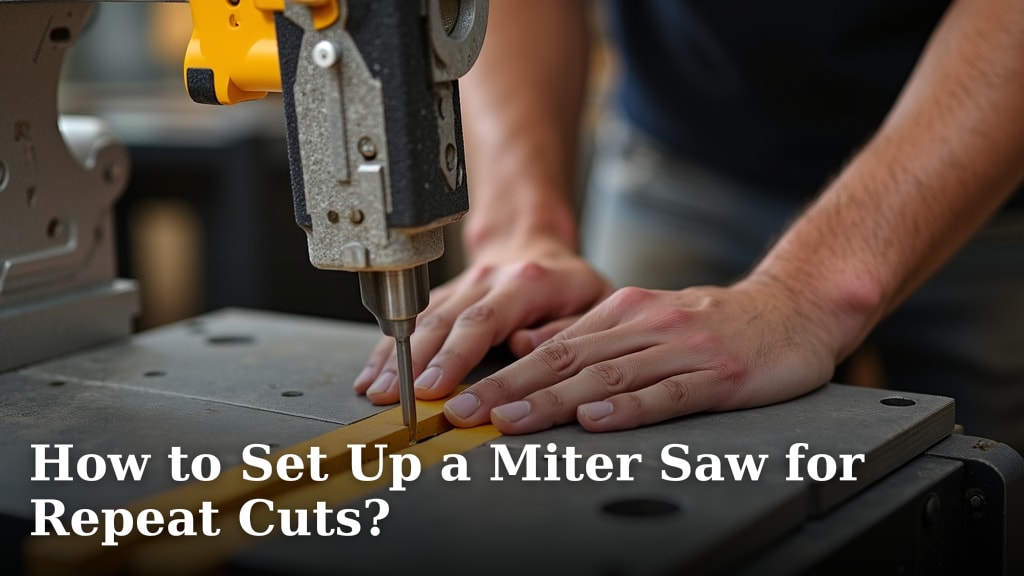
Setting up your miter saw for repeat cuts is simpler than you might think. The quickest way is to use the saw’s built-in stop block system or a dedicated miter saw fence attachment. This ensures every piece of wood you cut is the exact same length, saving you time and frustration on your project.
Getting consistent cuts is key for many woodworking projects, especially when you’re building things like shelves or frames. A properly set-up miter saw helps avoid those annoying gaps where pieces don’t quite meet. We found that a reliable stop block setup is essential for accuracy and greatly speeds up your workflow, turning a tedious task into a manageable one.
- Use a stop block for consistent lengths.
- Consider a miter saw fence attachment for longer pieces.
- Measure twice, cut once, even with repeat cuts.
- Ensure your workpiece is firmly against the fence.
Let’s walk through exactly how to get your miter saw set up for those perfect, repeated cuts, ensuring your projects come together beautifully.
Achieving Perfect Repeat Cuts on Your Miter Saw
Getting your miter saw to make repeat cuts that are all exactly the same length is a game-changer for any project. It’s like having a woodworking assistant who never gets tired. This process ensures your shelves, frames, or any repetitive elements fit together flawlessly. We’ve found that a little setup time upfront saves you a lot of headaches later.
Understanding the Importance of Precision
Why do repeat cuts matter so much? Think about building a picture frame. If each side is even a tiny bit off, you’ll end up with gaps. These imperfections can really detract from the final look of your project. Many woodworking guides stress that consistent measurements are key to professional-looking results (Woodworking Guild). This applies whether you’re a seasoned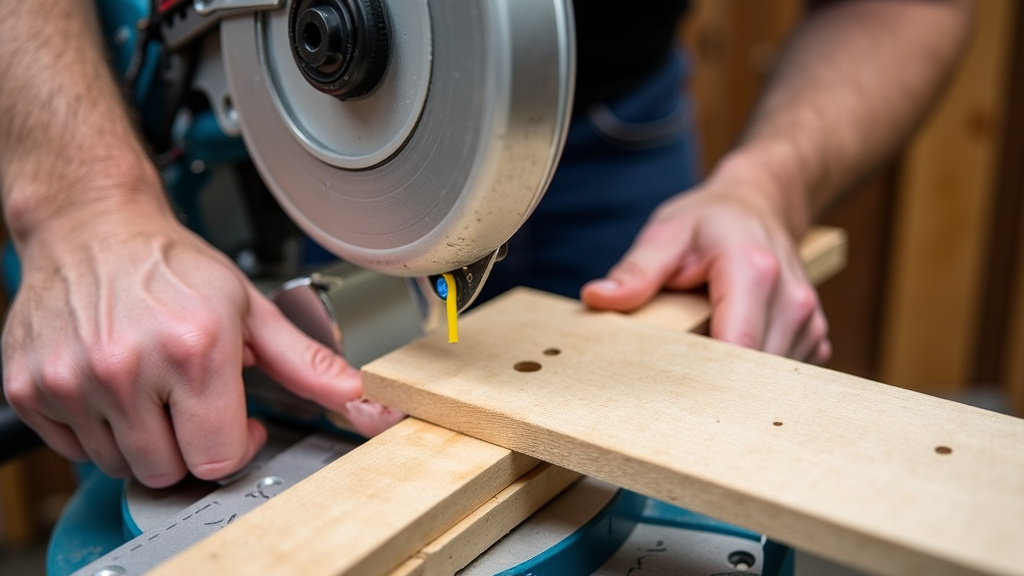
Conclusion
You’ve now seen how setting up your miter saw for repeat cuts makes your woodworking projects much smoother. Using a stop block or a dedicated fence attachment is your key to getting identical lengths every single time. This simple step prevents frustrating errors and makes your projects look professionally done. Now you can confidently tackle those projects requiring many uniform pieces. The next time you’re building something with repetitive cuts, take a moment to set up your stop block carefully. Your future self will thank you for the precision and speed.
Frequently Asked Questions
What is the quickest way to set up for repeat cuts?
The fastest method is using your miter saw’s built-in stop block system. Simply adjust your workpiece to the desired length and secure a block against the saw’s fence. This block then acts as a physical stop for subsequent cuts.
Can I use a scrap piece of wood as a stop block?
Yes, you absolutely can! A sturdy scrap piece of wood clamped to your saw’s fence works perfectly as a stop block. Just ensure it’s firmly attached and won’t shift during use. It’s a budget-friendly way to achieve accuracy.
How do I ensure the workpiece stays against the fence during repeat cuts?
Always maintain firm pressure on your workpiece, pushing it directly against the saw’s fence before and during the cut. Keeping your material snug against the fence is vital for accurate repeat lengths and square cuts.
What if I need to make very long repeat cuts?
For longer pieces, a standard stop block might not be enough. Consider using a dedicated miter saw fence attachment or building an extension table with a stop block. These systems offer more support and a longer surface for precise measurements.
Do I still need to measure twice even with a stop block?
Absolutely. While the stop block ensures consistency *after* the first measurement, you still need to set that initial length accurately. Measure twice, cut once to confirm your starting point before engaging the stop block for the rest of your project.
