
How to Sharpen a Miter Saw Blade?

The easiest way to sharpen a miter saw blade is by carefully filing each tooth by hand with a specialized sharpening tool or sending it to a professional service. You can restore your blade’s edge and improve cutting performance with the right technique.
Dull blades can cause frustrating tear-out, make cuts less accurate, and even be unsafe. We found that keeping your miter saw blade sharp is key to clean, precise woodworking projects. It saves you money in the long run too!
- Sharpen dull blades to improve cut quality.
- Hand filing or professional service are your main options.
- Always prioritize safety when handling saw blades.
- Sharp blades prevent tear-out and make work safer.
Ready to bring that dull blade back to life? Let’s walk through exactly how to sharpen a miter saw blade, step by step.
Preparing Your Miter Saw Blade for Sharpening
Before you begin sharpening, proper preparation is essential. You need a clean, safe, and stable environment to work effectively.
Safety First: Your Essential Gear
Your safety is paramount when working with saw blades. They are incredibly sharp, even when dull. Protecting yourself is non-negotiable.
- Heavy-Duty Gloves: Protect your hands from cuts. We found that good quality leather gloves offer the best defense.
- Safety Glasses: Prevent metal dust or debris from entering your eyes. Always wear them.
- Work Apron: Protect your clothes from grime and potential nicks.
You wouldn’t start a construction project without a hard hat, right? Think of sharpening your blade the same way. Always prioritize safety gear.
Gathering Your Tools: What You’ll Need
Having all your tools ready saves time and frustration. A well-prepared workspace is an efficient workspace.
- Blade Sharpening File or Tool: This is specific for carbide teeth. More on this later!
- Marker: A permanent marker helps you track your progress.
- Bench Vise or Clamp: To secure the blade firmly. Stability prevents accidents.
- Cleaning Solution: A specialized saw blade cleaner or oven cleaner works well.
- Stiff Brush or Brass Brush: To scrub away gunk.
- Rust Protection (Optional): If you plan to store the blade.
Imagine trying to bake a cake without all the ingredients. It just won’t work. The same applies here; gather everything before you start.
Cleaning Your Miter Saw Blade
A dirty blade cannot be sharpened effectively. Pitch, resin, and sawdust build-up will obscure the true edge and make sharpening difficult.
Why Cleaning is Crucial
Pitch and resin act like glue, dulling the blade and reducing its cutting ability. Removing this gunk reveals the actual tooth condition.
We found that a clean blade not only cuts better but also allows for a more precise sharpening process. You can truly see what you’re doing.
Step-by-Step Blade Cleaning Process
This is where you’ll make your blade sparkle again. Follow these steps for a thorough cleaning.
- Remove the Blade: Always unplug your miter saw first! Carefully remove the blade according to your saw’s manual.
- Apply Cleaner: Lay the blade flat on a protected surface. Spray a generous amount of blade cleaner or oven cleaner on both sides.
- Let it Soak: Allow the cleaner to sit for 5-10 minutes. This gives it time to break down the hardened resin.
- Scrub Thoroughly: Use a stiff brush (a brass brush is great for carbide) to scrub away all the gunk. Pay close attention to the teeth.
- Rinse and Dry: Rinse the blade thoroughly with water. Immediately dry it completely to prevent rust.
Think of it like cleaning a really dirty dish. You wouldn’t just wipe it down; you’d scrub it. Your saw blade deserves the same attention.
Understanding Your Miter Saw Blade Teeth
Not all saw teeth are created equal. Knowing the type and angle of your blade’s teeth is vital for proper sharpening.
Types of Teeth and Their Angles
Miter saw blades typically have carbide-tipped teeth. The angle of these teeth varies depending on the blade’s purpose.
- ATB (Alternate Top Bevel): Most common. Teeth alternate between a left and right bevel. Great for cross-cutting.
- FTG (Flat Top Grind): Flat teeth. Best for ripping and dado cuts.
- TCG (Triple Chip Grind): Alternating flat and trapezoidal teeth. Ideal for cutting laminates, plastics, and non-ferrous metals.
You wouldn’t use a screwdriver to hammer a nail, right? Similarly, using the wrong sharpening technique for your tooth type won’t work.
Identifying Your Blade’s Rake and Bevel Angles
The rake angle refers to how much the tooth leans forward or backward. The bevel angle is the angle on the top or face of the tooth.
Most sharpening tools are designed to match common carbide tooth angles. However, for specialized blades, you might need a protractor to measure.
We found that many manufacturers stamp the blade’s specifications right on the blade itself. Look closely for these details.
Sharpening Your Miter Saw Blade by Hand
This is the most common DIY method. It requires patience and a steady hand, but it’s very rewarding.
Securing the Blade for Sharpening
A stable blade is a safe and sharpenable blade. Use a bench vise or clamps to hold it firmly.
Make sure the blade is positioned so that you can easily access each tooth. You want it at a comfortable working height.
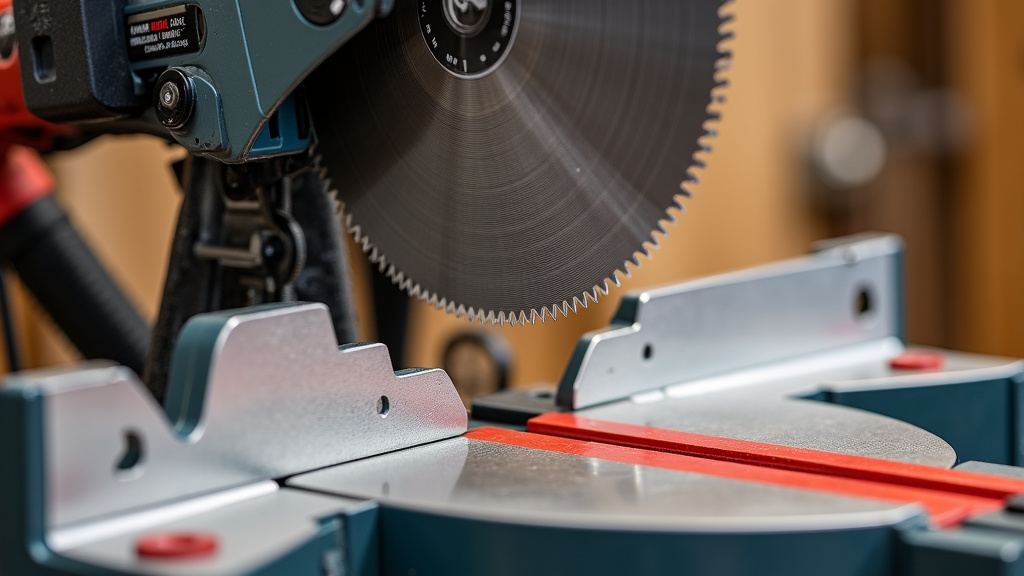
The Sharpening Process: Step-by-Step
This is the core of bringing your blade back to life. Take your time and be methodical.
- Identify the Dullness: Run your finger carefully over the tips of the teeth (AWAY from the sharp edge!). You’ll feel the rounded or chipped areas.
- Mark Your Starting Point: Use a permanent marker to color the first tooth you plan to sharpen. This prevents re-sharpening or missing teeth.
- Position Your Sharpening Tool: Align your diamond sharpening file or tool with the existing bevel angle of the tooth. This is critical.
- File with Even Strokes: Apply gentle, even pressure. Push the file across the carbide tip, following the angle. Three to five strokes are usually enough.
- Check for a Burr: You might feel a tiny burr on the back side of the tooth. This indicates you’ve removed metal and created a new edge.
- Repeat for Each Tooth: Move to the next tooth. For ATB blades, you’ll need to alternate the filing direction to match the alternating bevels.
- Flip and Repeat (If Necessary): If your blade has an aggressive face bevel, you might need to flip the blade and sharpen the face of the teeth as well.
It’s like sculpting. You’re slowly removing material to reveal a new, sharper form. Consistency is key.
When to Consider Professional Sharpening Services
Sometimes, DIY just isn’t enough. Professional services offer precision and can handle more complex sharpening needs.
Advantages of Professional Sharpening
Professionals have specialized machinery and expertise. They can restore blades to factory-new conditions.
- Precision Grinding: Machines ensure perfect angles and consistency across all teeth.
- Damage Repair: They can often repair chipped or broken carbide teeth.
- Cost-Effective for Expensive Blades: For high-end blades, professional sharpening extends their lifespan significantly.
Imagine needing a major car repair. You’d likely go to a mechanic, right? Some blade issues are similar; they require professional touch.
Factors to Consider Before Sending Your Blade Out
Is professional sharpening the right choice for your blade? Here’s how to decide.
| Factor | DIY Sharpening | Professional Sharpening |
|---|---|---|
| Cost | Low (cost of file) | Moderate (service fee) |
| Time | Immediate | Days to weeks |
| Damage | Minor dullness, small chips | Significant dullness, multiple chipped/broken teeth |
| Blade Value | Inexpensive blades | Expensive, high-performance blades |
| Skill Level | Requires patience, some skill | No skill needed from you |
We found that for blades under $30, it’s often more economical to replace them. But for those $50+ blades, professional sharpening is a smart investment.
Maintaining Your Sharpened Blade
A sharp blade is a happy blade. Proper maintenance keeps it cutting cleanly for longer.
Tips for Extending Blade Life
You’ve put in the effort to sharpen it; now protect your investment!
- Clean Regularly: Don’t wait until it’s completely caked with gunk. A quick clean after a big project prevents build-up.
- Avoid Cutting Hard Materials: Don’t try to cut nails or concrete with a wood-cutting blade. This will instantly dull or damage it.
- Proper Storage: Store blades in their original cases or hang them carefully. Don’t let them clatter around in a toolbox.
- Use the Right Blade for the Job: A general-purpose blade is okay for many tasks, but specific blades (e.g., for plywood) perform better and stay sharp longer in their intended use.
It’s like taking care of a good knife in your kitchen. You clean it, you don’t use it as a pry bar, and you store it safely.
When to Replace, Not Sharpen
Sometimes, a blade is beyond saving. Knowing when to let go is important for safety and performance.
If teeth are heavily chipped, missing, or the blade body is warped, it’s time for a replacement. No amount of sharpening will fix these issues.
Many experts say that if you’ve sharpened a blade 3-5 times, its life cycle might be near its end. The carbide tips become too small.
Blade Sharpening Checklist
Here’s a quick summary to ensure you’re on the right track:
- Safety Gear On: Gloves and glasses protecting you.
- Blade Cleaned: Free of all pitch and resin.
- Blade Secured: Firmly clamped in a vise.
- Tooth Angle Identified: Knowing if it’s ATB, FTG, etc.
- Sharpening Tool Ready: Appropriate file or diamond tool.
- Progress Marked: Each tooth sharpened and marked off.
This checklist helps ensure you don’t miss a step and get the best results from your sharpening efforts.
Conclusion
You now have the knowledge to confidently sharpen your miter saw blade. Remember, a sharp blade is safer and delivers much cleaner cuts. Whether you choose to sharpen by hand or send it to a professional, you’re investing in the longevity of your tools and the quality of your projects.
By following these steps, prioritizing safety, and maintaining your blades, you’ll extend their life and save money. So grab your safety gear, clean that blade, and restore its edge for precise woodworking.
Frequently Asked Questions
How often should I sharpen my miter saw blade?
This depends on how often you use your saw and the materials you cut. For hobbyists, sharpening every 6-12 months might be sufficient. Professionals cutting dense hardwoods may need to sharpen every few weeks.
Can I sharpen any type of saw blade myself?
Most carbide-tipped miter saw blades can be sharpened by hand if they are not severely damaged. However, specialized blades like those for metal or with very fine teeth may require professional equipment for optimal results.
What’s the biggest mistake people make when sharpening a saw blade?
The most common mistake is not maintaining the correct tooth angle. If you change the original bevel or rake angle, the blade won’t cut as efficiently or cleanly. Always align your sharpening tool with the existing factory angle.
Will sharpening reduce the life of my saw blade?
Each sharpening removes a small amount of carbide from the teeth. Over many sharpenings (typically 3-5), the teeth may become too small to be effective, at which point the blade needs replacement.
Is it worth buying an electric saw blade sharpener for home use?
For most DIYers and even some professionals, a quality hand-filing tool is sufficient and more cost-effective. Electric sharpeners are a bigger investment and require more skill to use without damaging the blade, making them better suited for high-volume shops.
