What Tools Do You Need for a Home Trim Project?
On this page (3 sections)
To tackle a home trim project, you’ll primarily need basic carpentry tools like a tape measure, miter saw, and finish nailer. You’ll also want caulk, wood filler, sandpaper, and paint for finishing touches. Having the right gear makes your trim project smoother and the final result look professional. Don’t worry, it’s totally doable!
Beyond the essentials, having a good set of trim-specific tools can make a big difference. This includes things like a pry bar for removal and a stud finder to ensure secure fastening. Proper preparation and the right tools prevent frustration and ensure your trim work adds real value to your home.
- Essential tools include a tape measure, miter saw, and nail gun.
- Finishing supplies like caulk, filler, and paint are a must.
- Helpful extras are a pry bar and stud finder.
- Having the right equipment saves time and frustration.
- It ensures your trim looks professionally done.
Let’s walk through exactly what you’ll need to gather to get your home trim project done right. We’ve found that being prepared makes all the difference!
Getting Your Home Trim Project Done: The Essential Toolkit
So, you’re ready to add some polish to your home with new trim? That’s fantastic! Having the right tools makes all the difference between a satisfying DIY project and a frustrating ordeal. We’ve found that a well-prepared toolbox is your best friend when tackling trim work.
Let’s break down the must-have gear. You’ll need tools for measuring, cutting, fastening, and finishing. Don’t worry if you don’t have everything yet; many items are readily available at your local hardware store and can be used for many projects around the house.
Measuring and Marking Tools: Precision is Key
Before you make a single cut, accurate measurements are absolutely critical. Even a slight error can throw off your entire installation. Think of it like baking; get the proportions wrong, and the cake might not turn out quite right!
Tape Measure
This is your absolute non-negotiable. A good quality tape measure, preferably 25 feet or longer, is essential. Look for one with a clear, easy-to-read display and a sturdy locking mechanism. You’ll be using this constantly to measure walls, doorways, and your trim pieces.
Pencil
A simple, sharp pencil is your marking tool. You’ll use it to mark your cut lines on the trim and to mark stud locations on the wall. A carpenter’s pencil is great because it won’t roll away easily.
Cutting Tools: Making the Perfect Fit
Accurate cuts are vital for professional-looking trim. This is where your power tools really shine, but some manual tools are also handy.
Miter Saw
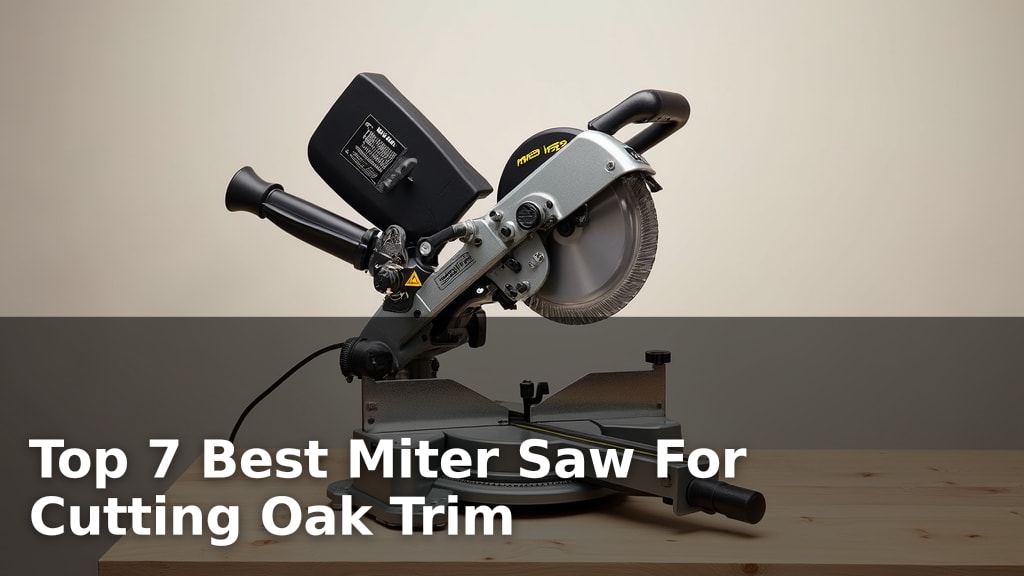
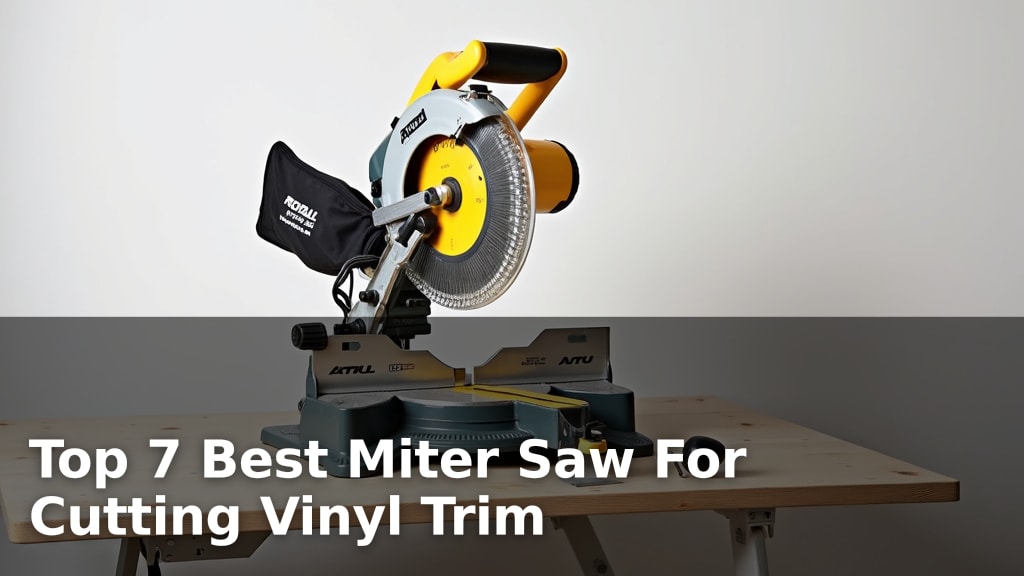
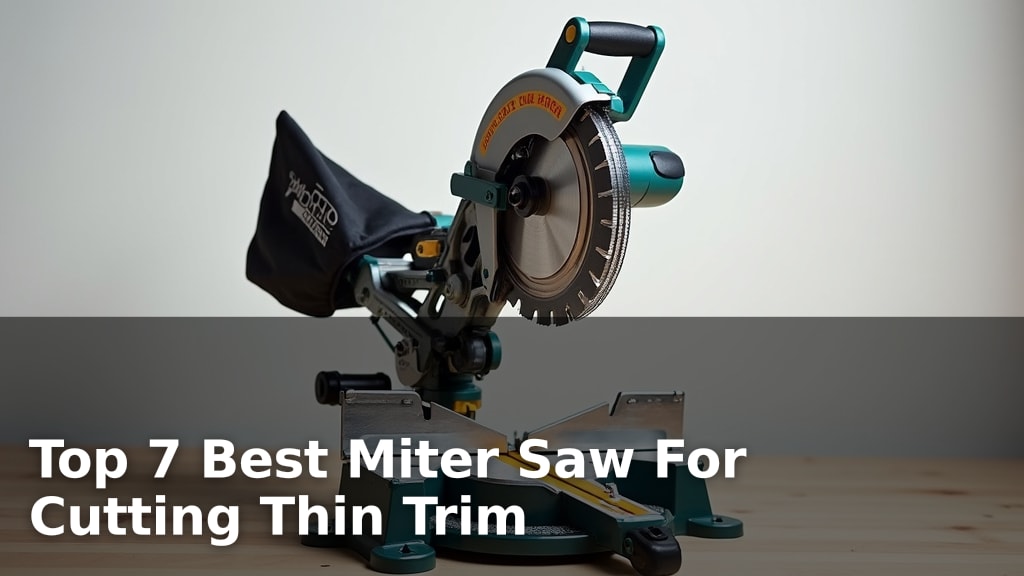
This is arguably the most important tool for trim work. A miter saw allows you to make precise angled cuts, which are necessary for corner joints and around casings. For trim, a 10-inch or 12-inch compound miter saw is ideal. It can handle both straight and angled cuts.
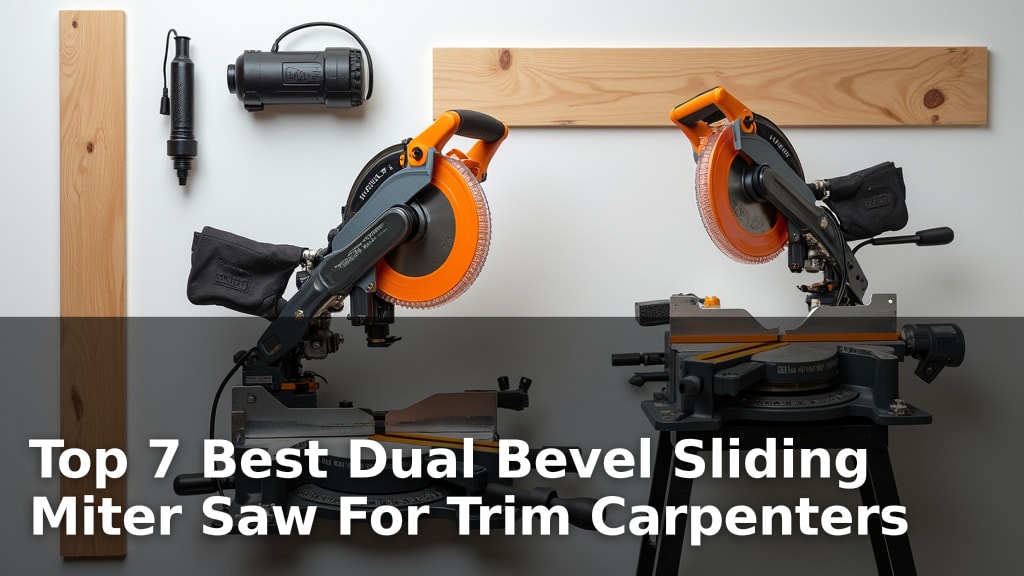
We found that a sliding compound miter saw offers even more versatility, allowing for wider cuts. If your budget allows, it’s a worthy investment. Just remember to always wear safety glasses when operating a power saw. Always wear safety glasses when operating a power saw; our guide explains why.
Hand Saw and Miter Box (Optional but Useful)
If a power miter saw is out of reach right now, a good hand saw paired with a miter box can still get the job done. It’s more labor-intensive and requires practice, but it’s a budget-friendly option. This is a great way to learn the basics of accurate cutting.
Utility Knife
A sharp utility knife is handy for a variety of tasks. You can use it to score paint lines before removing old trim. It’s also useful for trimming excess caulk or cutting small, detailed pieces.
Fastening Tools: Securing Your Trim
Once your trim is cut, you need to attach it securely to your walls. This is where nail guns come in handy, but you have options.
Finish Nailer
A pneumatic finish nailer (air-powered) is the professional’s choice for trim. It drives thin nails cleanly with minimal damage to the wood. You’ll need an air compressor to run it. Look for a 16-gauge or 18-gauge nailer; 16-gauge is generally preferred for trim.
Cordless Brad Nailer
If you don’t want to deal with an air compressor, a cordless battery-powered brad nailer is an excellent alternative. They are convenient and portable. While slightly less powerful than pneumatic models, they are perfect for most interior trim projects.
Hammer and Brad Pushers (Manual Option)
For very small projects or if you’re on a tight budget, you can use a hammer and finishing nails. You’ll need to carefully tap the nails in to avoid damaging the wood. A nail set can help you sink the nail heads slightly below the surface for filling later. However, this method is much slower and more prone to error.
Stud Finder
This is an absolute must for ensuring your trim is securely fastened. Trim needs to be nailed into wall studs for stability. A stud finder helps you locate these solid anchor points within your walls. Some electronic stud finders can also detect pipes and electrical wires, which is a great safety feature.
Demolition and Preparation Tools: Starting Right
Before installing new trim, you might need to remove old trim. Proper preparation prevents damage to your walls and makes the new installation much easier.
Pry Bar Set
A good set of pry bars is essential for carefully removing old trim. Look for a few different sizes – a smaller one for tight spots and a larger one for leverage. Using a putty knife or a thin piece of wood underneath can help protect your wall surface from damage.
Putty Knife or Scraper
These are useful for scraping away old paint or adhesive from the wall surface after removing trim. A clean surface ensures your new trim adheres well and looks its best.
Finishing Tools and Supplies: The Polishing Touches
Once the trim is installed, the finishing touches make all the difference between a DIY job and a professional look.
Caulk Gun and Caulk
Caulk is your secret weapon for a seamless finish. Use paintable caulk to fill any small gaps between the trim and the wall, or at the corners where joints aren’t perfectly tight. A good quality caulk gun will make application much easier and neater. Run a bead of caulk along the top edge of the trim where it meets the wall.
Wood Filler or Wood Putty
This is for filling nail holes and any minor imperfections in the wood trim itself. Choose a product that is paintable and sandable. You’ll apply it with a putty knife and let it dry completely.
Sandpaper and Sanding Block
After filling nail holes and any other imperfections, you’ll need to sand the trim smooth. Start with a medium-grit sandpaper (around 120-grit) for initial smoothing and then move to a finer grit (180-220 grit) for a silky-smooth finish. A sanding block helps you apply even pressure for a consistent result.
Paint Brushes and Rollers
You’ll need these to apply primer and paint. For trim, a good quality angled sash brush is excellent for painting straight lines and getting into corners. A small foam roller can be useful for large, flat trim pieces.
Primer and Paint
Don’t skip the primer! It helps the paint adhere better and provides a uniform base coat, especially if you’re painting over dark or stained wood. Choose a high-quality paint in your desired finish (satin or semi-gloss are popular for trim).
Safety Gear: Protect Yourself!
Your safety is the most important tool you have. Never skip these items.
Safety Glasses
These are essential when cutting, sanding, or nailing. They protect your eyes from flying debris, dust, and nail fragments. Always wear them when using power tools.
Hearing Protection
If you’re using a nail gun or a loud power saw for an extended period, earplugs or earmuffs are a good idea. Prolonged exposure to loud noise can cause hearing damage, according to the CDC.
Work Gloves
Gloves protect your hands from splinters, cuts, and abrasions. They also provide a better grip on tools and materials.
Here’s a quick checklist of the absolute essentials to get you started:
- Tape Measure
- Pencil
- Miter Saw (or hand saw & miter box)
- Finish Nailer (or hammer)
- Stud Finder
- Safety Glasses
Having these tools at the ready will set you up for success. Remember, taking your time and using the right equipment ensures a professional, satisfying outcome for your home trim project!
Conclusion
You’ve got a solid understanding of the tools you need for your home trim project! From precise measuring and cutting with a miter saw to securely fastening with a nailer, the right equipment makes a huge difference. Don’t forget those essential finishing supplies like caulk and wood filler for that professional polish. We’ve found that being well-prepared cuts down on frustration and elevates your results. Your next step? Gather your chosen tools and start planning your trim installation! With a little preparation, you’ll be well on your way to beautifully trimmed rooms.
Frequently Asked Questions
What’s the biggest mistake people make when buying tools for trim?
A common oversight is not investing in a quality miter saw. We’ve found that inaccurate cuts are the most frustrating issue. Another mistake is skimping on safety gear; your eyes and ears are worth protecting!
Can I really get by without a nail gun for trim?
Yes, you can. While a nail gun makes the job much faster and easier, a hammer and finishing nails can work for smaller projects. We recommend using a nail set to sink the nail heads flush for a cleaner finish if you go the manual route.
How important is a stud finder for installing trim?
It’s very important for ensuring your trim is securely fastened. Nails driven into wall studs provide the best stability. Relying only on drywall anchors can lead to loose trim over time.
Are there any tools that are helpful but not strictly necessary?
A good pry bar set is incredibly helpful for removing old trim without damaging your walls. While not essential for installation, it makes the prep work much smoother. A small detail sander can also speed up the finishing process.
What’s the best way to protect my walls when removing old trim?
We recommend using a thin putty knife or a small block of wood between the pry bar and the wall. This distributes the pressure and helps prevent dents and gouges. Taking your time is key here.