
How to Align a Miter Saw Fence?
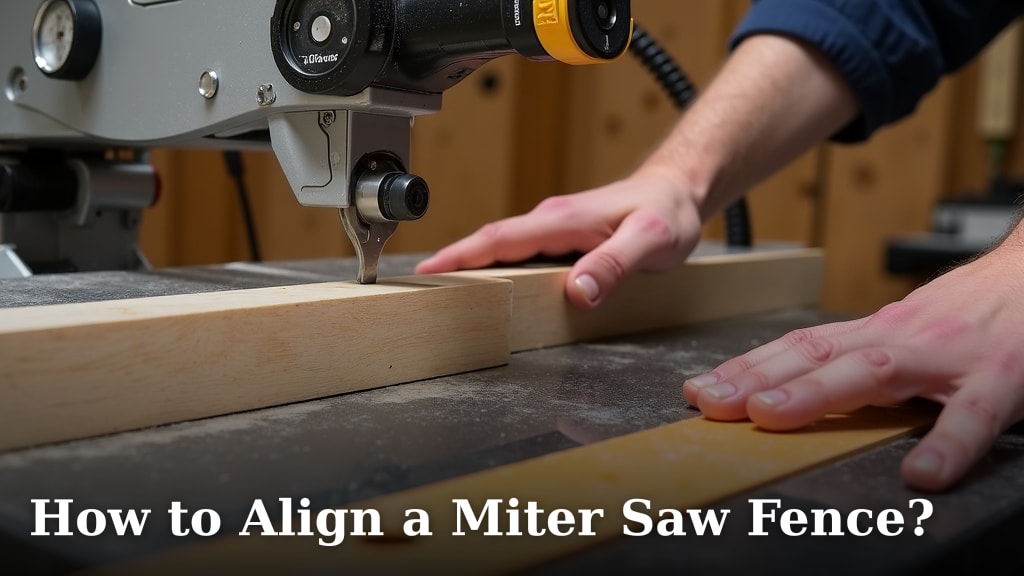
Aligning your miter saw fence is straightforward, ensuring your cuts are precise and safe. The easiest way to align your miter saw fence is by using a reliable square to check its perpendicularity to the blade, then making small adjustments until it’s perfect.
A well-aligned fence prevents common woodworking frustrations like angled cuts or dangerous kickback. We found that even a tiny misalignment can cause noticeable errors in your projects, especially when dealing with longer materials or repetitive tasks. Taking a few minutes for this simple calibration saves you headaches later on.
- Quickly check your miter saw fence with basic tools.
- Understand why a properly aligned fence is so important for accuracy.
- Learn to prevent common cutting mistakes.
- Ensure your cuts are consistently straight and safe.
You’re ready to ensure your miter saw is a master of precision. Let’s walk through exactly how to align that fence, step by simple step, so you can achieve perfect cuts every time.
Getting Your Miter Saw Fence Aligned for Perfect Cuts
You want your miter saw to cut straight every time, right? Aligning the fence is how you ensure that precision. It’s a fundamental step for accurate and safe woodworking.
Think of it like tuning a guitar. Even a slight misstep makes everything sound off. A misaligned fence will throw off your angles, leading to frustrating mistakes and wasted material.
Understanding Your Miter Saw Fence
Before you adjust anything, let’s get familiar with what we’re working with. Your miter saw fence is the flat, often two-piece, surface against which you hold your material.
Its main job is to keep your workpiece stable and perpendicular to the blade at a 90-degree angle (or at your desired miter angle). If it’s not truly 90 degrees to the blade, your cuts will always be off.
What Can Cause Misalignment?
It’s not always user error! We found that several things can throw your fence out of whack. Sometimes it’s from moving the saw. Other times, it’s just from the factory.
- Wear and Tear: Over time, vibrations and regular use can loosen things up.
- Transport or Bumps: A dropped saw or a rough ride in the back of a truck can shift components.
- Factory Settings: Not all tools come perfectly calibrated right out of the box.
- Blade Changes: Sometimes, a new blade might reveal a slight misalignment you didn’t notice before.
Safety First: Prepare for Alignment
Before you start poking around with tools, your safety is the most important thing. You’ll be working close to your saw blade, so take a moment to ensure everything is safe.
Always unplug your miter saw before making any adjustments. This completely removes the risk of accidental startup.
- Unplug the Saw: This is non-negotiable.
- Clear the Work Area: Remove sawdust, scraps, and anything that might get in the way.
- Wear Safety Glasses: Protect your eyes from any debris or unexpected movements.
- Gather Your Tools: Having everything ready prevents interruptions.
Tools You’ll Need
Good news! You probably already have most of these tools. You don’t need anything fancy for this job.
- Combination Square or Engineer’s Square: This is your most important tool. It needs to be accurate. We found that a good quality steel square with a machined edge works best.
- Hex Wrenches (Allen Keys) or Screwdriver: These will fit the adjustment bolts on your saw’s fence. Check your saw’s manual for the correct sizes.
- Straightedge (Optional but Helpful): A metal ruler or a perfectly straight piece of wood can help check overall fence flatness.
- Marker or Pencil: For making small reference marks.
- Rags or Compressed Air: To clean the saw before you start.
Step-by-Step Guide to Fence Alignment
Now, let’s get down to the actual process. We’re going to tackle this in a logical sequence to make it easy to follow.
Step 1: Clean Your Miter Saw
Dust and debris are accuracy killers. They can create tiny gaps or push parts out of true. So, a quick clean-up is in order.
Use compressed air to blow out sawdust from around the blade and fence. Wipe down the fence and saw table with a clean rag. Make sure there’s nothing interfering with the surfaces.
Step 2: Check the Blade for Parallelism
Before you check the fence against the blade, you need to make sure the blade itself is truly 90 degrees to the saw’s table. If the blade isn’t straight up and down, your fence alignment won’t matter.
Raise your saw blade fully. Use your square to check the blade’s face against the saw’s table. If it’s not 90 degrees, adjust the saw’s miter detent to make it perfectly vertical. Most saws have a small screw or knob for fine-tuning this 90-degree stop.
Many experts say this foundational step is important for overall saw accuracy (Fine Woodworking).
Step 3: Test the Fence Alignment
This is where your square really shines. With the saw still unplugged and the blade locked in the down position, carefully place your square against the blade.
Align one edge of the square flush against the flat side of the saw blade. Now, slide the square back until the other edge touches the fence. Is there a gap? Is it tight on one end and loose on the other? That tells you if your fence is out of alignment.
A true, perfect alignment will show absolutely no light or gap between the square and the fence at any point.
Step 4: Loosen the Fence Adjustment Bolts
Most miter saw fences are held in place by bolts that you can loosen to make adjustments. We’ve found they’re usually on the top or front of the fence.
Using your hex wrench or screwdriver, slightly loosen these bolts. Don’t remove them completely, just enough so the fence can move with a little pressure. You want it snug but adjustable.
Step 5: Adjust the Fence
This is the finicky part, but take your time. With the bolts slightly loose, put your square back against the blade and the fence.
Gently tap or push the fence until it sits perfectly flush against the square. You’re aiming for zero gap. Some saws have fine-tune adjustment screws. If yours does, use them for micro-adjustments.
It helps to check both sides of the blade, especially for saws with two-piece fences. Ensure both sections are perfectly straight relative to the blade.
Step 6: Tighten the Bolts and Recheck
Once you’re satisfied with the alignment, carefully tighten the fence bolts. Do this in stages, tightening one bolt a little, then the next, and so on. This prevents the fence from shifting as you tighten.
After tightening, immediately recheck the alignment with your square. It’s common for the fence to move slightly during tightening. If it moved, repeat steps 4-6 until it stays perfectly in place after the bolts are tight.
Maintaining Your Fence Alignment
Congratulations! Your fence is now aligned. But it’s not a “set it and forget it” situation. Regular checks will keep your cuts spot on.
We recommend checking your fence alignment more often than you might think. Many professional woodworkers check theirs before every major project or after moving the saw (Wood Magazine).
- Regular Checks: At least once a month, or before critical projects.
- Cleanliness: Keep your saw clean to prevent debris from interfering.
- Gentle Handling: Avoid dropping or banging your saw, which can knock things out of alignment.
- Storage: Store your saw in a way that protects its components from impact.
Troubleshooting Common Alignment Issues
Sometimes, despite your best efforts, things just don’t quite go to plan. Don’t worry, these are usually easy to fix.
| Problem | Possible Cause | Solution |
|---|---|---|
| Fence keeps shifting when tightening. | Bolts were too loose, or tightened unevenly. | Tighten bolts slowly, alternating between them. Apply gentle counter-pressure to the fence as you tighten. |
| Can’t get a perfect 90-degree reading. | Square might not be true, or blade isn’t truly vertical. | Double-check your square against another known straight edge. Re-verify blade-to-table squaring first. |
| Fence seems bent or warped. | Damage to the fence or a manufacturing defect. | Test with a long, known straight edge. If warped, consider replacing the fence or shimming it if the warp is minor and consistent. |
| Sawdust interferes with alignment checks. | Failing to clean the saw adequately. | Thoroughly clean all surfaces, especially where the square meets the blade and fence, before each check. |
If you’re still having trouble, consult your miter saw’s owner’s manual. It often has specific diagrams and instructions for your model.
Your Fence Alignment Checklist
Here’s a quick summary to make sure you’ve covered all your bases for a perfectly aligned fence:
- Unplug saw for safety.
- Clean saw table and fence thoroughly.
- Verify blade is 90 degrees to the table.
- Use an accurate square to check fence-to-blade.
- Loosen fence bolts just enough for movement.
- Adjust fence until perfectly square to the blade.
- Tighten bolts slowly and recheck alignment.
Conclusion
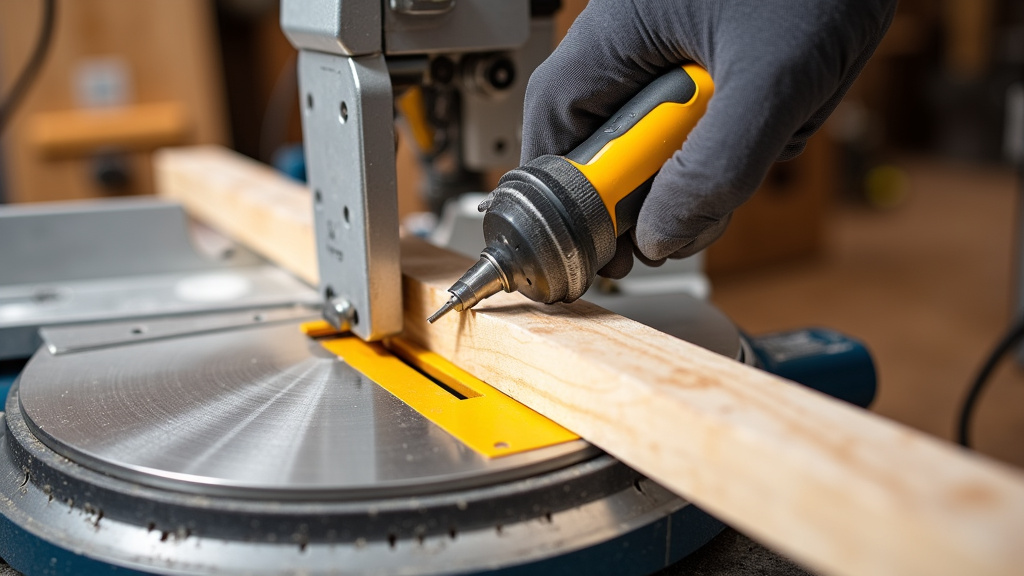
You now have all the tools and knowledge to confidently align your miter saw fence. This simple maintenance step is the secret to consistently accurate and safe cuts, turning frustration into flawless results. Remember, precision in woodworking starts with preparation, and a properly aligned fence is a fundamental part of that.
By making regular fence checks a habit, you’ll avoid costly mistakes and produce higher-quality projects every time. Don’t put it off; take a few minutes right now to check your miter saw’s alignment. Your future projects (and your peace of mind) will thank you.
Frequently Asked Questions
How often should I check my miter saw fence alignment?
We recommend checking your fence alignment before any critical project and at least once a month if you use your saw regularly. It’s a quick check that prevents a lot of headaches down the line.
Can a misaligned fence affect my safety?
Absolutely. A misaligned fence can cause your workpiece to bind against the blade, leading to kickback. This can be very dangerous, so always prioritize proper alignment for both safety and accuracy.
My miter saw manual mentions a “detent override” for 90-degree adjustments. What is that?
Many miter saws have pre-set stops, or detents, for common angles like 0 or 45 degrees. A detent override allows you to fine-tune past these factory settings, which is essential for achieving a perfect 90-degree blade-to-fence alignment if the detent isn’t exact.
What if my square shows a gap, but the fence bolts are already tightened?
If your fence is secure but still not perfectly square to the blade, the issue might be with the fence itself. Check for any bending or warping using a known straightedge. In some cases, you might need to shim the fence with thin material or consider replacing a damaged fence section.
Is it normal for a new miter saw to need fence alignment?
Yes, it’s quite common. We’ve found that many saws aren’t perfectly calibrated directly from the factory due to shipping or assembly tolerances. Always perform a full alignment check on a new saw before its first use.
