
What Size Miter Saw Do I Need for Crown Molding?
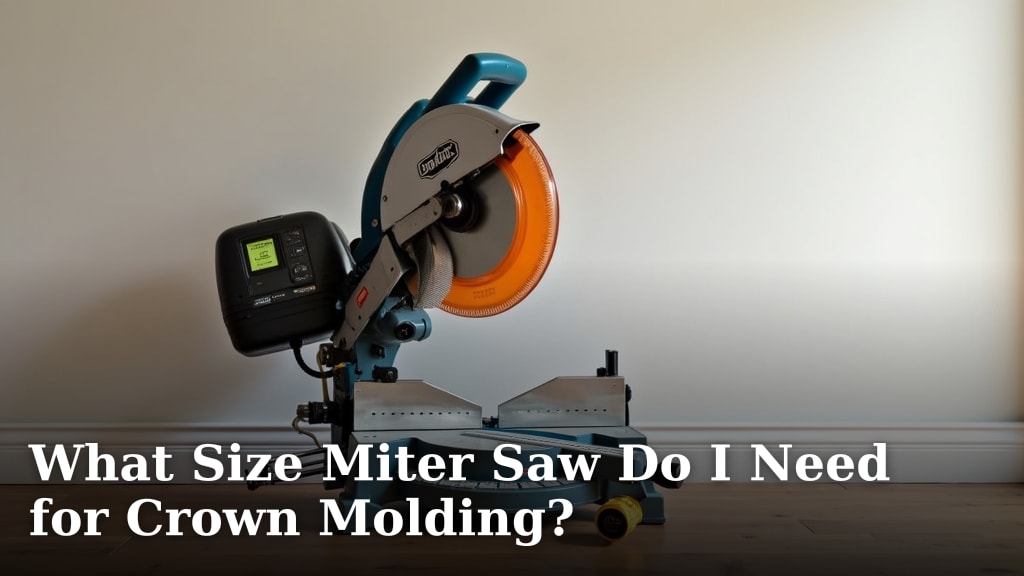
For most crown molding projects, you will need a 10-inch miter saw or a 12-inch miter saw. The best size depends on the specific width of your crown molding. A 10-inch saw can handle most common crown sizes, while a 12-inch saw offers more capacity for wider pieces.
Choosing the right miter saw is key for clean, accurate cuts on your crown molding. You want a saw that can handle the molding’s width with ease, ideally allowing you to cut it flat on the saw table. This method, often called “flat cutting,” is more straightforward than compound miter cuts for many DIYers.
- 10-inch miter saws are great for most standard crown molding.
- 12-inch miter saws provide extra capacity for wider moldings.
- Compound miter saws offer more flexibility for complex angles.
- Measure your crown molding’s width before buying a saw.
- Consider cutting flat for easier, more accurate results.
We’ve researched and found that understanding your molding’s dimensions is the first step. Let’s walk through how to pick the perfect saw for your next crown molding job.
Selecting the Right Miter Saw for Your Crown Molding
When it comes to cutting crown molding, the size of your miter saw blade makes a big difference. You’ll typically be choosing between a 10-inch or a 12-inch saw. The best choice really depends on the width of the crown molding you’re working with.
Understanding Miter Saw Blade Size and Capacity
The blade size dictates how much material your saw can cut. A larger blade means a deeper and wider cut. This is especially important for crown molding, which often needs to be cut at an angle or laid flat on the saw’s table for stability.
Many DIYers prefer to cut crown molding “flat” on the saw bed. This method is generally easier to master than compound miter cuts, which require tilting the blade and rotating the table simultaneously. To cut flat, your saw needs enough vertical and horizontal capacity.
Vertical Cut Capacity Explained
This is how tall a piece of wood your saw can cut when it’s standing straight up against the fence. For crown molding, this often isn’t the primary concern if you’re cutting it flat. But it matters if you plan to cut it “nested” or upright against the fence, mimicking how it sits on the wall.
Horizontal Cut Capacity Explained
This refers to how wide a board your saw can cut when it’s lying flat on the table. This is critical for crown molding if you want to use the flat-cutting method. A sliding miter saw significantly increases horizontal capacity, letting you cut much wider boards.
10-inch Miter Saws for Crown Molding
A 10-inch miter saw is a fantastic option for many home improvement projects, and it handles a good range of crown molding sizes. These saws are often lighter and more portable than their 12-inch counterparts.
With a 10-inch saw, you can typically cut crown molding up to about 5.25 inches wide when it’s laid flat. This covers many standard crown profiles you’ll find at home improvement stores. If you have a sliding 10-inch miter saw, your capacity increases even more, often allowing cuts on molding up to 6 or 7 inches wide when flat.
We found that for most common residential crown molding, a 10-inch saw is perfectly adequate. It’s also often more budget-friendly. You might find it easier to control too, especially if you’re newer to using miter saws.
12-inch Miter Saws for Crown Molding
When you need more power and capacity, a 12-inch miter saw steps up. These saws are designed for larger projects and wider materials. If your crown molding is on the wider side, say 6 inches or more, a 12-inch saw becomes a much better choice.
A standard 12-inch miter saw can often cut crown molding up to 6.5 or even 7.5 inches wide when laid flat. If you opt for a sliding 12-inch miter saw, you can tackle extremely wide crown molding, sometimes up to 10 or 12 inches wide, making it suitable for larger rooms or more ornate profiles.
While 12-inch saws are usually more expensive and heavier, their increased capacity can save you a lot of frustration. No one wants to buy a saw only to find it can’t handle their molding. Many pros prefer 12-inch saws for their versatility and ability to handle almost any trim job.
Sliding vs. Non-Sliding Miter Saws for Crown Molding
This is a big decision that directly impacts how wide of a piece you can cut. A standard (non-sliding) miter saw has a fixed pivot point, limiting its cross-cut capacity. A sliding miter saw has rails that allow the blade to move forward and backward, significantly increasing the width of the material it can cut.
- Non-Sliding Miter Saws: Good for narrower crown molding, generally up to 5-7 inches wide depending on blade size. They are more compact and often less expensive.
- Sliding Miter Saws: Essential for wider crown molding, allowing cuts on pieces 8 inches or more. They offer much more versatility for various projects but take up more space and cost more.
For crown molding, especially if you plan to cut it flat, a sliding miter saw is often the preferred choice. It reduces the need for complex compound cuts and allows for easier handling of wider pieces.
Compound Miter Saws: A Key Feature for Crown Molding
Almost all modern miter saws are “compound” miter saws. This means the blade can tilt to the side (bevel) in addition to pivoting left and right (miter). This capability is crucial for crown molding.
A single-bevel compound miter saw tilts in one direction, usually left. A dual-bevel compound miter saw tilts both left and right. Dual-bevel saws offer more convenience because you don’t have to flip your workpiece to make opposing bevel cuts. For crown molding, this feature can save time and reduce errors.
What if Your Saw Can’t Cut the Molding Flat? (Nested Cuts)
Sometimes, your saw simply isn’t big enough to cut the crown molding flat on the table. In these cases, you’ll need to cut the molding in its “nested” position. This means placing the molding against the fence and the saw table at an angle, just as it would sit on the wall.
Nested cuts require understanding crown molding angles and your saw’s bevel and miter settings. Many find this method more challenging. You’ll need to know your wall angle and spring angle of the crown to calculate the correct saw settings. Always practice on scrap pieces first!
Table: Miter Saw Capacity for Crown Molding (Approximate)
| Saw Type | Crown Molding Width (Flat Cut) | Notes |
|---|---|---|
| 10-inch Standard Miter Saw | Up to 5.25 inches | Good for common sizes. |
| 10-inch Sliding Miter Saw | Up to 7.5 inches | More versatile for wider pieces. |
| 12-inch Standard Miter Saw | Up to 6.75 inches | Slightly more capacity than 10-inch standard. |
| 12-inch Sliding Miter Saw | Up to 10-12 inches | Best for very wide or large crown molding. |
Essential Checklist Before Buying Your Miter Saw
Before you commit to a purchase, take a moment to confirm these key points. It will save you time and potential frustration.
- Measure the width of your specific crown molding at its widest point.
- Check the saw’s maximum cross-cut capacity when laid flat (usually listed in specifications).
- Determine if you prefer flat cutting or nested cutting.
- Consider if a sliding feature is necessary for your project.
- Decide if a dual-bevel function would make your work easier.
Remember, choosing the right tool makes the job much more enjoyable and the results much more professional. Don’t rush this decision!
Conclusion
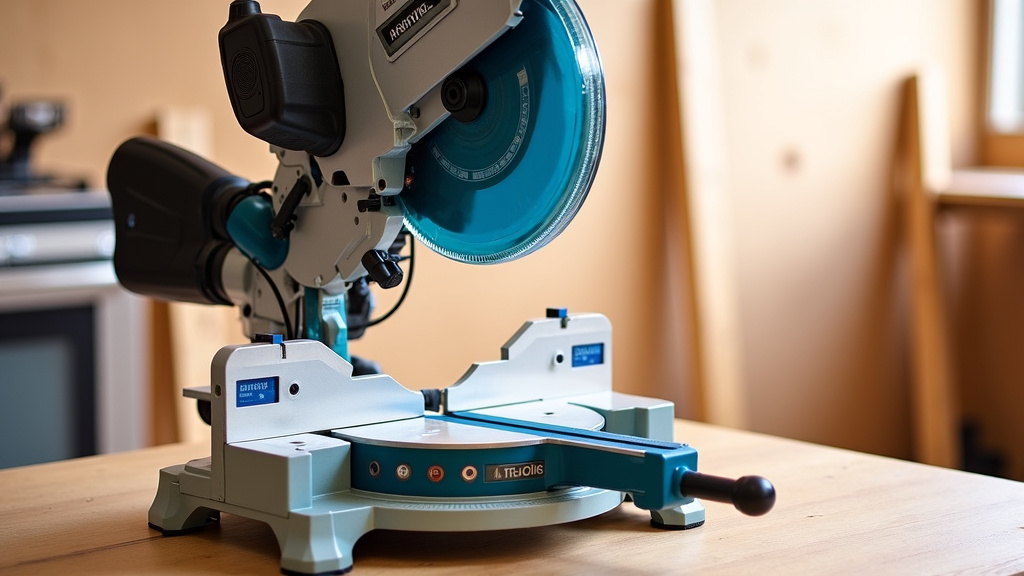
Choosing the right miter saw for your crown molding project doesn’t have to be complicated. By measuring your molding’s width first, you can easily decide between a 10-inch or 12-inch saw. For most standard crown, a 10-inch sliding miter saw offers plenty of capacity. If you’re tackling wider, more ornate pieces, a 12-inch sliding saw will give you the room you need to make accurate, flat cuts.
Remember that a sliding feature greatly simplifies cutting wider trim, and a dual-bevel saw adds convenience. Take a moment to review your specific molding dimensions and your preferred cutting method. This will ensure you select a saw that makes your crown molding installation smooth and successful.
Frequently Asked Questions
Can I cut crown molding with a 7 1/4 inch miter saw?
While possible for very small crown molding, a 7 1/4 inch miter saw typically lacks the capacity for most standard crown. You’ll likely be forced to make complex nested cuts, which are harder to get right. For best results and easier cutting, a 10-inch or 12-inch saw is recommended.
Is a 10-inch sliding miter saw good enough for crown molding?
Yes, a 10-inch sliding miter saw is excellent for most crown molding projects. It can typically cut crown up to 7 or 7.5 inches wide when laid flat. This covers a very large percentage of crown molding found in homes today, making it a versatile and often more portable choice.
What is the easiest way to cut crown molding?
The easiest way to cut crown molding is by laying it flat on your miter saw’s table. This method is often called “flat cutting.” It avoids complex compound angles and is generally more intuitive for DIYers. You’ll need a saw with enough horizontal capacity to support the molding’s full width.
Do I need a dual-bevel miter saw for crown molding?
While not strictly required, a dual-bevel miter saw makes cutting crown molding much easier. It allows you to tilt the blade both left and right without flipping your workpiece. This saves time and reduces potential errors, especially when making opposing angle cuts.
Can I use a miter saw stand for cutting crown molding?
Yes, a miter saw stand is highly recommended for cutting crown molding. It provides stable support for long pieces of molding, ensuring accurate cuts and safer operation. Many stands also have outriggers that extend to support extra-long material, which is very helpful for trim work.
