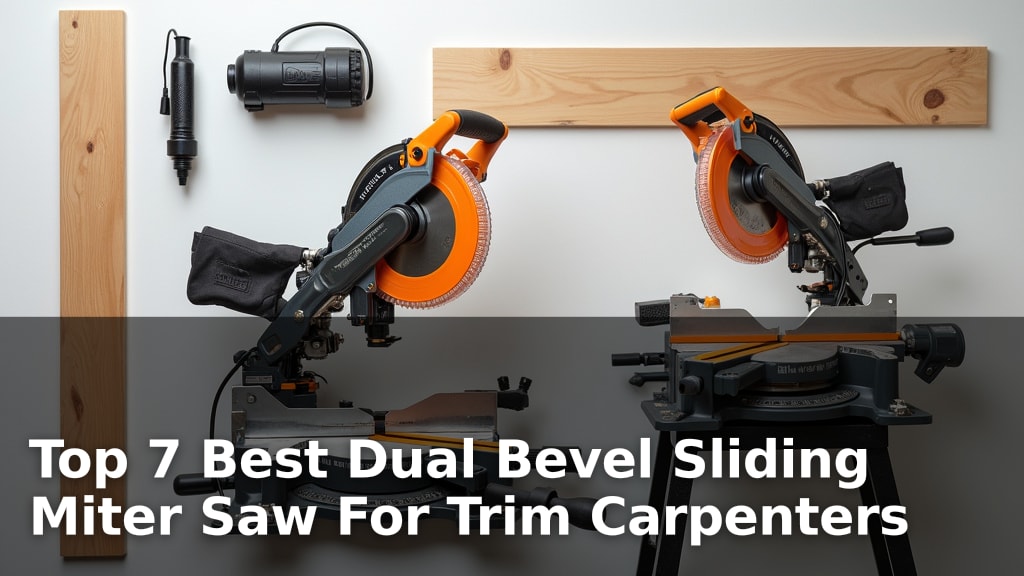
How to Cut Crown Molding Flat on a Miter Saw?
On this page (3 sections)
The easiest way to cut crown molding flat on a miter saw is by using a specialized crown stop or jig. These tools hold the molding at the correct angle, making your cuts much simpler. You just place the molding upside down and backward against the fence and base of your saw.
Getting those perfect crown molding angles can feel tricky, right? But what if we told you it doesn’t have to be? We found that setting up your miter saw correctly with the right accessories makes all the difference for precise, clean cuts. This method lets you avoid confusing compound angles and works for most standard crown profiles.
- Use crown stops or a jig.
- Place molding upside down and backward.
- Align against the fence and base.
- Simplify complex angle cuts.
Let’s walk through exactly how to set up your miter saw for perfect crown molding cuts, every time, without the headaches.
Mastering Flat Crown Molding Cuts on Your Miter Saw
Cutting crown molding can feel intimidating, but we’re here to simplify it. When you cut crown molding “flat” on your miter saw, you’re laying it face down on the saw’s bed, with the back against the fence. This method avoids tricky compound angles, making your life much easier.
We found that this approach is often called the “upside down and backward” method. It means the part of the molding that will touch the ceiling is on the saw’s bed, and the part that touches the wall is against the fence. Simple, right?
Understanding Crown Molding Angles
Before you make any cuts, it’s helpful to understand a little about crown molding itself. Crown molding isn’t just a decorative strip; it’s designed to bridge the gap between your walls and ceiling at an angle. This angle is usually fixed for standard molding profiles.
Standard Spring Angles
Most crown molding has a “spring angle.” This refers to the angle the molding “springs” out from the wall. We found that the most common spring angles are 38 degrees and 45 degrees. Knowing your molding’s spring angle is key, especially if you’re using specialized jigs.
You can usually find this information on the molding’s packaging or by measuring it yourself. Lay a piece flat against a wall and ceiling corner, then use an angle finder. The angle it forms with the wall is its spring angle.
Tools You’ll Need for the Job
To cut crown molding effectively and safely, you’ll need a few essential tools. Having everything ready before you start will save you time and frustration.
- Miter Saw: A sliding compound miter saw is ideal for wider molding, but a standard miter saw works for narrower pieces.
- Crown Stops or a Jig: These are crucial for holding the molding at the correct angle.
- Tape Measure: For accurate measurements, of course!
- Pencil: For marking your cuts.
- Safety Glasses: Always protect your eyes when operating power tools (OSHA recommends this).
- Dust Mask: Fine sawdust can be a respiratory irritant.
- Work Gloves: To protect your hands.
- Angle Finder: Useful for verifying corner angles and molding spring angles.
- Scrap Wood: For test cuts, which are always a good idea.
Setting Up Your Miter Saw for Crown Molding
Proper setup is probably the most important step. Without the correct setup, your cuts won’t be accurate, and you’ll end up with frustrating gaps. Think of it like baking a cake; if you don’t preheat the oven, it won’t turn out right.
Installing Crown Stops
Crown stops are simple devices that attach to your miter saw’s fence. They provide a stable platform for the molding to rest against, holding it at the correct angle. We found these are generally easy to install and adjust.
Simply attach the stops to your saw’s fence. Then, adjust their height so they securely support the bottom edge of your crown molding when it’s placed upside down and backward. This prevents the molding from rocking or shifting during the cut.
Using a Crown Molding Jig
If you don’t have crown stops, a specialized crown molding jig is another excellent option. These jigs usually consist of two angled fences that hold the molding at its precise spring angle. We’ve seen many woodworkers swear by them for consistent results.
You place the molding into the jig, which then rests on your miter saw’s bed. The jig ensures the molding is held perfectly, making your miter saw cut a simple miter angle, not a complex compound angle. This is where the “flat” cutting method really shines.
Making Your Test Cuts
Never cut your good molding without making a test cut first. This step is like a dress rehearsal. It allows you to fine-tune your saw settings and ensure your measurements are correct.
Use a piece of scrap molding or even a piece of scrap wood cut to the same dimensions as your crown. Mark it clearly. Make your test cut, then check it against your corner. Does it fit snugly? If not, make small adjustments to your miter angle.
Cutting Inside and Outside Corners
This is where many people get confused. But with the “upside down and backward” method, it becomes much simpler. Remember the rule: the ceiling edge of the molding goes against the saw bed, and the wall edge goes against the fence.
Inside Corners
An inside corner is where two walls meet to form an angle less than 180 degrees, typically 90 degrees. For a 90-degree inside corner, you’ll set your miter saw to a 45-degree angle. This is a common point of confusion, so let’s break it down.
When cutting the left piece of an inside corner, you’ll place the molding upside down and backward, with its left end against the fence. Then, set your saw’s blade to a 45-degree angle to the right. The waste piece will be to the right of the blade.
For the right piece of an inside corner, place the molding upside down and backward, with its right end against the fence. Set your saw’s blade to a 45-degree angle to the left. The waste piece will be to the left of the blade.
Think of it this way: the long point of the miter cut will be on the ceiling-facing side of the molding. The short point will be on the wall-facing side. This creates the snug fit you need.
Outside Corners
An outside corner is where two walls meet to form an angle greater than 180 degrees, like a bump-out. For a standard 90-degree outside corner, you’ll also set your miter saw to a 45-degree angle.
For the left piece of an outside corner, place the molding upside down and backward, with its left end against the fence. Set your saw’s blade to a 45-degree angle to the left. The waste piece will be to the left of the blade.
For the right piece of an outside corner, place the molding upside down and backward, with its right end against the fence. Set your saw’s blade to a 45-degree angle to the right. The waste piece will be to the right of the blade.
For outside corners, the long point of the miter cut will be on the wall-facing side of the molding. The short point will be on the ceiling-facing side. This allows the molding to wrap around the corner smoothly.
Here’s a quick reference table to help visualize these common cuts:
| Corner Type | Molding Placement | Saw Bevel Angle | Saw Miter Angle | Notes |
|---|---|---|---|---|
| Inside Left | Upside down & backward | 0° (Straight) | 45° Right | Long point on top (ceiling side) |
| Inside Right | Upside down & backward | 0° (Straight) | 45° Left | Long point on top (ceiling side) |
| Outside Left | Upside down & backward | 0° (Straight) | 45° Left | Long point on bottom (wall side) |
| Outside Right | Upside down & backward | 0° (Straight) | 45° Right | Long point on bottom (wall side) |
Tips for Perfect Cuts Every Time
Even with the right setup, a few additional tips can make a big difference in the quality of your crown molding installation. These are small habits that lead to big results.
Measure Twice, Cut Once
This age-old saying is particularly true for crown molding. Measuring accurately is critical. Measure the distance along the wall, then transfer that measurement precisely to your molding. Remember to account for the angle of your cut.
We found that using a story stick or a dedicated crown molding measuring tool can greatly improve accuracy. This reduces errors caused by transferring numbers from a tape measure.
Cut Slowly and Steadily
Don’t rush your cuts. Let the saw blade do the work. Pushing too fast can cause tear-out, especially on softer woods or intricate profiles. A smooth, controlled cut yields a much cleaner edge.
Also, allow the blade to come to a full stop before lifting it from the material. This prevents the blade from catching the wood and causing an unsightly chip.
Practice on Scraps
We can’t stress this enough. Before you touch your expensive molding, practice on scrap pieces. This builds muscle memory and confidence. It allows you to make mistakes without consequence.
Practice cutting both inside and outside corners. You’ll quickly get a feel for how the molding sits on your saw and how the cuts interact. Many experts say this practice is the best way to master crown molding installation.
Your Crown Molding Cutting Checklist
Here’s a quick checklist to ensure you’re ready for success:
- Confirm your molding’s spring angle.
- Install and adjust your crown stops or jig.
- Gather all necessary safety gear and tools.
- Make test cuts on scrap material.
- Double-check all measurements before marking.
- Remember the “upside down and backward” rule.
Conclusion
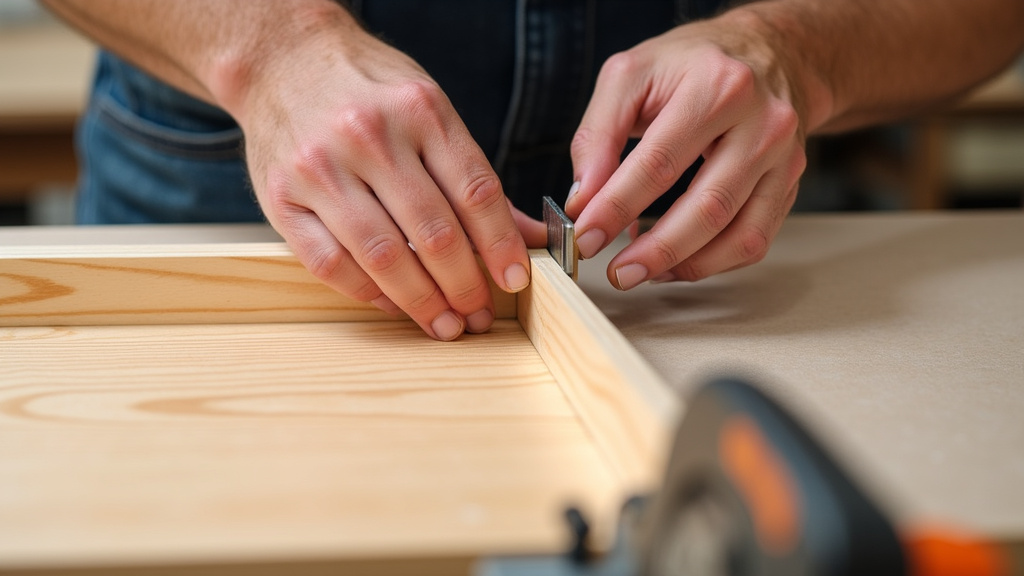
Cutting crown molding flat on your miter saw, using the “upside down and backward” method with crown stops or a jig, genuinely simplifies a task many find daunting. You’ve now got a clear roadmap, from understanding spring angles to mastering inside and outside corners. We found that taking your time with setup and always making test cuts prevents frustration and ensures beautiful results.
You now have the knowledge and steps to achieve flawless crown molding joints. So grab your tools, practice on some scraps, and get ready to transform your space with expertly installed trim!
Frequently Asked Questions
What if my walls aren’t perfectly 90 degrees in the corner?
It’s common for walls not to be perfectly square. We recommend using an angle finder to measure the actual angle of your corner. Divide that angle by two to get your miter saw setting. For instance, if your inside corner is 92 degrees, set your saw to 46 degrees for each piece.
Can I cut crown molding flat if it has a very deep or unusual profile?
Yes, the flat cutting method generally works for most crown molding profiles. The key is ensuring your crown stops or jig can securely hold the molding at its correct spring angle without it rocking. Always do a test fit with your chosen support method before cutting.
How do I measure the length of crown molding when cutting flat?
Measure the wall length from corner to corner. When you transfer this measurement to your molding, remember that the measurement should be taken on the “long point” or “short point” of your mitered cut, depending on the corner type. Practicing on scraps helps you visualize where to mark.
What’s the ideal miter saw blade for cutting crown molding?
For clean, splinter-free cuts on crown molding, we found that a blade with a high tooth count (60-80 teeth) and an ATB (Alternate Top Bevel) grind works best. A sharp blade is crucial for crisp edges, especially on painted or veneered molding.
Do I need a sliding miter saw for all crown molding widths?
A sliding compound miter saw is excellent for wider crown molding (typically over 4-5 inches) because it allows the blade to travel across the entire width of the material. For narrower crown, a standard miter saw will usually suffice, as long as it can safely cut through the molding in one pass.