What Tools Do You Need to Install Crown Molding?
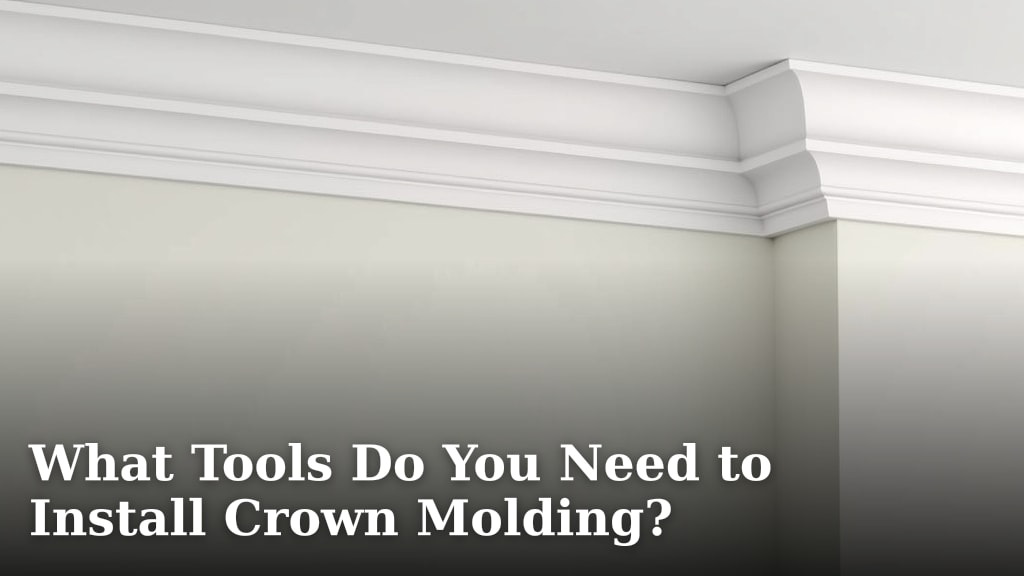
To install crown molding, you will need a few essential tools like a miter saw, a coping saw, a stud finder, a caulk gun, and a nail gun. We found these tools are critical for a smooth installation. Having the right equipment makes a big difference.
You’re ready to add an elegant touch to your home, but the thought of complicated tools might feel a bit much. Don’t worry, we’ve got you covered. We’ll show you that installing crown molding is very doable with a manageable set of tools.
- Miter saw for precise angle cuts.
- Coping saw for intricate joint work.
- Stud finder to locate wall studs.
- Caulk gun for a clean finish.
- Nail gun for secure attachment.
Let’s walk through the specific tools you’ll need, helping you achieve that professional-looking finish yourself.
Essential Tools for Crown Molding Installation
To put up crown molding with a great finish, you’ll need a mix of measuring tools, cutting tools, and fastening tools. We found that having the right equipment makes the job much easier and more precise.
Measuring and Marking Tools
Before you make any cuts, you need to know exactly where your molding will go. Accurate measurements are key to a professional look. Think of these tools as your roadmap for the project.
Tape Measure
A reliable tape measure is your starting point. You’ll use it to measure the lengths of your walls and the crown molding pieces. We found that a 25-foot tape measure is usually sufficient for most rooms (National Institutes of Standards and Technology).
Make sure your tape measure has a locking mechanism and a sturdy hook. This helps you get consistent and accurate readings. Don’t skip this simple step; even small errors here can cause big gaps later.
Pencil or Marking Tool
You’ll need a pencil to mark your cuts and outline stud locations. A carpenter’s pencil is great because it makes a thicker, more visible line. We found that a sharp pencil is your best friend for precise marks.
Stud Finder
Before you attach anything to your walls, you need to locate the studs behind the drywall. This is where your crown molding will be securely fastened. Many experts say a good stud finder is essential for safety and stability.
Run the stud finder along the wall where your molding will sit. Mark the edges of the studs with your pencil. You’ll want to nail directly into these studs, not just the drywall, to prevent your molding from pulling away over time.
Cutting Tools for Crown Molding
This is where the magic happens – shaping your molding to fit perfectly. Precision cutting is the most challenging part, but with the right tools, you can master it.
Miter Saw (Compound Miter Saw Recommended)
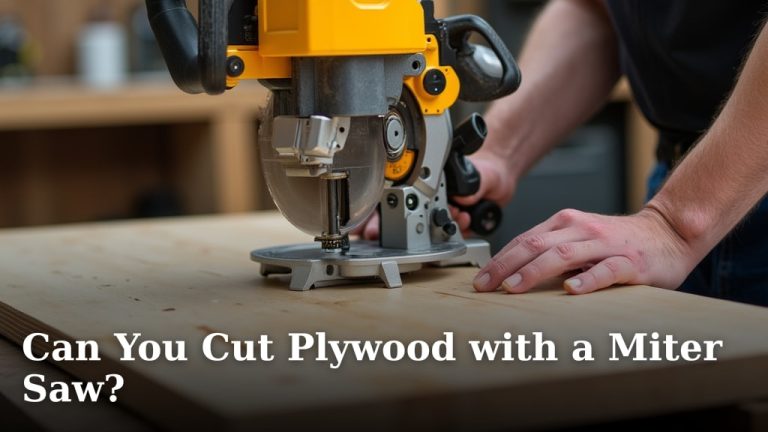
Your miter saw is the star of the show for cutting angles. Crown molding requires very specific cuts, often called “compound cuts,” where you adjust both the blade’s angle and its bevel. We found that a compound miter saw simplifies these cuts greatly.
You’ll use the miter saw for all your inside and outside corner cuts, as well as straight runs. Practice on scrap pieces first. Understanding how to “nest” the molding against the saw’s fence is critical for correct angles. We often see people struggle here, so take your time.
Coping Saw
For inside corners, a coping saw creates a much cleaner, tighter joint than a miter cut. This tool allows you to “cope” one piece of molding to fit perfectly against the profile of another. Many professional installers prefer coping for seamless inside corners (This Old House).
Coping involves cutting along the profile of the molding. It takes a little practice to get the hang of it, but the result is a joint that hides imperfections and looks fantastic. If your walls aren’t perfectly square (and whose are?), coping can save the day.
Utility Knife
A sharp utility knife can be handy for trimming small slivers of wood or cleaning up edges. We found it’s also useful for scoring caulk lines or even cutting shims. Always use a fresh blade for safety and precision.
Fastening and Finishing Tools
Once your molding is cut, it’s time to secure it and make it look beautiful. These tools help you attach the molding and hide any gaps for a smooth, finished appearance.
Nail Gun (Brad Nailer or Finish Nailer)
A nail gun makes attaching crown molding incredibly fast and efficient. A brad nailer or finish nailer is perfect for this job. You’ll drive nails through the molding into the wall studs you marked earlier.
Using a nail gun saves your arm from hammering every nail. It also helps prevent dents in your molding. Remember to wear safety glasses and follow the manufacturer’s instructions. We found that 1.5-inch to 2-inch nails are typically appropriate.
Caulk Gun and Caulk
No crown molding installation is complete without a good caulk job. Caulk fills any small gaps between the molding and the ceiling or wall. It gives your project a seamless, professional look.
Choose paintable caulk that matches your paint color. Apply a thin, even bead. We found that a damp finger or sponge helps smooth the caulk for a clean finish. This step truly makes your work shine.
Sanding Block and Sandpaper
A little sanding can go a long way. After filling nail holes or making minor repairs, a sanding block with fine-grit sandpaper (around 120-220 grit) helps smooth the surface. This prepares the molding for painting and ensures a flawless finish.
Safety and Support Tools
Always prioritize your safety and comfort while working. These tools might not be glamorous, but they are just as important as your saws and nail guns.
Safety Glasses
Protect your eyes! When cutting, nailing, or sanding, debris can fly. We found that safety glasses are non-negotiable. They are a small investment for priceless protection.
Dust Mask
Cutting wood creates a lot of dust. A simple dust mask protects your lungs from inhaling wood particles. Many health organizations, like the CDC, recommend respiratory protection when generating dust.
Stepladder or Scaffolding
Unless you’re extremely tall, you’ll need something to reach the ceiling. A sturdy stepladder or even a small scaffolding setup provides a safe and stable platform. Don’t try to balance on unstable chairs; safety first!
Your Crown Molding Tool Checklist
Here’s a quick list to help you gather everything before you start your project:
- 25-foot tape measure
- Pencil or marking tool
- Stud finder
- Compound miter saw
- Coping saw
- Utility knife
- Brad nailer or finish nailer
- Caulk gun and paintable caulk
- Safety glasses
- Dust mask
- Stepladder or scaffolding
You might be thinking, “That’s a lot of tools!” But many of these you might already own, or they are readily available to rent or borrow. Think of them as an investment in making your home look fantastic.
| Tool Category | Key Tools Needed | Primary Purpose |
|---|---|---|
| Measuring & Marking | Tape Measure, Pencil, Stud Finder | Accurate dimensioning, locating anchors |
| Cutting & Shaping | Miter Saw, Coping Saw, Utility Knife | Precise angle cuts, intricate jointing |
| Fastening & Finishing | Nail Gun, Caulk Gun, Sanding Block | Secure attachment, seamless appearance |
| Safety & Support | Safety Glasses, Dust Mask, Ladder | Personal protection, reaching high areas |
Conclusion
You now have a clear understanding of the tools needed for a successful crown molding installation. We found that investing in the right equipment, from measuring to fastening, directly impacts your project’s outcome. These tools help you achieve precise cuts and a beautiful, professional finish. Remember, safety always comes first, so use your protective gear. With this knowledge, you’re well-prepared to tackle your crown molding project. Go ahead and transform your space with confidence.
Frequently Asked Questions
Do I need a power miter saw, or can I use a hand miter box?
While a hand miter box can work for very small projects, we found a power miter saw, especially a compound one, makes the job much easier and more accurate. Crown molding angles are tricky, and a power saw provides the precision you’ll want for a professional look.
Can I install crown molding by myself, or do I need help?
Installing crown molding can be a two-person job, especially when handling long pieces. Having an extra set of hands to hold the molding while you nail it is incredibly helpful. However, shorter sections are certainly manageable on your own with some careful planning.
What kind of caulk should I buy for crown molding?
You’ll want to use paintable acrylic latex caulk. This type of caulk fills gaps smoothly and can be painted over to match your molding or wall color. We found it provides the best finish for hiding imperfections.
Are there alternatives to a nail gun for attaching crown molding?
Yes, you can use a hammer and finish nails, but it’s much more labor-intensive and increases the risk of denting the molding. A nail gun is highly recommended for speed, efficiency, and a cleaner finish. It simplifies the fastening process significantly.
How important is a stud finder for crown molding installation?
A stud finder is very important. Nailing your crown molding into wall studs provides the necessary stability and prevents it from pulling away over time. We found that skipping this step can lead to sagging or loose molding down the line.