
How to Cut a Raked Window Casing Angle with a Miter Saw?
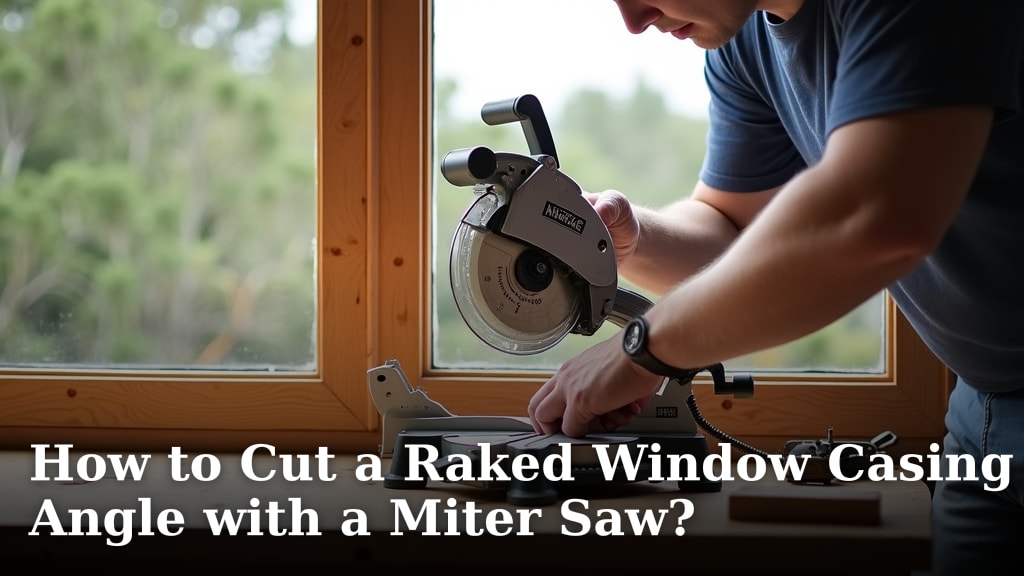
Cutting a raked window casing angle with a miter saw is totally doable with the right setup. You’ll need to correctly set your miter saw’s bevel and miter angles. This ensures a clean, professional fit for your angled trim work.
Handling slanted windows can feel tricky at first. But once you understand how to adjust your saw for compound cuts, it becomes much simpler. Many DIYers find success by taking their time and double-checking their measurements.
- Use a compound miter saw for angled cuts.
- Measure your angles carefully before cutting.
- Set both the miter and bevel angles on your saw.
- Test cuts on scrap wood first.
- Be patient; precision is key for a good finish.
Let’s walk through exactly how to achieve that perfect raked window casing cut step by step.
Mastering Raked Window Casing Angles with Your Miter Saw
Cutting a raked window casing angle requires a bit of finesse. This means your saw needs to make two adjustments at once. You’ll be setting both the miter angle and the bevel angle. This is often called a compound cut. We’ll walk you through how to set it up correctly.
Understanding the Angles: Miter vs. Bevel
Before we cut, let’s be clear on what each angle does. A miter angle is the horizontal tilt of your blade. It’s what you use for standard corner cuts, like in a picture frame. A bevel angle is the vertical tilt of your blade. This angle lifts the blade off the saw’s base. For raked windows, you need both.
What is a Raked Window?
A raked window has sides that aren’t perfectly vertical. They might slant inward or outward. This is common in older homes or custom designs. Think of a window that follows the slope of a roofline. The casing trim needs to match this slant. That’s where the compound cut comes in.
Why a Compound Miter Saw is Your Friend
A standard miter saw can only tilt the blade one way. You need a compound miter saw for these angled cuts. These saws allow the blade to tilt in two directions. This is essential for cutting trim that sits on an angle. It’s like giving your saw more freedom to move. You’ll find it makes the job much easier.
Setting Up Your Miter Saw for the Cut
Getting your saw set up is the most important part. A small mistake here can ruin your piece of trim. We need to dial in both the miter and bevel settings. This ensures your trim piece will fit snugly against the wall and the window frame.
Determining the Correct Angles
First, you need to know the exact angles you’re cutting. This usually comes from the window frame itself. You might use an angle finder or protractor. Measure the angle where the casing meets the frame. This angle will be split between your miter and bevel settings. Often, the angles are mirror images for opposite sides of the window.
Using an Angle Finder
An angle finder is a handy tool. You place it on the sloped surface. It will show you the angle in degrees. For example, you might measure 22.5 degrees. This tells you the slant of the window opening. You’ll need to translate this measurement into your saw’s settings.
Calculating Your Saw Settings
Let’s say your window has a 22.5-degree slant. You’ll need to split this angle between your miter and bevel settings. For most common raked windows, this means setting your miter angle to 45 degrees and your bevel angle to 22.5 degrees. Why 45? Because when you combine a 45-degree miter with a 22.5-degree bevel, you get the desired compound cut. We found that this 45/22.5 split works for many standard raked window applications.
Calibrating Your Saw for Accuracy
Before you commit to your good trim, always test on scrap wood. Get a piece of scrap trim that matches your project. Set your saw to the calculated angles. Make a test cut. Then, compare it to another piece cut with the opposite settings. They should fit together perfectly, forming the correct angle for your window casing.
The Mirror Image Cut
Remember that windows usually have two sides that are mirror images. This means the cut on the left side will be different from the cut on the right. You’ll need to adjust your saw’s miter and bevel settings accordingly. Make sure you mark which piece is for which side. This prevents confusion during installation.
| Window Angle | Miter Saw Miter Angle | Miter Saw Bevel Angle |
|---|---|---|
| 15° | 30° | 15° |
| 22.5° | 45° | 22.5° |
| 30° | 60° | 30° |
This table shows typical settings. Always measure your specific window to be sure. Many trim carpenters rely on these general guidelines (Fine Homebuilding Magazine).
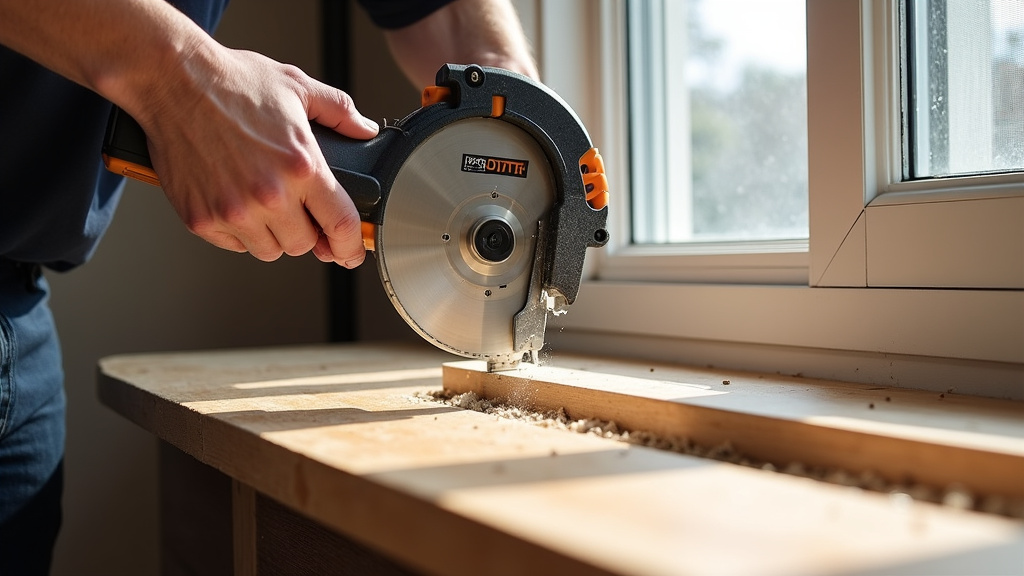
Making the Cut: Step-by-Step Guide
Now that your saw is dialed in, let’s make the cut. Safety first! Always wear safety glasses and hearing protection. Ensure the trim piece is securely clamped to the saw’s base. Never force the saw through the wood. Let the blade do the work.
Positioning the Trim
Place your trim piece flat on the saw’s table. It should rest against the fence. The edge you want to cut should be positioned under the blade. Make sure the blade is set to the correct miter and bevel angles you determined earlier. Double-check your settings before you turn on the saw.
Executing the Compound Cut
Turn on the saw and let it reach full speed. Slowly and smoothly bring the blade down through the trim. Allow the blade to complete the cut. Once the cut is finished, wait for the blade to stop spinning completely. Then, raise the blade. Remove the cut piece of trim. Inspect the cut for smoothness and accuracy.
Tips for a Clean Finish
To get the cleanest cut, ensure your saw blade is sharp. A dull blade will tear the wood fibers. This creates a rough edge. We found that using a high-tooth count blade designed for trim work helps immensely. Also, don’t rush the cut. Patience here means a professional-looking result.
Checklist for Success
Here’s a quick checklist to keep you on track:
- Confirm your saw is a compound miter saw.
- Measure your window’s angle accurately.
- Set your miter angle correctly.
- Set your bevel angle correctly.
- Test cuts on scrap wood first.
- Ensure the trim is securely clamped.
Following these steps will help you achieve those perfect cuts. You’ll be amazed at how much better your trim looks when it fits just right. This precision makes a huge difference in the final appearance of your window.
Conclusion
You’ve now learned how to tackle those tricky raked window casing angles with your miter saw. Remember, the key is understanding the relationship between your saw’s miter and bevel settings. Taking precise measurements and always testing on scrap wood will save you frustration. You’re ready to make those clean, professional cuts that make your trim work shine. Go ahead and give it a try on your next project!
Frequently Asked Questions
What if my window angle isn’t a standard 22.5 degrees?
If your window angle isn’t listed in common charts, you’ll need to measure it directly with an angle finder. Then, you can adjust your miter saw’s settings accordingly. Often, you’ll split the measured angle between the miter and bevel settings for the best compound cut.
Can I use a standard miter saw for raked window casing?
No, you really need a compound miter saw. A standard miter saw only allows for horizontal angle adjustments. Raked windows require both horizontal (miter) and vertical (bevel) blade tilts for the correct cut.
How do I ensure my scrap wood cuts are accurate?
When testing on scrap wood, make sure the scrap piece is the same thickness and material as your actual trim. Set your saw precisely and make the cut. Then, place it against your window opening or a similar angled surface to check the fit before cutting your good trim.
What happens if I don’t clamp the trim securely?
If the trim isn’t securely clamped, it can shift during the cut. This will result in an inaccurate angle and a poor fit against the window frame. It can also be a safety hazard, so always ensure your trim is firmly held down.
How do I know if my bevel and miter angles are mirrored correctly?
You’ll know they’re mirrored correctly if the two cut pieces of trim fit together perfectly to form the angle needed for your window. Always cut and label pieces for opposite sides of the window separately to avoid confusion during installation.
