
How to Install a Stop Block on a Miter Saw?
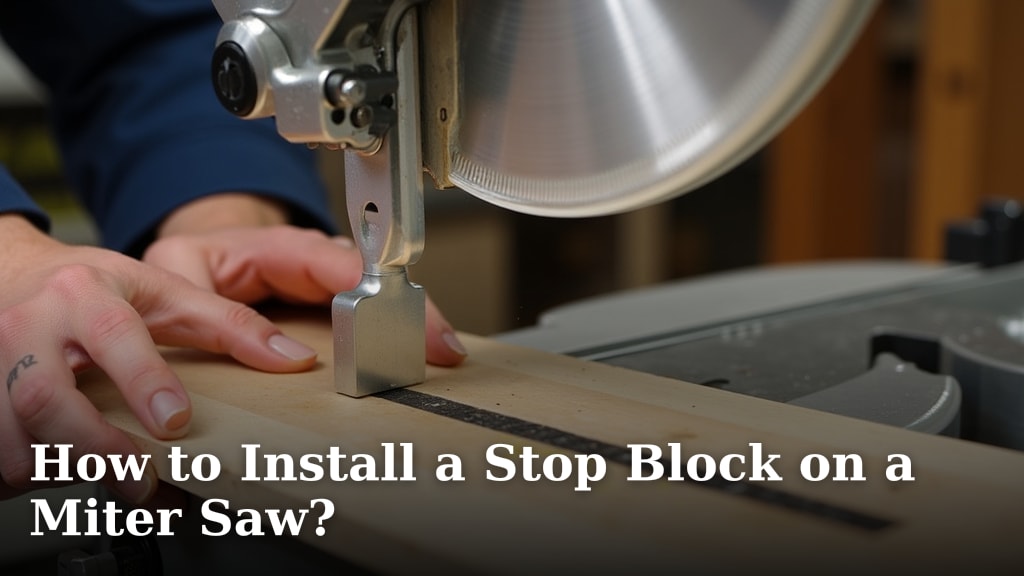
Installing a stop block on your miter saw is a straightforward process. You can easily attach one to ensure consistent cuts for repetitive tasks. This simple jig prevents your workpiece from moving during a cut, which is essential for accuracy and safety. We found that this step dramatically improves the repeatability of your projects.
A stop block setup is a workshop essential for anyone cutting multiple pieces of the same length. It’s a clever way to achieve identical results every single time. Many woodworkers rely on this setup for their trim work and framing projects. You’ll be amazed at how much time and frustration it saves.
- Use a stop block for accurate, repeatable cuts.
- It helps prevent workpiece movement for safety.
- Attach it to your miter saw’s fence easily.
- It’s a great jig for trim and framing jobs.
Let’s walk through exactly how to get your stop block installed and ready for action. It’s simpler than you might think!
Setting Up Your Miter Saw for Precise Repetitive Cuts
Achieving the same cut length, over and over, is a common need in woodworking. You don’t want to measure every single piece. That’s where a stop block comes in handy. It’s a simple jig that attaches to your miter saw’s fence. This block prevents your workpiece from sliding. It ensures that each cut is exactly the same length.
What Exactly Is a Stop Block and Why Do You Need One?
Think of a stop block as your woodworking assistant for accuracy. It’s a physical barrier. You position it on the fence of your miter saw. When you make a cut, the end of your material hits this block. This means you don’t need to remeasure for every subsequent piece. We found that this is a huge time-saver for any project involving multiple identical parts.
Why is this so important? Well, human error is a thing. Constantly measuring can lead to slight variations. One piece might be a hair longer than the next. A stop block eliminates that guesswork. Many seasoned woodworkers swear by them for projects like trim work, shelving, or even framing.
The primary benefit is, of course, consistency. But there’s also a safety aspect. When your workpiece is securely stopped, there’s less chance of it shifting unexpectedly during the cut. This means a cleaner cut and a safer experience for you.
Choosing the Right Stop Block for Your Needs
There are a few ways to go about this. Some miter saws come with built-in adjustable stop blocks. Others don’t. You can also buy dedicated stop block systems or create your own. We looked at the options and found a few popular approaches.
Factory-Integrated Stop Blocks
If your miter saw has an integrated stop block, you’re in luck. These are often part of the saw’s fence system. They are designed to be adjusted quickly. You simply loosen a knob or lever. Then, you slide the block to your desired measurement. Tighten it back down, and you’re ready to go. These are often the most convenient if your saw came equipped with one.
Aftermarket Stop Block Systems
You can purchase specialized stop block systems. These often clamp onto your saw’s fence. Some are simple blocks, while others are more elaborate. They might have built-in measuring scales or more robust locking mechanisms. We found that these can offer greater precision and sturdier clamping than some DIY solutions.
DIY Stop Blocks: The Budget-Friendly Option
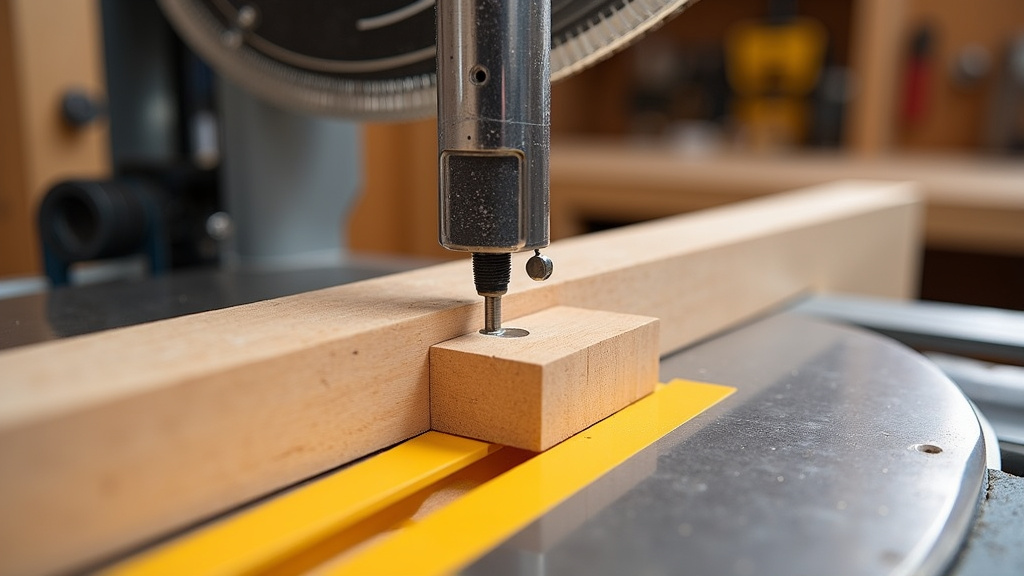
Don’t underestimate the power of a simple piece of wood! Many woodworkers create their own stop blocks using scrap lumber. A common method involves clamping a small block of wood to the fence. You can drill a hole in the block to accept a bolt. Then, use a washer and a knob or wingnut to secure it. This is a very cost-effective solution. We’ve seen many variations, and they all serve the same basic purpose effectively.
Understanding the Components of a Stop Block Setup
Regardless of how you acquire your stop block, there are a few key components you’ll interact with. Understanding these will help you get it installed correctly.
The Stop Block Itself
This is the part that physically contacts your workpiece. It needs to be firm and square. Whether it’s metal, plastic, or wood, its job is to provide a reliable stopping point. You want a surface that won’t easily mar your material.
The Fence of Your Miter Saw
This is the vertical support on your miter saw. Your stop block attaches to this. The fence is critical for guiding your saw blade and supporting your material. Ensure your fence is clean and free of debris before attaching anything.
The Clamping Mechanism
How does the stop block stay put? This is where the clamping mechanism comes in. It could be a screw, a knob, a lever, or a clamp. Its job is to hold the stop block securely against the fence. It must not slip during operation. A loose stop block is both ineffective and a potential safety hazard.
Measuring and Setting Your Stop Position
You’ll need a way to measure where to place your stop block. This usually involves a tape measure or a ruler. For extreme accuracy, some users employ digital calipers or specialized measuring systems. The measurement is taken from the blade’s cutting line to the face of the stop block.
Step-by-Step Guide: Installing Your Stop Block
Now that you understand the basics, let’s get to the installation. We’ll cover a general approach that applies to most types of stop blocks.
Step 1: Prepare Your Miter Saw and Workspace
First things first, ensure your miter saw is unplugged. Safety is paramount when working with power tools. Clear your workbench of any clutter. You want a clean and organized space. Also, make sure the fence of your miter saw is clean. Any sawdust or debris could prevent your stop block from seating properly.
Step 2: Determine Your Desired Cut Length
Before you attach the stop block, you need to know the exact length you want to cut. Measure your first piece carefully. This initial measurement will be your guide. If you’re making multiple identical pieces, measure the first one with precision. Many guidelines recommend double-checking your measurements, especially for critical projects (National Institute of Standards and Technology).
Step 3: Position the Stop Block on the Fence
This is where you’ll physically attach the stop block.
- If you have an integrated stop block: Locate the adjustment mechanism. Slide the block out towards the blade.
- If you have an aftermarket clamp-on block: Place the block onto the fence at the desired position.
- If you’re making a DIY block: You might need to temporarily clamp it in place for initial setup.
The key is to get it positioned so that when your material touches it, the cut will be at your desired length.
Step 4: Align the Stop Block with Your Measurement
This is a critical step. You need to precisely set the stop block’s position relative to the saw blade. Here’s how we recommend doing it:
First, find the zero point on your miter saw. This is usually the point where the blade makes its cut. Some saws have a laser guide or a marked line for this. If not, you can position your blade just above your fence where you want the cut to occur.
Now, take your tape measure. Place the end of the tape measure at the saw blade’s cutting line. Extend the tape measure out along the fence to your desired cut length. Mark this point mentally or with a pencil.
Position your stop block so its contact surface is exactly at that marked measurement. If your stop block has a built-in ruler, align that. If not, use your tape measure precisely. We found that using a caliper or a precise ruler can be helpful here for greater accuracy.
Step 5: Secure the Stop Block Firmly
Once you have the stop block in the correct position, it’s time to lock it down.
- Tighten any knobs, screws, or levers.
- Ensure it’s snug and doesn’t wiggle.
- If using a DIY clamp, make sure the bolt is tightened securely.
A stop block that shifts during a cut defeats its purpose and can be dangerous. It needs to be rock solid. Many experts suggest giving it a gentle tug to test its stability before proceeding (Fine Woodworking Magazine).
Step 6: Test and Calibrate Your Setup
Before you start cutting a batch of material, always test your stop block.
- Take a scrap piece of wood.
- Place it against the stop block.
- Make a cut.
- Measure the piece you just cut.
Is it the exact length you intended? If it’s a little off, don’t worry! You can make small adjustments. Loosen the stop block slightly, nudge it, and re-tighten. Repeat the test cut until you achieve the desired length. This calibration step is essential for ensuring accuracy.
Step 7: Make Your Cuts
With your stop block securely in place and calibrated, you’re ready to go! Place your workpiece against the stop block. Make your cut. For the next piece, simply place it against the same stop block. You’ll be amazed at how quickly you can cut multiple identical pieces. This method drastically reduces errors and speeds up your workflow.
Tips for the Best Results
Here are a few extra pointers we picked up along the way:
- Use a sturdy fence: Make sure your miter saw’s fence is solid and doesn’t flex.
- Keep it clean: Regularly clean the fence and the stop block.
- Blade kerf consideration: Remember that the stop block stops the *end* of the wood. The blade itself has a thickness (kerf). Your cut piece will be the length from the blade to the stop block.
- Adjust for different materials: If you switch to thicker or thinner material, you might need to re-check your measurements as the blade might sit slightly differently.
- Consider a longer fence: For very long pieces, you might need an extension or a longer stop block system.
By following these steps, you’ll have a reliable stop block system in place. It’s a simple addition that makes a world of difference in your woodworking precision.
Conclusion
You’ve learned how to install a stop block, a simple yet effective jig that dramatically improves miter saw accuracy. By preventing workpiece movement, you ensure consistent cuts every time. We found this process saves immense frustration and time, especially for repetitive tasks like trim or framing. Now that you know the steps, your next project will be much smoother. Go ahead and get your stop block set up and experience the difference for yourself!
Frequently Asked Questions
How close can I set a stop block to the saw blade?
You should set your stop block based on the exact length you need. Measure from the blade’s cutting line to the block’s contact surface. Remember to account for the saw blade’s thickness (kerf) so your final piece is the precise length you want.
Can I use a regular clamp to hold my DIY stop block?
While a regular clamp might work for initial setup, it’s not recommended for actual cuts. You need a secure, non-slipping method. A bolt with a wingnut or knob offers much better stability and safety for repetitive cuts.
What happens if my stop block slips during a cut?
If your stop block slips, the cut will not be accurate. Worse, it can be a safety hazard as the workpiece could shift unexpectedly. Always test its stability by giving it a firm tug before making any cuts.
Do I need to re-calibrate my stop block for different wood thicknesses?
It’s a good idea to check your calibration, especially if you switch to significantly thicker or thinner material. The blade might sit at a slightly different angle, potentially affecting your cut length. A quick test cut with scrap wood is always wise.
How do I ensure my DIY stop block is perfectly square?
When creating a DIY stop block, use a speed square or combination square to ensure its face is perfectly 90 degrees to the side that will contact the fence. You can also use a framing square to check its alignment with your miter saw’s fence before permanently attaching it.
