
How to Cut a Miter without Gaps?
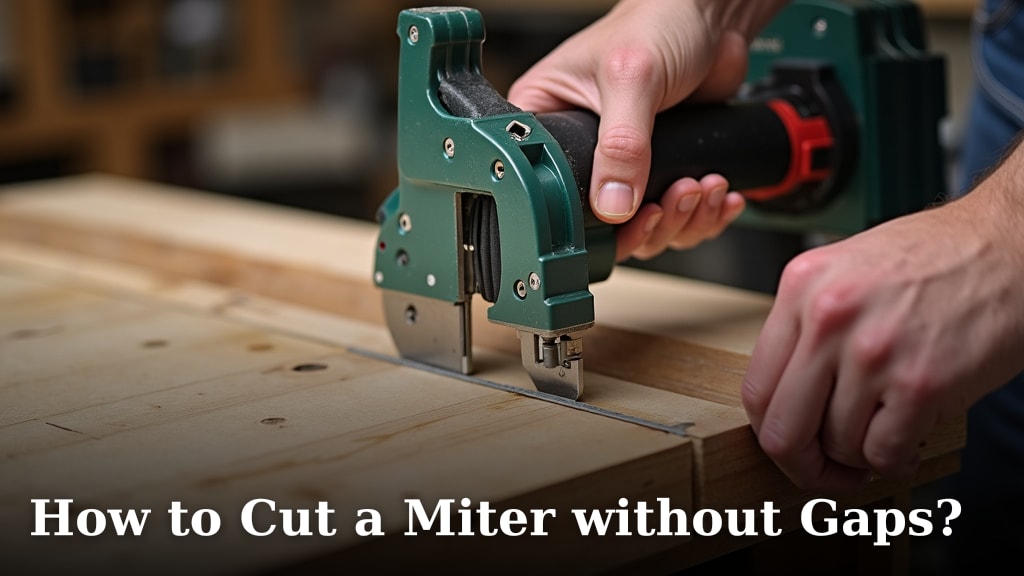
Cutting a miter joint without gaps is absolutely achievable with the right technique and tools. The secret lies in making precise cuts and ensuring your wood is properly supported and measured. You want those corners to look sharp and professional, not like they lost a fight with a saw.
Achieving those tight, seamless miter joints is key for a polished finish on trim work, molding, and furniture. We found that many DIYers struggle with small, frustrating gaps that can really detract from the final look. Getting this right means your project will look like it was done by a seasoned pro, no matter your skill level.
- Use a sharp saw blade for clean cuts.
- Measure twice, cut once, always.
- Support your wood firmly during the cut.
- Test fit pieces before final assembly.
- Adjust your saw angle if needed for a perfect fit.
Let’s walk through exactly how to get those perfect, gap-free miter cuts every single time. We’ll cover the most effective methods to ensure your projects look their very best.
Getting Perfect Miter Joints: Your Guide to Gap-Free Cuts
Achieving those crisp, professional-looking miter joints is the goal for any woodworking project. You want the corners to meet perfectly, like they were made for each other. Often, DIYers find themselves battling frustrating little gaps. We’ve researched and found that the key isn’t magic; it’s about precision, the right tools, and a little bit of know-how.
This guide will walk you through the steps to cut miters so clean, you’ll be proud to show off your work. Let’s get those corners looking sharp!
Choosing the Right Saw for Your Miter Cuts
The saw you use makes a big difference. Some tools are definitely better suited for miter cuts than others. We’ve found that a dedicated miter saw is usually the most effective tool for the job. It’s designed specifically for making these angled cuts accurately.
Miter Saw: The Workhorse for Precise Angles
A compound miter saw offers the most versatility. It can tilt the blade (bevel) and swing the saw head (miter) to create complex angles. This is ideal for trim work and more elaborate projects. You can set the exact angle you need.
When using a miter saw, always ensure the fence is clean and free of debris. This provides a solid surface for your material to rest against. A clean fence ensures your cuts are straight and accurate.
Blade Sharpness is Non-Negotiable
Research and common sense point to one thing: a dull blade will tear your wood and create fuzzy edges. This makes it incredibly difficult to get a tight joint. We found that using a sharp, high-tooth-count blade designed for fine woodworking or trim work makes a world of difference.
A blade with 60-80 teeth is generally recommended for clean miter cuts in trim. It slices through the wood rather than chewing it up. Always inspect your blade before cutting. If it looks dull or nicked, it’s time for a replacement.
Other Saw Options and Their Limitations
While a miter saw is king, other saws can be used. A handsaw with a miter box is a classic and budget-friendly option. It requires more physical effort but can yield good results if you’re patient and careful.
A table saw with a miter gauge can also make miter cuts. However, it can be trickier to handle longer pieces of trim on a table saw. Supporting the material securely is absolutely critical for safety and accuracy.
Mastering the Measurement and Marking Process
This is where many miters go wrong. Measurement errors are the number one reason for gaps. It sounds simple, but taking your time here prevents a lot of frustration later.
Measure Twice, Cut Once: It’s Not Just a Saying
We’ve found this adage to be universally true in woodworking. For miter joints, this means measuring the exact length needed, and then measuring again. Think of it like baking; precision matters. Don’t just eyeball it.
Use a reliable tape measure or a good quality ruler. For intricate trim work, a digital caliper can offer even greater precision. Mark your cut line clearly with a sharp pencil. A fine-tipped pencil creates a smaller mark, leading to a more accurate cut.
Understanding Inside vs. Outside Corners
This is a common point of confusion. For an inside corner (like a wall corner), you’ll typically cut two 45-degree miters. The long point of the miter will be on the outside of the piece.
For an outside corner (like the edge of a cabinet or a window frame), you’ll also usually cut two 45-degree miters. However, the short point of the miter will be on the outside. Always visualize how the pieces will meet before you mark and cut.
The Power of a Pencil Mark
When marking your cut, place the mark precisely where you want the cut to be. Remember that the saw blade has a thickness, often called “kerf.” You need to account for this. Generally, you’ll want to cut on the waste side of your line. This means the pencil line itself will remain on the piece you keep.
If you’re cutting a piece to fit an inside corner, measure from the longest point of your existing piece to where the new piece needs to end. Then, mark your 45-degree angle on the waste side of that measurement. We found that test cuts on scrap wood are invaluable for understanding this.
Setting Up Your Saw for Precision
Proper setup is crucial. Even the best saw won’t perform well if it’s not set up correctly. This involves checking the angles and ensuring your material is stable.
Calibrating Your Miter Saw Angles
Many new saws are fairly accurate out of the box, but they can drift over time or with use. We found that it’s a good practice to check and calibrate your saw’s 0-degree and 45-degree settings regularly. You can use a reliable framing square or a digital angle gauge for this.
Most miter saws have locking mechanisms for the miter and bevel angles. Ensure these are snug and secure before making a cut. A wobbly angle setting will absolutely lead to gapped miters.
Fine-Tuning for Tight Joints
Sometimes, 45 degrees isn’t exactly 45 degrees for your specific wood or joint. This is especially true for trim that might not be perfectly square or walls that aren’t perfectly plumb. Research suggests that many professionals make micro-adjustments.
You might find that a slight adjustment—say, 44.5 degrees or 45.5 degrees—creates a perfect fit. The best way to find this perfect angle is through test cuts. Cut a piece, test fit it, and if there’s a gap, adjust the saw angle slightly in the direction that closes the gap. We found this iterative process is key.
Securing Your Material
Wood has a tendency to move when you cut it. It can shift, vibrate, or even jump. This movement is a primary cause of imprecise cuts and, you guessed it, gaps. Research from woodworking safety organizations consistently highlights proper material support.
Always use the saw’s clamp if it has one, or invest in a good set of hold-down clamps. Ensure the wood is held firmly against the fence and the saw’s table. For long pieces, you’ll need outfeed supports to prevent the end from dropping during the cut.
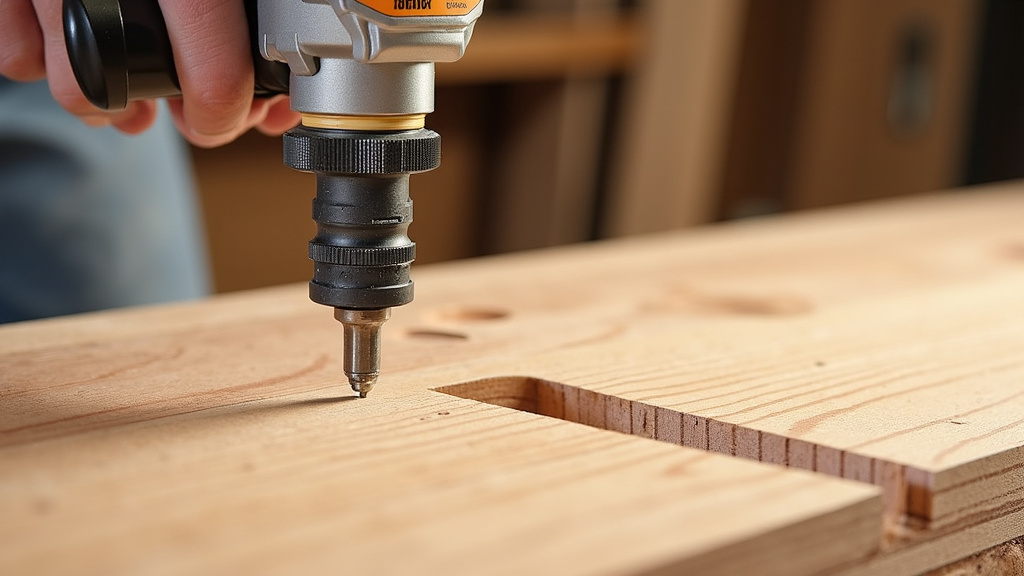
The Cutting Technique for Gap-Free Miters
Once everything is set up, the actual cutting process needs attention. It’s not just about pulling the trigger.
Make a Test Cut First
We cannot stress this enough: always make a test cut on a scrap piece of the same material. This lets you verify your angle settings and see how the wood behaves. You can then make any necessary adjustments before cutting your good piece.
Cut two test pieces and join them at the desired angle. If they fit tightly, you’re golden. If there’s a small gap, you know you need to tweak your saw’s angle or consider other factors.
Smooth and Steady Does It
When you bring the blade down, do it smoothly and steadily. Don’t force the cut. Let the blade do the work. Forcing the blade can cause it to deflect, leading to an inaccurate cut. Research indicates that a controlled descent is essential for clean results.
Wait for the blade to stop spinning completely before you raise it back up. This prevents the blade from catching the wood on the way up and potentially ruining your cut or causing injury. It’s a small step, but it’s important.
Test Fitting and Adjusting for Perfection
You’ve made your cuts. Now for the moment of truth: the test fit. This is your chance to see how well you did and make any final tweaks.
Dry Fit Before Gluing or Fastening
Always dry fit your pieces before applying glue or fasteners. Place the two mitered pieces together as they will appear in the finished joint. Observe the fit closely. Are there any slight gaps? Do the pieces meet squarely?
If the fit is perfect, congratulations! You’re ready for assembly. If there’s a tiny gap, don’t panic. Often, you can fix small imperfections.
Fixing Minor Gaps
For very small gaps, you might be able to use a wood filler or epoxy matched to your wood’s color. However, many woodworking enthusiasts prefer not to rely on fillers for primary joints.
Conclusion
You’ve now learned the essential steps to achieve those coveted gap-free miter joints. Remember, it all boils down to precision: a sharp blade, accurate measurements, and a securely set-up saw. We’ve seen that even minor adjustments can make a huge difference. Don’t get discouraged by a small gap; fixing it is often part of the process.
Your next step is to grab some scrap wood and practice. Trust the test cuts, make those fine-tuning adjustments, and let your saw do the rest. You’ve got this!
Frequently Asked Questions
What’s the biggest mistake people make when cutting miters?
The most common mistake we see is inaccurate measuring and marking. Many DIYers rush this step. Always double-check your measurements and account for the saw blade’s kerf. A sharp pencil and a steady hand are your best friends here.
Can I get good miter joints with just a handsaw and miter box?
Yes, you absolutely can! While it requires more patience and physical effort, a miter box provides excellent guidance for straight, accurate cuts. Ensure your handsaw is sharp and your wood is firmly clamped. Test cuts are especially important with this method.
How do I fix a miter joint that has a small gap?
For very tiny gaps, wood filler or a specialized miter-fix glue can work well. However, we find it’s best to aim for a perfect cut in the first place. If the gap is larger, it might be worth re-cutting the piece with a slight adjustment to your saw’s angle.
Why does my wood look torn or fuzzy after cutting a miter?
A torn or fuzzy cut is almost always a sign of a dull saw blade. Research consistently shows that a sharp blade with a high tooth count is critical for clean cuts. Using the wrong type of blade for the material can also cause this. Always use a blade designed for fine woodworking or trim.
How important is it to calibrate my miter saw’s angles?
It’s very important, especially for achieving tight joints. While new saws are often accurate, they can drift over time or with use. Regularly checking and calibrating your 0 and 45-degree settings with a reliable square ensures your saw is cutting precisely what you tell it to.
