How to Release the Bevel Lock on a Metabo Miter Saw
To release the bevel lock on a Metabo miter saw, hold the saw head steady, pull or turn the bevel lock knob or lever to loosen it, and tilt the head to the angle you need. Then tighten the lock again before you cut.
On this page (10 sections)
- Where is the bevel release lock on a Metabo miter saw?
- How do you release the lock and tilt the head step by step?
- What does the bevel angle scale tell you?
- How do you lock the bevel again after tilting?
- How is this different from releasing a miter saw?
- How do you set a bevel cut on a Metabo saw?
- What if the head drops or will not hold the angle?
- Which products help after you set the bevel?
- How do you lock the saw head when you finish cutting?
- Final check before you cut at a bevel angle
To release the bevel lock on a Metabo miter saw, hold the saw head steady, loosen the bevel lock knob or lever, tilt the head to your angle, and lock it again. That is the whole job, and the key is to never let the head swing on its own.
The bevel lock holds the saw head at a tilted angle for cuts that are not straight up and down. Once it is loose, the head can move.
Once it is tight, it should stay put through the cut.
Where is the bevel release lock on a Metabo miter saw?
The bevel release lock is near the tilt pivot on the side of the saw head, usually a knob you turn or a lever you pull. It sits close to the bevel scale so you can hold the head and loosen it with the other hand.
Metabo uses different layouts across models. Some use a large knob at the pivot, others a lever you lift or push.
Loosen it to tilt, tighten it to hold. If you cannot find it, look on the side where the head tilts.
Your manual will name the part for your exact model.
How do you release the lock and tilt the head step by step?
Do it in this order: support the head, release the lock, tilt slowly, read the scale, and lock again. Never release the lock with the blade spinning.
Make sure the blade has stopped. Unplug the saw or use the switch as your manual directs for setup work.
Keep the blade guard in place. Hold the saw head firmly with one hand.
With the other hand, loosen the bevel lock and keep holding it so it does not drop.
Tilt the head slowly to the angle you need. Watch the pointer against the bevel scale as you move.
Tighten the bevel lock until the head holds firm, then give it a gentle push to confirm it does not move. Only then make a test cut.
What does the bevel angle scale tell you?
The scale shows how far the blade is tilted from a straight vertical cut. A reading of 0 degrees means the blade is upright.
Larger numbers mean the head is tilted further.
Read the scale at the pointer, not at the edge of the housing. Small errors are easy when the head moves while you tighten the lock, so check the reading after locking, not just before.
Detents can help if your model has preset stops at common angles. Do not force past a detent your manual does not allow.
For a fuller walkthrough of setting angles, see How To Set Miter Saw Angles?. It helps you read the scale before you tilt the head.
How do you lock the bevel again after tilting?
Tighten the lock, check the scale reading, and test the head for movement. A bevel lock that is only partly tight can drift during a cut.
Hold the head in place and tighten the lock firmly, then let go slowly. If the head stays, read the scale again.
It should match the angle you set. Make a test cut on scrap wood and measure the result with a square or protractor.
If it is off, loosen the lock, nudge the head, and lock it again.
Do not over-tighten the knob with tools. Hand tight is usually enough, and forcing it can damage the lock.
How is this different from releasing a miter saw?
The miter lock holds the saw head at a left or right angle in the horizontal plane. The bevel lock holds the head at a tilted angle in the vertical plane.
They are separate controls for separate moves.
Many beginners mix them up. The miter control swings the whole saw base.
The bevel control tilts the blade head sideways. You may need both for compound cuts, but you set them one at a time.
If you are unsure which control you are touching, stop and check the scale. The miter scale is on the base, the bevel scale is on the tilting head.
For the other control, read How To Release Miter Saw?. That guide covers the horizontal swing so you do not confuse the two locks.
How do you set a bevel cut on a Metabo saw?
Set the miter first if you need it, then release the bevel lock, tilt, lock, and test on scrap. Order matters when both angles change.
Start with the saw at 0 degrees for both angles. Set the miter angle and lock it.
Then release the bevel lock and tilt the head. Lock the bevel and check both scales.
Place your workpiece flat and firmly against the fence, and test on scrap first, especially on wider boards.
When the test cut looks right, make the real cut in one smooth motion. Do not pause mid-cut.
Keep the workpiece steady until the blade stops.
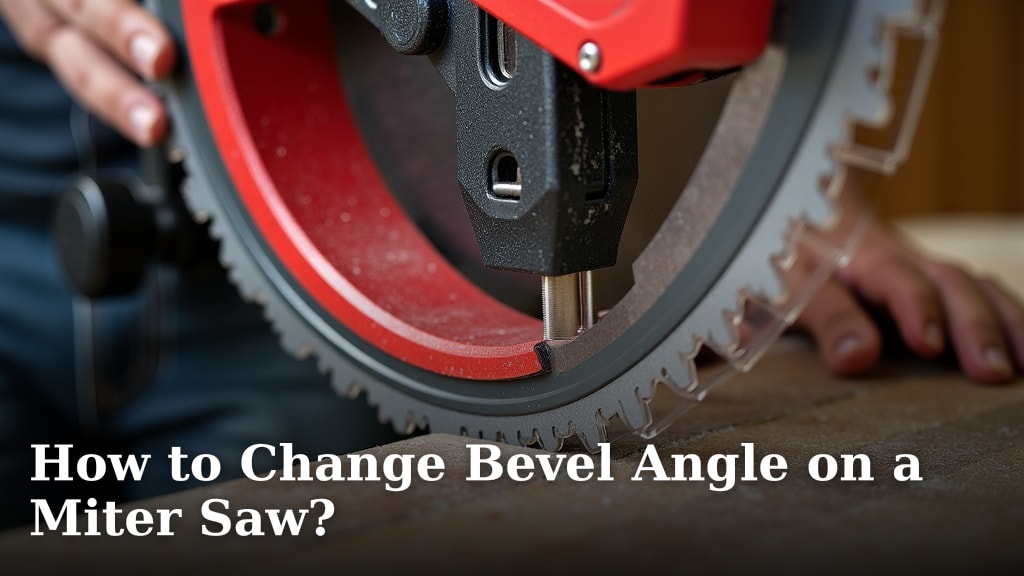
Our guide to How to Change Bevel Angle on a Miter Saw? adds detail on measuring and checking the result.
What if the head drops or will not hold the angle?
Support the head with one hand the whole time the lock is loose. The head is heavy, and gravity will pull it down once the lock opens.
If the head drops fast, you released the lock too quickly. Hold it, guide it back to your angle, and tighten the lock again.
Slow movement keeps the reading accurate. If the head will not hold after tightening, check that you tightened the bevel lock and not another knob.
Also check that the head is not resting against a stop.
If the lock feels worn or slips under light pressure, stop using the saw for bevel cuts. A loose lock is a safety issue, so have it checked before your next cut.
Which products help after you set the bevel?
A sharp blade and the right stops make bevel work easier. The products below solve common problems that show up once the head is tilted.
Do crown stops help with bevel cuts?
Crown stops help when you need to hold crown molding upright against the fence for an accurate cut. A bevel cut on crown is hard to judge if the piece sits at the wrong angle.
The DEWALT Miter Saw Crown Stops include 2 stops that position crown molding vertically against the saw fence. They use tough steel construction.
DEWALT lists them for use with models DW703, DW706, DW708, DW712, DW715, DW716, DW717, DW718 and DWS780.
These stops suit trim work, not general lumber. Skip them if your project has no crown molding.
For blade angle work on a Metabo, see metabo miter saw adjust blade angle.
Which blade suits a 12 inch miter saw after tilting?
A 12 inch blade gives you more cutting depth and width for larger pieces at a bevel angle. When the head tilts, you lose some usable depth, so blade size matters.
The DEWALT 12-Inch Miter Saw Blade 2-Pack includes one 80-tooth blade and one 32-tooth blade. Both are tungsten carbide crosscutting blades for use with miter saws and slide miter saws.
The 80-tooth blade suits finer crosscuts. The 32-tooth blade suits faster cuts in thicker stock.
Check that your saw takes a 12 inch blade before you buy. Match the tooth count to the material, with finer teeth for finished wood and lower teeth for rough or thick stock.
When is a 7-1/4 inch finish blade the better pick?
This blade suits portable saws and smaller jobs where a 7-1/4 inch blade fits. It is not a direct swap for a 12 inch miter saw blade, so check your saw size first.
The Freud Diablo Finish Saw Blade is 7-1/4 inches in diameter with 40 ATB teeth, a 5/8 inch arbor, and an 8000 max RPM rating. Freud says the TiCo Hi-Density carbide teeth are designed for smooth crosscuts in hardwood, softwood, and plywood.
The Perma-SHIELD coating helps protect against heat, gumming, and corrosion.
Use this size only if your saw calls for it. For tilt work on a different brand, compare ryobi mitre saw tilt to see how another maker handles the same move.
How do you lock the saw head when you finish cutting?
Return the head to 0 degrees, lock it upright, and secure the saw for storage. A tilted head can catch on shelves or bump during transport.
After your last cut, loosen the bevel lock, tilt the head back to 0, and tighten the lock. Check the scale reads 0.
Then use the head lock or latch your manual describes. For storage, see How To Lock A Miter Saw?.
Wipe dust from the bevel scale and lock area. Sawdust in the lock can keep it from tightening fully.
A dry brush is enough for routine cleaning.
Final check before you cut at a bevel angle
For the bevel release lock on Metabo miter saw use, remember the order: support, loosen, tilt, read, tighten, and test. That order keeps the head safe and the angle true.
Before each bevel cut, confirm the blade has stopped, the lock is loose only while you tilt, the scale reads correctly after locking, and the workpiece is firm against the fence. A test cut on scrap takes seconds and saves finished wood.
If the head drops, slips, or will not lock, stop and fix the lock first. A bevel cut is only as safe as the lock that holds it.
Frequently asked questions
Where is the bevel lock on a Metabo miter saw?
On most Metabo miter saws, the bevel lock is a knob or lever near the pivot where the saw head tilts. You loosen it to tilt the head and tighten it to hold the angle.
Check your model's manual for the exact position, as controls vary by model.
Can I tilt the saw head with the blade spinning?
No, stop the blade and let it come to a full stop before you release the bevel lock and tilt the head. Keep your hand away from the blade path while you loosen, move, and retighten the lock.
Only start the saw again after the angle is locked.
Why does the head drop when I release the lock?
The head is heavy and springs or gravity can pull it downward once the lock is loose. Support the head with one hand while you release the lock, then guide it slowly to the new angle.
Tighten the lock firmly before you let go.
How do I know the bevel is set correctly?
Read the angle on the bevel scale and pointer, then lock the head and check the reading again. A test cut on scrap wood shows whether the angle matches your mark.
Adjust and recheck before you cut the finished piece.