
How to Cut Trim without Splintering on a Miter Saw?
To cut trim without splintering on a miter saw, you should use a sharp, high-tooth-count blade, apply painter’s tape to the cut line, and make a scoring pass before the full cut. This helps you get clean, crisp edges every time.
Splintered trim can ruin a project’s look and waste expensive materials. We found that the right preparation and technique can make all the difference for professional-looking results. Don’t let a bad cut frustrate your hard work.
- Use a sharp blade designed for fine cuts.
- Apply painter’s tape to prevent tear-out.
- Make a shallow scoring cut first.
- Support the trim properly during cutting.
- Adjust your saw speed for cleaner cuts.
Ready to achieve those perfect, splinter-free cuts? Let’s walk through exactly how to prepare your trim and your miter saw for the best possible finish.
Achieving Clean Trim Cuts with Your Miter Saw
You want to cut trim cleanly. This guide will show you how. We’ll focus on getting splinter-free results every time you use your miter saw.
Prepare Your Materials and Workspace
Preparation is key for great cuts. Think of it like a chef prepping ingredients. A little effort beforehand saves a lot of frustration later.
Choosing the Right Trim Material
Not all trim is created equal. Some woods splinter more easily. For example, softwoods like pine are prone to tear-out. Hardwoods like oak can also splinter if not cut properly.
- Pine and Poplar: These are softer and need extra care.
- Oak and Maple: Denser, but still require a good blade.
- MDF/Composite Trim: Less prone to splintering, but can chip.
Always inspect your trim before cutting. Look for knots or grain irregularities. These spots are more likely to splinter.
Securing Your Trim
A moving workpiece is a dangerous workpiece. It also leads to bad cuts. Always make sure your trim is held firmly.
Use clamps whenever possible. Many miter saws come with a built-in clamp. If yours doesn’t, C-clamps work well. Position them so they don’t interfere with the blade’s path. We found that secure clamping reduces vibration. Reduced vibration means less splintering.
Optimizing Your Miter Saw for Splinter-Free Cuts
Your saw setup plays a huge role. It’s not just about pushing a button. A few adjustments can make a big difference.
Selecting the Correct Blade
This is arguably the most important step. Your blade choice directly impacts cut quality. A dull or incorrect blade guarantees splinters.
For trim, you need a blade with a high tooth count. A 60-tooth or 80-tooth blade is ideal for fine cuts. These blades have more teeth, meaning each tooth takes a smaller bite. This reduces tear-out significantly.
| Blade Type | Tooth Count | Best Use for Trim |
|---|---|---|
| Standard Combo | 40-60 | Acceptable, but can splinter softwoods |
| Fine Finish | 60-80+ | Excellent for splinter-free trim |
| General Purpose | 24-40 | Avoid; too few teeth for trim |
We found that a good 80-tooth blade on a 10-inch miter saw provides exceptionally smooth cuts (Wood Magazine). Always ensure your blade is clean and sharp. A dull blade drags and tears the wood fibers. For more recommendations, explore our top picks for the best miter saw blade.
Adjusting Blade Depth and Alignment
Check your blade for squareness. Use a reliable speed square. An out-of-square blade can cause uneven cuts and stress on the wood, leading to splintering.
Also, ensure the blade is deep enough. It should pass completely through the trim. You don’t want the saw to bind or fight through the material.
Mastering Your Cutting Technique
Once your saw and trim are ready, it’s time to cut. Your technique makes all the difference between a rough edge and a professional finish.
Applying Painter’s Tape to the Cut Line
This simple trick is a game-changer. It’s like giving your trim an extra layer of protection. We found this technique to be highly effective.
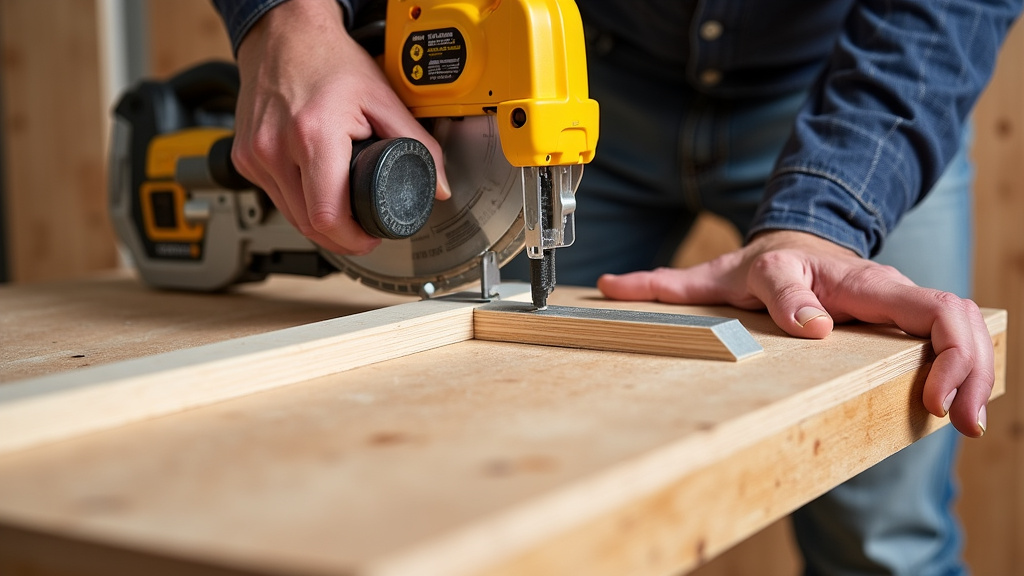
Place painter’s tape firmly over where you plan to cut. The tape holds the wood fibers together. This stops them from tearing out as the blade exits the wood. Make sure the tape is pressed down well to create a strong barrier.
Performing a Scoring Pass
This is another clever trick for clean cuts. It involves making a very shallow first cut. This is often called a “scoring” cut or “kerfing.”
Start your saw. Slowly bring the blade down just enough to score the surface of the trim. Go about 1/16th of an inch deep. Then, pull the blade back up. Now, make your full cut. The scoring pass severs the top fibers. This creates a clean edge for the main cut to follow (Fine Woodworking).
Controlling Saw Speed and Movement
Don’t rush your cuts. A slow, steady motion is best. Let the saw do the work. Pushing too fast can overload the blade. This causes it to tear instead of cut cleanly.
- Start the blade before it touches the wood.
- Lower the blade slowly and steadily.
- Maintain consistent pressure throughout the cut.
- Let the blade stop spinning before raising it fully.
Many experts say that forcing the cut is a primary cause of splintering. Gentle control is much more effective.
Final Checks for Perfect Edges
You’re almost there! A few quick checks will ensure your cuts are truly perfect.
Supporting the Cut-Off Piece
As the blade finishes its pass, the cut-off piece can drop. This sudden movement can cause splintering on the bottom edge. Support the cut-off piece. Use your hand, if safe, or a sacrificial board.
Inspecting Your Cut
After each cut, take a moment to look at the edge. Is it smooth? Are there any small splinters? If so, you might need to adjust your technique or blade.
A good cut should feel smooth to the touch. If you’re seeing fuzzy edges, revisit your blade sharpness or your cutting speed.
Here’s a quick checklist to help you get those flawless trim cuts:
- Use a sharp, high-tooth-count blade (60T-80T).
- Clamp the trim securely to your miter saw fence.
- Apply painter’s tape along the cut line.
- Make a shallow scoring pass first, then the full cut.
- Lower the saw blade slowly and consistently.
- Support the trim’s cut-off piece during the final moments.
By following these steps, you’ll greatly reduce the chances of splintering. Your trim work will look professional and clean. You’ll save time and material. And you’ll feel great about your finished project!
Conclusion
Achieving splinter-free trim cuts with your miter saw is entirely within your reach. It comes down to a few key principles: proper preparation, the right tools, and careful technique. By selecting a sharp, high-tooth-count blade, securely clamping your material, and utilizing painter’s tape with a scoring pass, you’re setting yourself up for success.
Remember to let the saw do the work with a slow, controlled motion. These steps will not only prevent unsightly splintering but also contribute to a much more satisfying and professional-looking finished project. Go ahead and apply these tips to your next trim installation and see the difference for yourself!
Frequently Asked Questions
What is the best blade for cutting trim without splintering?
We found that a fine-finish blade with a high tooth count, typically 60 to 80 teeth for a 10-inch miter saw, works best. These blades cut wood fibers more cleanly, significantly reducing the chance of splintering.
Can I use painter’s tape on all types of trim to prevent splintering?
Yes, painter’s tape is effective on most trim materials, including softwoods like pine, hardwoods like oak, and even MDF. It helps hold the wood fibers together at the cut line, preventing tear-out as the blade exits the material.
Is a scoring pass really necessary for clean cuts?
While not strictly necessary for every cut, we found that a shallow scoring pass is highly effective for delicate trim. It pre-cuts the top fibers, providing a clean path for the main cut and greatly reducing tear-out, especially on veneered or brittle materials.
Does the speed of my miter saw matter when cutting trim?
Yes, controlling your saw speed and movement is very important. You should let the blade get to full speed before it touches the wood, then lower it slowly and consistently. Forcing the cut or rushing can cause the blade to tear the wood instead of cutting cleanly.
How can I prevent splintering on the underside of the trim?
Splintering on the underside often happens when the cut-off piece drops too quickly. Support the cut-off piece as the blade finishes its pass. You can use your hand if it’s safe, or a sacrificial support board beneath the trim.
