
Why Does Wood Splinter When Cut on a Miter Saw?
Wood splinters when cut on a miter saw primarily because of the way the saw blade tears through the wood fibers, rather than cleanly slicing them. This often happens due to blade issues, wood characteristics, or improper technique. Understanding these factors helps you achieve smoother, splinter-free cuts.
You might notice more splintering with certain types of wood or if your blade is dull. It’s a common frustration for woodworkers. But don’t worry, there are simple adjustments you can make to avoid it. We’ve researched and found the best ways to keep your cuts clean and professional looking.
TL;DR:
- Dull blades cause splintering.
- Incorrect blade type matters.
- Wood grain direction is important.
- Poor cutting technique contributes.
- Using support reduces tear-out.
Let’s walk through exactly why your wood might be splintering and what you can do about it. We’ll show you how to get those perfect cuts you’ve been looking for.
Understanding Why Your Miter Saw Causes Splinters
You want a clean cut, but sometimes your miter saw seems to have other plans. Why does wood splinter when you cut it? It usually comes down to how the saw interacts with the wood fibers. When the blade doesn’t slice cleanly, it tears. This tearing action pulls and breaks off small pieces, creating those frustrating splinters. Think of it like trying to cut a tomato with a dull knife – instead of a smooth slice, you get a squashed, messy result.
Blade-Related Causes of Splintering
The blade is the star of the show when you’re cutting wood. If it’s not performing at its best, you’re going to see splintering. It’s often the first place to look when trying to fix this common problem.
Dull or Damaged Blades
A dull blade is perhaps the most common culprit. When your blade loses its sharpness, it stops cutting and starts tearing. This is especially true for the teeth. Over time, every blade will dull, especially with heavy use or when cutting harder woods. You’ll notice more effort is needed to push the saw through the material, and the cuts will look rough.
Damaged teeth can also cause major issues. If a tooth is bent, chipped, or missing, it creates an uneven cutting surface. This can lead to uneven pressure on the wood, causing fibers to tear rather than being neatly severed. Always inspect your blade for any visible damage before starting a project.
Incorrect Blade Type for the Material
Not all saw blades are created equal, and using the wrong one is a big reason for splintering. Different blade types are designed for different jobs. For example, a blade with fewer teeth (like a 24-tooth blade) is great for fast rough cuts on construction lumber, but it will absolutely splinter plywood or hardwoods. It’s too aggressive. On the other hand, a blade with many teeth (like an 80-tooth blade) is designed for smooth, fine cuts.
Here’s a quick guide to common blade types and their typical uses:
| Blade Type (Teeth Count) | Best For | Splintering Risk |
|---|---|---|
| Low (24-40 teeth) | Fast, rough cuts; framing lumber | High on plywood/hardwoods |
| Medium (40-60 teeth) | General purpose; crosscutting | Moderate |
| High (60-100+ teeth) | Fine cuts; plywood, veneers, laminates | Low |
Choosing a blade with a high tooth count is your best defense against splintering on delicate materials. We found that blades specifically designed for plywood or melamine often have a negative hook angle, which helps to prevent tear-out on the top surface.
Wood Characteristics Affecting Cuts
The wood itself plays a huge role in how it reacts to your saw blade. Not all wood is the same, and understanding its unique properties can help you avoid problems.
Wood Type and Hardness
Different types of wood have different densities and grain structures. Softer woods like pine are more prone to splintering than harder woods like oak or maple because their fibers are less dense and more easily torn. However, even hardwoods can splinter if the cutting technique or blade is wrong. Think of it this way: cutting a soft sponge is different from cutting a firm cheese. Both require a sharp tool, but the material’s resistance is very different.
Plywood and engineered wood products also present unique challenges. They are made of multiple layers (veneers) glued together. When you cut through these layers, especially on the top and bottom surfaces, the blade can lift and tear the thin veneer, causing significant splintering. This is why a high-tooth-count blade is so critical for these materials.
Grain Direction and Quality
The direction of the wood grain relative to your cut is incredibly important. Cutting across the grain (crosscutting) generally produces less splintering than cutting along the grain (ripping), especially with a miter saw which is primarily for crosscuts. When you crosscut, you are severing many short fibers. When you rip, you are trying to separate long, continuous fibers, which can often lead to them lifting and tearing.
Wood quality also contributes. Wood with knots, uneven grain, or existing damage is more likely to splinter. Knots are areas where the grain is highly irregular and can be very hard or very soft compared to the surrounding wood. Cutting through them can be unpredictable and often results in tear-out around the knot. Always inspect your wood before cutting and plan your cuts to avoid problem areas if possible.
Technique and Setup Contributions
Even with the perfect blade and wood, your technique can make or break a cut. How you use your saw and how you prepare your workpiece are essential for splinter-free results.
Improper Cutting Speed and Feed Rate
Trying to rush a cut or pushing the saw through too quickly is a common mistake that leads to splintering. When you force the blade, it can’t clear the wood chips effectively, and the teeth grab and tear the wood instead of slicing it cleanly. A slow, steady, controlled feed rate is almost always best. We found that allowing the blade to do the work, without excessive force, dramatically reduces tear-out.
Similarly, letting the blade come up to full speed before it touches the wood is crucial. If you start cutting before the blade reaches its maximum RPM, it doesn’t have enough rotational force to make a clean cut. The slower speed leads to more tearing. Always allow the saw to spin up completely before engaging the wood.
Lack of Workpiece Support
Support, support, support! This cannot be stressed enough. When a piece of wood isn’t properly supported, especially near the cutting line, it can vibrate or move. This instability allows the wood fibers to flex and tear as the blade passes through. Think of trying to cut a piece of paper that’s dangling in the air versus one firmly resting on a table. The unsupported paper will tear messily.
Using a sacrificial fence or zero-clearance insert is an excellent way to provide support right at the cut line. A sacrificial fence is a piece of wood clamped to your miter saw’s fence. The blade cuts into this sacrificial piece, creating a perfect zero-clearance opening. This tightly supports the wood fibers directly where the blade exits, preventing them from blowing out and splintering. We’ve seen this technique recommended by many professional woodworkers for achieving perfectly clean cuts (Fine Woodworking).
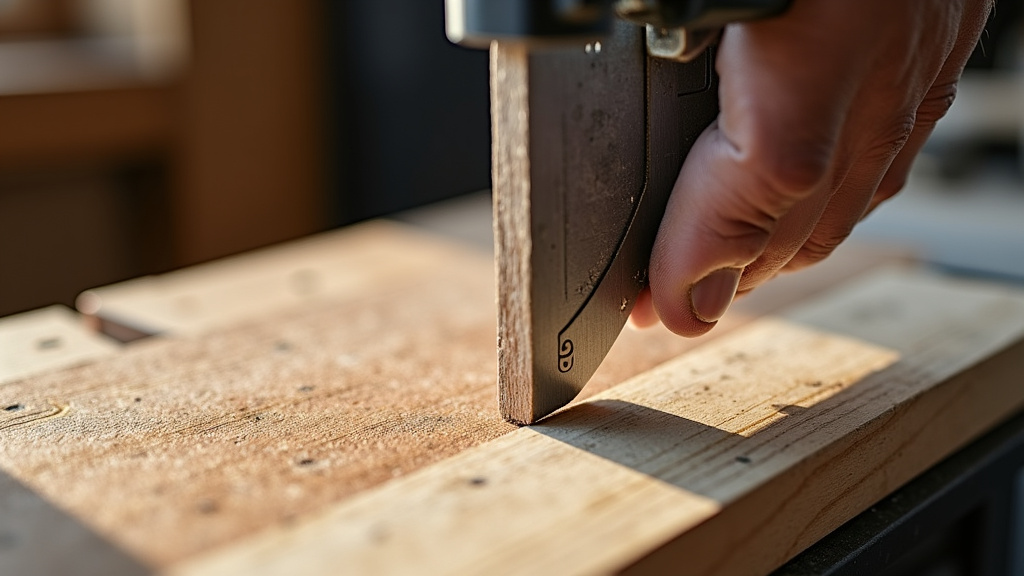
Proper clamping is also key. Never hold your workpiece with just your hands. Clamp it firmly against the fence and the saw base. This prevents movement and ensures a stable cut, which is vital for both safety and preventing splintering.
How to Minimize Splintering: Your Checklist
You don’t have to live with splintered cuts. Here’s a practical checklist you can use to troubleshoot and prevent this issue on your next project.
- Inspect and sharpen or replace your saw blade regularly.
- Choose the correct blade type for the material you’re cutting (higher tooth count for fine cuts).
- Ensure your workpiece is firmly clamped and fully supported during the cut.
- Use a sacrificial fence or zero-clearance insert for critical cuts.
- Allow the saw blade to reach full speed before starting the cut.
- Maintain a slow, consistent feed rate, letting the blade do the work.
By focusing on these areas, you’ll be well on your way to making those clean, professional cuts you desire. It often takes a combination of these adjustments to get the best results, so be patient and experiment with what works best for your specific setup and materials.
Conclusion
Achieving smooth, splinter-free cuts on your miter saw is definitely within your reach. It’s often a combination of factors, not just one, that causes splintering. By paying attention to your blade choice, the wood’s characteristics, and your cutting technique, you can dramatically improve your results.
Remember, a sharp, appropriate blade, proper workpiece support, and a steady hand make all the difference. Start implementing these simple adjustments, and you’ll soon be enjoying those clean, professional cuts you’ve been wanting. Don’t settle for less; perfect your technique and enjoy your woodworking projects even more.
Frequently Asked Questions
Why does my miter saw splinter plywood specifically?
Plywood splinters easily because it’s made of thin veneer layers. The saw blade can lift and tear these delicate layers, especially on the top and bottom surfaces, causing tear-out. Using a high-tooth-count blade and a zero-clearance insert is particularly important for plywood.
Can a dull blade be sharpened, or should I just replace it?
Many quality saw blades can be professionally sharpened. This is often more cost-effective than replacing them, especially for carbide-tipped blades. However, if a blade has significant damage, like missing or bent teeth, replacement is usually the best option for safety and performance.
What’s a “zero-clearance insert,” and how does it help?
A zero-clearance insert is a custom-made plate that fits around your saw blade, leaving almost no gap. It provides tight support directly at the cut line, preventing wood fibers from lifting and tearing as the blade exits the material. This drastically reduces tear-out on both the top and bottom of your workpiece.
Does pushing the saw too fast cause more splintering?
Yes, pushing the saw through the wood too quickly is a common cause of splintering. When you force the blade, it can’t cut cleanly and efficiently. The teeth tend to tear the wood fibers instead of slicing them, leading to rough cuts and increased tear-out.
Is it always necessary to use clamps when cutting with a miter saw?
Yes, it’s highly recommended to always use clamps. Clamping your workpiece securely prevents it from shifting or vibrating during the cut. This not only significantly reduces the chance of splintering but also makes the cutting process much safer. Never hold the workpiece with just your hands.
