
How To Make A Flip Top Miter Saw Table?
A flip-top miter saw table helps you save valuable workshop space by allowing you to store a second tool, like a planer or bench grinder, underneath your miter saw, rotating between them as needed. To make a flip-top miter saw table, you’ll need sturdy plywood, robust hinges, locking casters, and basic woodworking tools to construct a versatile, rotating workstation.
Here’s the quick scoop on building your own flip-top miter saw table:
- Design a sturdy frame that supports both tools when flipped.
- Create a rotating platform for easy tool swapping.
- Securely mount your miter saw to one side.
- Add a second tool to the other side for dual functionality.
- Install locking casters for mobility and stability.
How To Make A Flip Top Miter Saw Table?
Building a flip-top miter saw table is a smart move for any DIY enthusiast or woodworker with limited space. It transforms one workbench footprint into a home for two essential tools, making your shop far more efficient.
Why Build a Flip-Top Table?
Imagine your small workshop. Every inch matters, right? A flip-top table lets you switch between your miter saw and, say, a bench planer in seconds. This means less clutter and more productive time. Many experts say it is one of the most effective space-saving solutions for home workshops.
The Core Concept: A Tale of Two Tools
Think of it like a clever transformer for your shop. One side holds your miter saw for those precise crosscuts. Flip it over, and BAM! You have another tool ready to go. We found that this design prevents constant tool swapping and heavy lifting.
Gathering Your Supplies: The Shopping List
Before you start cutting, let’s talk materials. You’ll need good quality plywood or MDF for stability. Don’t skimp here; your tools need a solid foundation. You also need heavy-duty hinges and robust hardware.
Essential Materials Checklist
- 3/4-inch plywood (two 4×8 sheets recommended)
- 2×4 lumber for the frame structure
- Heavy-duty barrel hinges (at least 2, 3-4 inches long)
- Locking casters (4-6 depending on size)
- Wood screws (various sizes)
- Wood glue
- Sandpaper
- Polyurethane finish (optional, but recommended)
Tools You’ll Need for the Build
You probably have most of these in your shop already. A circular saw or table saw is key for precise cuts. A drill/driver for fastening everything together is also essential. Don’t forget your measuring tape and a good square!
Tool Chest Essentials
To tackle this project, make sure you have a reliable drill/driver, a sturdy tape measure, and a speed square. A router can be handy for dados or flush-trimming edges, but it’s not strictly necessary. Safety glasses and hearing protection are a must, always!
Designing Your Flip-Top Table: Planning is Everything
Before any sawdust flies, sketch out your design. Consider the height of your miter saw and the second tool. You want them to be at a comfortable working height when in use. Remember, the goal is a seamless workflow.
Key Design Considerations
The overall height should match your other workbenches if possible. This makes sheet goods easier to handle. Also, think about dust collection. Can you integrate a system? Many builders suggest designing for future additions like a fence or stop block system.
Step-by-Step Construction Guide
Let’s get down to business! Breaking it into smaller, manageable steps makes the project less daunting. Remember the old saying: measure twice, cut once!
Building the Base Frame
Start with the bottom frame. This needs to be incredibly sturdy. We found that 2×4 lumber, joined with pocket screws and wood glue, provides excellent rigidity. This frame will house your casters.
Many guidelines point to building a rectangular box first, then adding internal supports (Wood Magazine).
Adding the Cabinet Side Panels
Next, attach your plywood side panels to the frame. These give the table its shape and provide stability. Ensure everything is square and plumb. Crooked sides can lead to a wobbly table, and no one wants that!
Constructing the Tool Platform
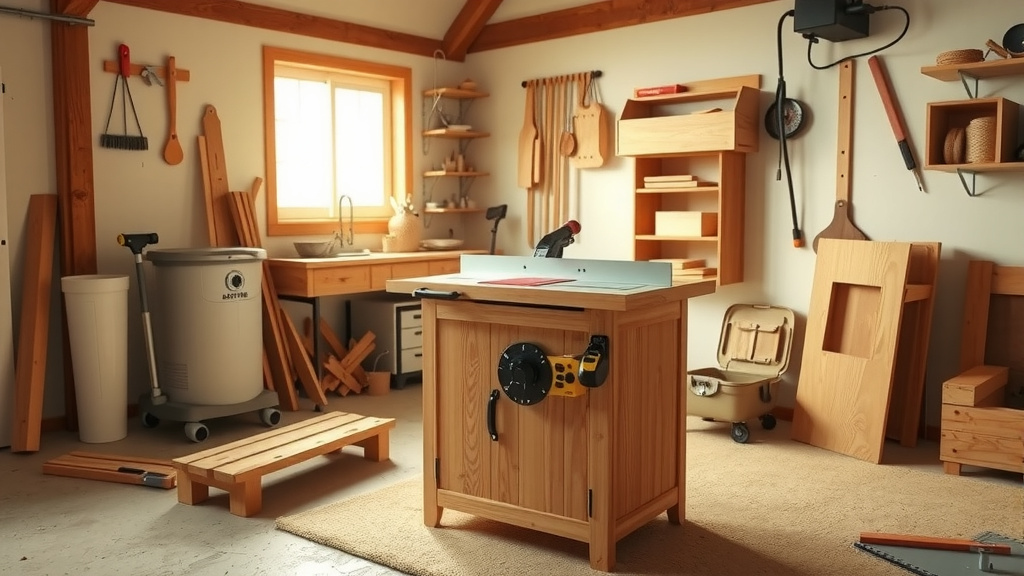
This is the star of the show! Cut two plywood panels for your tool platform. These will hold your miter saw and the second tool. Make sure they are perfectly sized to fit within your frame and allow for rotation without hitting the ground or frame.
Installing the Pivoting Mechanism
Here’s where the “flip-top” magic happens. Mount your heavy-duty barrel hinges to the inside of your side panels and to the edges of your tool platform. Precision is key here. You want the platform to rotate smoothly and without binding.
Research often connects proper hinge placement with the overall stability and ease of rotation (Fine Woodworking).
Securing Your Tools
Mount your miter saw to one side of the platform using bolts. Ensure it’s rock solid. Then, mount your second tool to the other side. Test the flip action with the tools in place to check for balance and clearance. You might need to add a counterweight if one tool is much heavier.
Adding Mobility and Stability: Casters and Locks
What’s a workbench if you can’t move it? Install quality locking casters to the bottom of your base frame. These let you roll the table wherever you need it, then lock it securely for safe operation. A stable table is a safe table.
Choosing the Right Casters
We’ve found that heavy-duty, double-locking casters are best. These lock both the wheel and the swivel, preventing any unwanted movement. Don’t skimp on casters; they literally support your entire project.
| Component | Purpose | Key Consideration |
|---|---|---|
| Plywood | Main structure & tool platforms | Minimum 3/4-inch for rigidity |
| 2×4 Lumber | Internal framing & supports | Straight, knot-free pieces |
| Barrel Hinges | Tool platform rotation | Heavy-duty, robust construction |
| Locking Casters | Mobility & stability | Double-locking for safety |
Safety First: Always Wear Protection
We can’t stress this enough. When working with power tools, safety is paramount. Always wear eye protection, hearing protection, and appropriate clothing. A moment of carelessness can lead to a lifetime of regret.
Your Pre-Operation Safety Checklist
- Are your safety glasses on?
- Is hearing protection in place?
- Are all tool platforms securely fastened?
- Are casters locked before operation?
- Is your work area clear of debris?
- Do you have proper lighting?
Finishing Touches and Customizations
Once your table is built, you might want to add some personal touches. A coat of polyurethane will protect the wood from wear and tear. You could also add storage shelves or drawers for accessories.
Making It Truly Yours
Consider adding a measuring tape directly to the workbench surface. Some people also integrate power strips to keep cords tidy. These little details make a big difference in how much you enjoy using your new flip-top table.
Conclusion
Building a flip-top miter saw table is a fantastic project that brings huge benefits to any workshop. You’ve tackled the challenge of combining two powerful tools into one compact, mobile unit. This not only saves space but also streamlines your workflow, making your projects more enjoyable and efficient. Take pride in your new, versatile workstation!
FAQs About Flip-Top Miter Saw Tables
How much does it cost to build a flip-top miter saw table?
The cost varies widely based on materials and tool prices in your area, but you can generally expect to spend between $100-$300. Plywood quality, hinge strength, and caster type are the biggest cost factors. Reusing scrap wood for some parts can help reduce expenses significantly.
Can I put any two tools on a flip-top table?
While versatile, it’s best suited for stationary benchtop tools like miter saws, planers, bench grinders, or drill presses. The key is that the tools have a relatively flat bottom for mounting and can be operated safely when flipped into position. Avoid overly heavy or awkwardly shaped tools that could unbalance the table.
What is the ideal height for a flip-top miter saw table?
The ideal height depends on your own stature and the specific tools you’re mounting. Generally, a workbench height that allows you to stand comfortably with a slight bend in your elbows when operating the tool is preferred. Many woodworkers aim for a surface height between 34 and 38 inches to match other shop furniture.
How do I ensure the table is stable when in use?
Stability comes from several factors: a sturdy base frame made with strong joints, heavy-duty locking casters that prevent both wheel and swivel movement, and ensuring the tools are balanced on the rotating platform. Some designs also incorporate toggle clamps or pins to secure the platform in position when in use, adding an extra layer of stability.
Can I add dust collection to my flip-top miter saw table?
Absolutely! Integrating dust collection is a smart idea. You can design an enclosure around your miter saw that connects to a shop vac or central dust collection system. For the planer side, a simple hood can often be directed to capture most chips. Planning for these features during the design phase makes implementation much easier.


