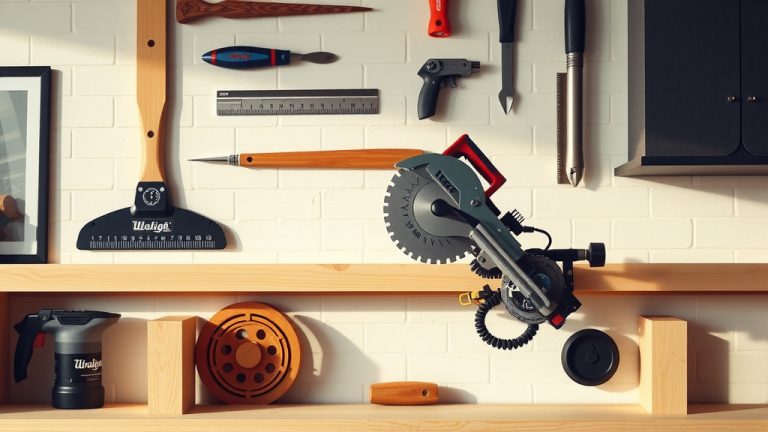
How To Make A Table For A Miter Saw?

A custom miter saw table significantly extends your tool’s capabilities, providing stable support for precise cuts on longer and wider workpieces.
You can build a functional miter saw table using common lumber and plywood, improving safety and accuracy in your woodworking projects.
- Build your own miter saw table for improved accuracy and safer cuts.
- Gather materials like plywood, lumber, and basic hand tools.
- Focus on stability, proper height, and integrated dust collection.
- Customize it with storage and outfeed supports for varied projects.
- This DIY project saves money and boosts workshop productivity.
How To Make A Table For A Miter Saw?
Making a table for your miter saw involves building a sturdy base and a level top that integrates your saw seamlessly.
This DIY project provides custom support, making your cutting tasks much safer and more accurate.
Why Bother Building Your Own?
Ever tried cutting a long board with your miter saw and felt like you needed three extra hands?
A custom miter saw table solves this common problem, giving you the extra support you need.
Key Benefits of a Custom Miter Saw Table
Building your own table offers many advantages over store-bought options.
You gain tailored support, perfectly matched to your specific saw and working style.
We found that custom tables often lead to greater accuracy for repetitive cuts (Woodworking Journal).
Plus, you can add features like storage and dust collection, making your workspace more organized.
Essential Planning Steps
Before you even pick up a saw, a little planning goes a long way.
Think of it like sketching out your dream kitchen; measurements are everything here.
Measuring Your Miter Saw
First, grab your tape measure and get to know your miter saw.
You need its width, depth, and especially its height from the base to the cutting surface.
This ensures your table will place the saw’s bed perfectly flush with your new workspace.
Deciding on Table Height
The ideal table height matches your other workbench surfaces.
Many experts say a height where you can stand comfortably with your arms slightly bent is best.
Consider your own height and the ergonomic needs for safe, prolonged cutting.
Gathering Your Materials
Once you have your plan, it’s time to gather the raw materials.
Choosing the right lumber and tools sets you up for success.
Tools You’ll Need
You probably have most of these in your workshop already.
A circular saw or table saw, a drill, screws, wood glue, and a measuring tape are essential.
Don’t forget safety gear: eye protection and hearing protection are a must.
Lumber and Plywood Choices
For the frame, 2x4s or 2x6s provide excellent strength.
For the tabletop, 3/4-inch plywood or MDF offers a flat, stable surface.
We found that birch plywood provides a smooth finish and good durability (DIY Woodworker’s Guide).
| Material | Purpose | Why it’s Good |
|---|---|---|
| 2×4 or 2×6 Lumber | Frame and Legs | Strong, readily available, stable |
| 3/4″ Plywood | Tabletop & Supports | Flat, stable work surface, easy to cut |
| Wood Screws | Assembly | Secure joints, strong hold |
| Wood Glue | Added Strength | Reinforces screw connections, prevents movement |
Step-by-Step Construction Guide
Are you ready to turn those raw materials into a useful workspace?
Follow these steps to build a solid, dependable miter saw table.
Building the Base Frame
Start by cutting your 2x4s or 2x6s to build a rectangular frame.
Use wood glue and screws at each joint for maximum rigidity.
Make sure all corners are square; this is vital for a level tabletop.
Adding the Tabletop
Cut your plywood or MDF to fit over your base frame.
Secure it firmly with wood glue and screws, ensuring the surface is perfectly flat.
This becomes your main workspace, so flatness is key.
Integrating the Miter Saw
This is where your earlier measurements pay off.
Create a recessed section in your tabletop where the miter saw will sit.
The saw’s cutting surface should be perfectly flush with your new tabletop for seamless material handling.
Crafting Outfeed Supports
Outfeed supports extend from both sides of your miter saw.
These crucial extensions hold long boards level as you cut them.
Build these supports to the exact same height as your saw’s bed, ensuring a smooth transition.
Smart Customization Ideas
Once the basic table is built, why not make it truly yours?
Personalizing your table improves its function and your overall woodworking experience.
Dust Collection Solutions
Miter saws are notorious for creating a lot of dust.
Consider building a shroud around the saw’s back or adding a dedicated dust port.
Many experts recommend connecting a shop vacuum to keep your workspace cleaner (Fine Woodworking Magazine).
Adding Storage Drawers
What about those tape measures, pencils, and spare blades?
Building drawers or shelves beneath the tabletop keeps essential items close at hand.
This simple addition helps you maintain a clutter-free workbench.
Before You Start Building Checklist:
- Double-check all miter saw dimensions.
- Confirm your desired table height.
- Gather all lumber, plywood, and hardware.
- Ensure you have all necessary tools ready.
- Review your workshop’s layout for placement.
- Prioritize safety gear: glasses and hearing protection.
Conclusion
Building your own miter saw table is a rewarding project that transforms your workshop.
It provides enhanced accuracy, better safety, and a more organized workspace tailored to your needs.
With careful planning and a bit of effort, you’ll create a durable, functional addition that boosts your woodworking efficiency for years to come.
How tall should a miter saw stand be for comfortable use?
A miter saw stand should typically place the saw’s cutting surface at your hip height, allowing you to stand upright with a slight bend in your elbows. This ergonomic position reduces back strain and provides better control during cuts.
What type of wood is best for building a miter saw table?
For the frame, common construction lumber like 2x4s or 2x6s offers good strength and stability. For the tabletop and outfeed supports, 3/4-inch plywood or MDF (Medium-Density Fiberboard) is excellent due to its flatness and smooth surface, providing a consistent work area.
Can I add wheels to my DIY miter saw table for portability?
Yes, absolutely! Adding heavy-duty locking casters to the bottom of your miter saw table frame is a smart idea for portability. This allows you to easily move the table around your workshop or store it away when not in use, a common feature in many custom designs.
How do I ensure my miter saw table is level and stable?
To ensure your table is level, use a long level across all surfaces during assembly and adjust as needed. For stability, use wood glue in addition to screws at every joint, and consider adding cross-bracing to the legs. Adjustable feet can also help compensate for uneven floors.
What are the benefits of integrating a dust collection system into my miter saw table?
Integrating dust collection significantly improves air quality in your workshop by capturing sawdust at the source. It also keeps your workspace cleaner, reduces cleanup time, and can extend the life of your saw by preventing dust buildup in moving parts.