How To Set Depth On Dewalt Miter Saw?
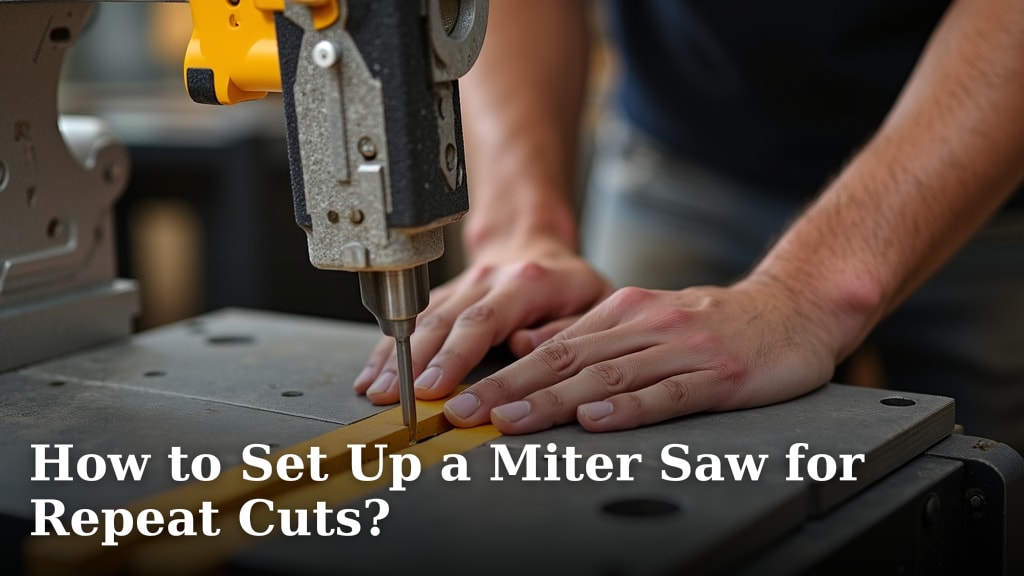
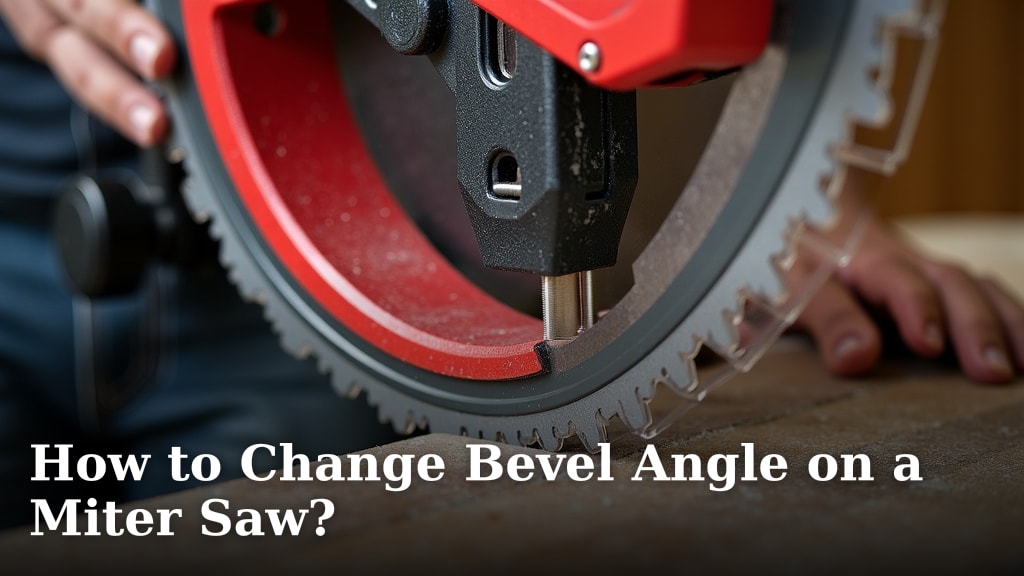
To set the depth on your DeWalt miter saw, simply locate the depth stop adjustment knob or lever, often at the rear or side of the saw head, then adjust it to limit how far the blade can descend.
This critical adjustment lets you perform precise partial cuts, like dadoes or rabbets, preventing the blade from cutting entirely through your material and ensuring project accuracy.
Here’s the quick rundown if you’re short on time:
- Setting depth on your DeWalt miter saw is simple with its dedicated depth stop.
- Always prioritize safety: unplug the saw before any adjustments.
- Find the depth stop, usually a knob or lever, near the blade or motor housing.
- Adjust it to physically limit the blade’s downward travel for precise partial cuts.
- Perform a test cut on scrap material to confirm your setting before cutting your project piece.
How To Set Depth On Dewalt Miter Saw?
You set the depth on a DeWalt miter saw by using the saw’s built-in depth stop mechanism, which physically restricts how deep the blade can plunge into your workpiece.
This feature is vital for tasks requiring partial cuts, such as creating grooves or dados, rather than full crosscuts.
Understanding Your DeWalt Miter Saw
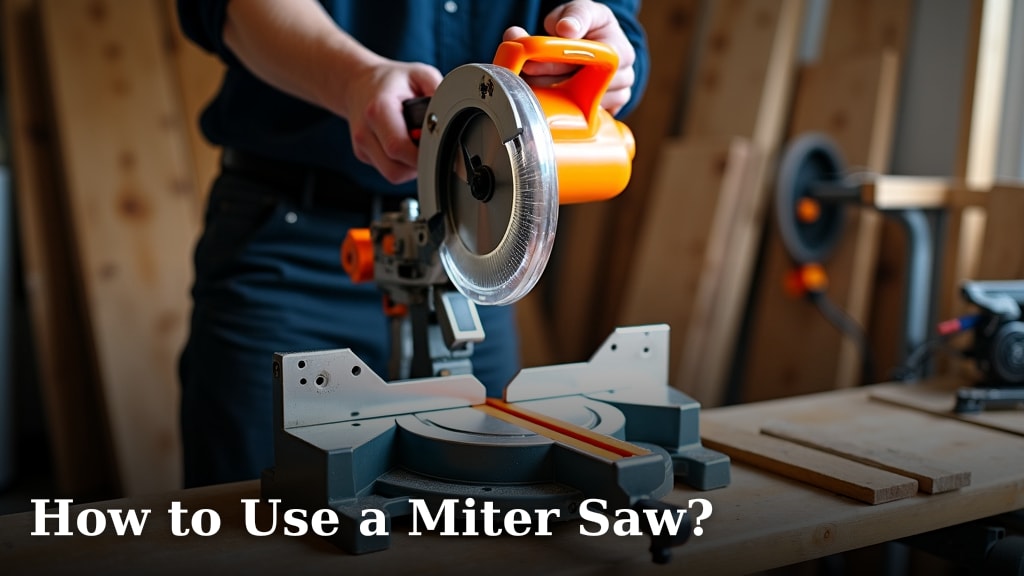
DeWalt miter saws are known for their precision and reliability, but their versatility shines when you master all their features.
The depth stop is one of those unsung heroes, often overlooked but incredibly powerful for specific tasks.
Why Depth Control Matters for Your Projects
Imagine needing to cut a groove for a shelf or a partial joint – a full cut simply won’t do.
Depth control lets you achieve these intricate cuts, adding a professional touch to your woodworking that full cuts can’t provide.
Safety First: A Non-Negotiable Step
Before you even think about adjusting anything on your saw, remember this golden rule: unplug your DeWalt miter saw from its power source.
Accidental starts can lead to serious injury, so always prioritize your safety above all else, we found this to be a universal recommendation across all workshops.
Locating the Depth Stop Mechanism
On most DeWalt miter saws, the depth stop is pretty easy to find once you know where to look.
It’s typically a bolt, a threaded rod with a knob, or a lever located near the hinge point or at the back of the saw’s motor housing.
Identifying the Depth Adjustment Knob or Lever
Look for a prominent knob or lever that seems to control the downward travel of the blade.
Sometimes it’s a simple threaded bolt that you can adjust with a wrench or by hand, acting as a physical barrier for the saw head.
Step-by-Step Guide to Setting the Depth
Let’s walk through the process together. It’s simpler than you might think.
With your saw unplugged and a clear workspace, you’re ready to begin.
Preparing Your Material for a Test Cut
Always use a scrap piece of the same material you plan to cut for your project.
This ensures that your depth setting will be accurate for the actual workpiece, matching its thickness and density.
Adjusting the Depth Stop for Your Desired Cut
Lower your saw blade manually until it just touches the surface of your scrap material.
Now, adjust the depth stop – turn the knob or move the lever – so it makes contact with the saw base, preventing the blade from plunging deeper than your target.
Some models have a gauge, making it even easier to visually set the depth.
Securing Your Depth Setting
Once you’ve set the depth, make sure to tighten any locking nuts or levers associated with the depth stop.
A secure depth stop ensures your cut remains consistent and prevents any slippage during operation, which is critical for precision (Many experts say this is a step you should never skip).
Performing a Crucial Test Cut
This step is non-negotiable. Re-connect power to your saw and make a test cut on your scrap piece.
Measure the depth of the cut carefully to ensure it matches your desired setting. If it’s off, go back and adjust the depth stop again.
Common Scenarios for Using the Depth Stop
Why would you even need this feature? It opens up a world of possibilities for your projects.
Here are a few common situations where precise depth control really shines.
| Application | Why Depth Stop Helps |
|---|---|
| Dado Cuts | Creates wide grooves for joinery or shelving, without cutting through the material. |
| Rabbet Joints | Forms a notch along the edge of a board, essential for connecting pieces. |
| Lap Joints | Removes material from two pieces so they can overlap and create a flat surface. |
| Tenon Shoulders | Shapes the edges of a tenon, ensuring a tight fit in a mortise. |
| Partial Notches | Useful for decorative elements or specific construction needs, like in decking. |
Troubleshooting Common Depth Stop Issues
Sometimes, things don’t go perfectly, and that’s okay!
We’ve found a few common snags users run into when trying to set their depth.
Blade Not Reaching Desired Depth
If your blade isn’t cutting deep enough, double-check that the depth stop is fully retracted or adjusted correctly.
Ensure no debris is obstructing the saw head’s downward travel, sometimes a small wood chip can be the culprit.
Blade Cutting Too Deep
If the blade goes too deep, you might not have tightened the depth stop sufficiently, or it might not be properly engaged.
Re-adjust and firmly lock it in place, confirming the setting with another test cut.
Maintenance Tips for Optimal Performance
Keeping your DeWalt miter saw in top condition will ensure its features, like the depth stop, always work as intended.
A little care goes a long way in maintaining precision and extending tool life.
Keep It Clean
Regularly clean sawdust and debris from around the depth stop mechanism and the entire saw.
Accumulated dust can hinder smooth operation and affect accuracy (research often connects proper tool maintenance with extended tool lifespan).
Inspect for Wear and Tear
Periodically inspect the depth stop components for any signs of wear, bending, or damage.
A worn part can lead to inconsistent depth settings, so consider replacing any components that appear compromised.
Your Quick Depth Setting Checklist
Before every critical cut requiring depth control, run through this quick mental checklist:
- Saw Unplugged?
- Material Secured?
- Depth Stop Adjusted?
- Depth Stop Locked?
- Test Cut Performed?
- Test Cut Measured Accurately?
Conclusion
Mastering how to set the depth on your DeWalt miter saw truly elevates your woodworking capabilities, moving beyond simple crosscuts.
By following these steps, you gain the confidence to create precise dadoes, rabbets, and other partial cuts, adding a new dimension to your projects.
Remember to always prioritize safety by unplugging your saw before adjustments, and confirm your settings with a test cut on scrap material. With a little practice, you’ll find this feature becomes a powerful asset in your workshop.
What is the primary function of a miter saw depth stop?
The primary function of a miter saw depth stop is to physically limit how far the saw blade can plunge into the material, allowing for precise partial cuts, such as grooves or dadoes, without cutting completely through the workpiece.
Can all DeWalt miter saw models adjust depth?
Most modern DeWalt miter saw models, especially those designed for a range of woodworking tasks, include a depth stop mechanism. However, basic or older models might have limited or no depth adjustment capability, so always check your specific model’s manual.
How do I know if my depth setting is accurate?
The best way to confirm your depth setting is accurate is by performing a test cut on a scrap piece of the same material you plan to use for your project. After the test cut, measure the depth of the groove or cut with a ruler or calipers to verify it matches your desired measurement.
Is it safe to adjust the depth stop while the saw is running?
No, it is extremely unsafe to adjust the depth stop while the saw is running or plugged in. Always unplug the miter saw from its power source before making any adjustments to prevent accidental blade engagement and potential injury.
What types of cuts specifically benefit from a depth stop?
Cuts that specifically benefit from a depth stop include dadoes (wide grooves), rabbets (notches along an edge), lap joints (where two pieces overlap partially), and any other application requiring a consistent, partial cut into the material rather than a full severance.