
Why Does My Miter Saw Burn Hardwood?
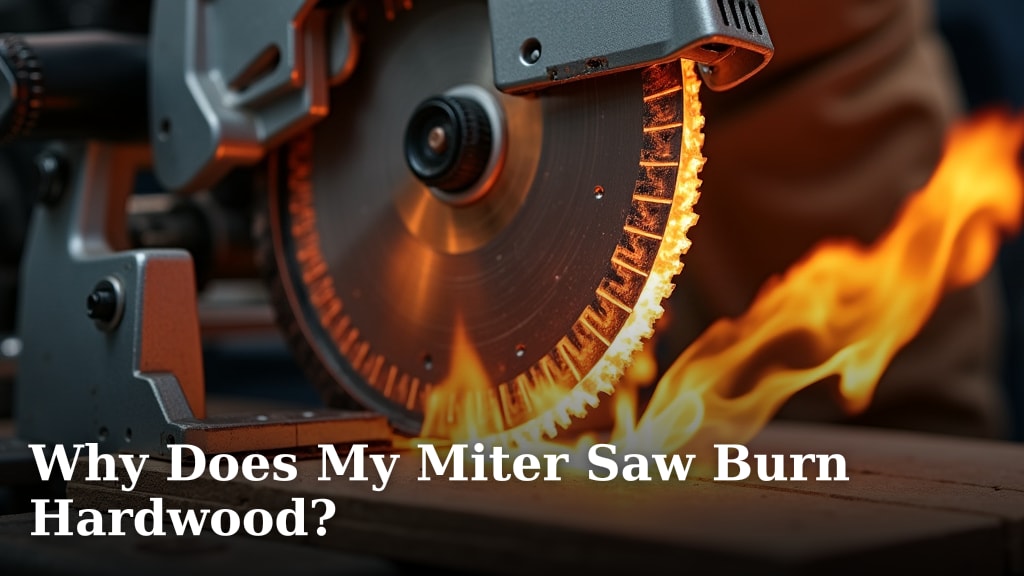
Your miter saw burns hardwood because of several factors, including a dull blade, incorrect blade type, or feeding the wood too fast. These issues create excessive friction, leading to those unsightly burn marks on your beautiful lumber.
You’re not alone if you’ve experienced this frustration; it’s a common problem for many woodworkers. We found that proper setup and technique are key to achieving clean, smooth cuts every time. Sometimes, even the smallest oversight can lead to significant burning.
- Dull blades cause friction and heat.
- Using the wrong blade type damages wood.
- Feeding wood too fast creates burn marks.
- Improper blade alignment can also be a culprit.
Let’s walk through exactly why this happens and what you can do to prevent your miter saw from burning hardwood.
Understanding Hardwood Burning on Your Miter Saw
Hardwood burning on your miter saw typically happens when your blade creates too much friction with the wood. This friction generates excessive heat, scorching the wood fibers. It’s like rubbing your hands together really fast; they get hot, right?
You’ll notice unsightly dark marks on your cut edges. These aren’t just cosmetic; they can also weaken the wood and make finishing much harder. Let’s break down the main culprits behind this common woodworking headache.
The Wrong Blade for the Job
One of the most common reasons your miter saw burns hardwood is using the wrong type of blade. Think of it like using a butter knife to cut a steak – it might work, but it won’t be pretty.
Tooth Count Matters
For hardwoods, a blade with a higher tooth count is your best friend. A standard 60-tooth blade is often a good starting point for general-purpose work on a 10 or 12-inch miter saw. For really fine cuts on dense hardwoods, you might even consider 80 or 100 teeth.
- Fewer teeth (24-40) remove material quickly, but they’re best for softwood or rough cuts. They take bigger bites, which means more tear-out and a higher chance of burning in hardwoods.
- More teeth (60-100) take smaller bites, creating a smoother cut and generating less friction. This leads to less heat and, importantly, less burning.
Blade Geometry and Rake Angle
The way the teeth are shaped, known as their geometry, also plays a big role. For hardwoods, you want blades with an Alternate Top Bevel (ATB) or even a High Alternate Top Bevel (Hi-ATB). These teeth alternate angles, slicing through the wood fibers cleanly instead of tearing them.
Another factor is the rake angle, or the angle of the tooth face relative to the blade’s center. For hardwoods, a lower or even negative hook/rake angle is often preferred. This helps the blade slice more gently, reducing chip-out and preventing burning. Many experts say a negative hook angle blade provides the cleanest crosscuts in hardwoods (Woodworking Magazine).
Dull Blade Dilemma
This is probably the number one reason for burning. A dull blade doesn’t cut; it rubs. And what happens when you rub things together? Heat!
If your blade feels like it’s struggling, making more noise, or leaving fuzzy edges, it’s a strong sign it’s past its prime. Even a slightly dull blade can cause significant burning on dense hardwoods.
We found that regular inspection of your blade is crucial. Look closely at the carbide tips. Are they chipped, rounded over, or missing? Any of these signs mean it’s time for a new blade or professional sharpening.
Technique Troubles
Even with the best blade, poor technique can still lead to burned wood. You have control over how your saw interacts with the material.
Feed Rate and Pressure
It’s tempting to rush, especially on a long project. However, feeding the wood too fast is a surefire way to burn it. Your blade needs time to remove the material efficiently.
Think of it as trying to cut through a thick steak with a sharp knife. If you push too hard and fast, you’ll tear it. But a steady, controlled motion makes a clean cut. For hardwoods, a slower, consistent feed rate is always better.
Don’t apply excessive downward pressure either. Let the saw do the work. Too much pressure can cause the blade to deflect and bind, generating more heat.
Blade Speed and RPMs
Most miter saws have a fixed blade speed, but if yours has variable speed, ensure you’re using the appropriate RPMs for hardwood. Generally, higher RPMs are better for hardwoods as they provide a cleaner cut, but only if the feed rate is also optimized. If your blade is spinning too slowly, it will drag through the wood, causing friction and burning.
Saw Setup and Maintenance Issues
Your saw itself can contribute to burning if it’s not properly maintained or set up correctly. A well-tuned saw makes a world of difference.
Blade Alignment and Squareness
If your blade isn’t perfectly square to your fence and table, it will rub against the wood as it cuts, especially on the back end of the cut. This creates unnecessary friction and heat, leading to burn marks. Understanding how to calibrate a miter saw can help ensure your blade is perfectly square and prevent rubbing.
We found that routinely checking your saw’s alignment is good practice. Use a reliable square to ensure your fence is 90 degrees to the blade and that the blade is perpendicular to the table. A slight adjustment can eliminate a lot of headaches (Fine Woodworking Magazine).
Dust and Chip Clearance
Believe it or not, poor dust collection can exacerbate burning. When sawdust and chips aren’t efficiently cleared from the kerf (the cut line), they can get trapped between the blade and the wood. This acts like an insulator, holding heat in and intensifying the burning effect.
Ensure your saw’s dust port is connected to a good dust collection system or a shop vac. Keep the area around the blade clear to allow chips to escape freely.
Material and Environmental Factors
Sometimes, the issue isn’t entirely with your saw or technique, but with the wood itself or the conditions you’re working in.
Wood Density and Moisture Content
Hardwoods are, by definition, denser than softwoods. This means they naturally create more resistance for your blade. Extremely dense woods like Jatoba or Ipe will always be more prone to burning than, say, Poplar.
Also, wood with high moisture content can cause issues. Wet wood can gum up your blade, making it drag and generate more heat. Ensure your hardwoods are properly acclimated and dried before cutting.
Resin and Pitch Buildup
Some woods, even hardwoods, can contain resins or sap. Over time, these materials can build up on your blade, creating a sticky coating. This buildup increases friction and prevents the blade from cutting cleanly.
Regularly cleaning your blade with a specialized blade cleaner can prevent this problem. A clean blade not only cuts better but also lasts longer.
Quick Checklist for Burn-Free Cuts
Feeling overwhelmed? Here’s a simple checklist to help you troubleshoot and prevent burning on your next project:
- Are you using a high tooth count blade (60+ teeth for miter saws)?
- Is your blade razor sharp, with no dull or chipped teeth?
- Are you using a slow, consistent feed rate, letting the saw do the work?
- Is your miter saw’s blade perfectly aligned and square?
- Is your dust collection system effective and clearing chips well?
- Is your hardwood dry and free of excessive sap/resin buildup?
By systematically addressing these points, you’ll be well on your way to achieving those beautiful, burn-free cuts you’re aiming for. It takes a little practice and attention to detail, but you’ll get there!
Conclusion
Dealing with burned hardwood can be frustrating, but now you understand the common culprits. From selecting the right high tooth count blade to refining your technique and maintaining your saw, each step contributes to cleaner cuts. We’ve learned that patience and precision are your best tools in preventing those dark marks.
By regularly inspecting your blade, optimizing your feed rate, and ensuring your saw is perfectly aligned, you’ll see a significant difference. Take what you’ve learned here and apply it to your next project. You’ll soon be achieving the smooth, burn-free results you desire.
Frequently Asked Questions
How often should I clean my miter saw blade?
You should clean your miter saw blade regularly, especially if you notice pitch or resin buildup. For frequent use, aim to clean it after every few hours of cutting or whenever performance dips. A clean blade cuts more efficiently and reduces friction.
Can I sharpen a miter saw blade myself?
While some DIY sharpening kits exist, professional sharpening is usually recommended for carbide-tipped miter saw blades. It ensures the correct tooth geometry and angles are maintained. Improper sharpening can do more harm than good.
What’s the best way to test if my miter saw blade is dull?
A dull blade will often feel like it’s struggling to cut, making more noise or requiring excessive force. You might also see fuzzy edges or tear-out on your wood. The easiest test is to inspect the carbide tips for chips, rounding, or wear.
Does the type of wood affect how easily it burns?
Yes, denser hardwoods are naturally more prone to burning because they create more resistance for the blade. Woods with high resin content can also cause buildup on the blade, increasing friction and the likelihood of burns. Always adjust your technique for the specific wood type.
Can humidity cause my miter saw to burn wood?
High humidity can cause wood to absorb moisture, making it “wetter” and sometimes gummy. This increased moisture can gum up your blade, increasing friction and leading to burning. Always work with properly acclimated and dry lumber for best results.
