
Why Is My Miter Saw Cut Not Square?
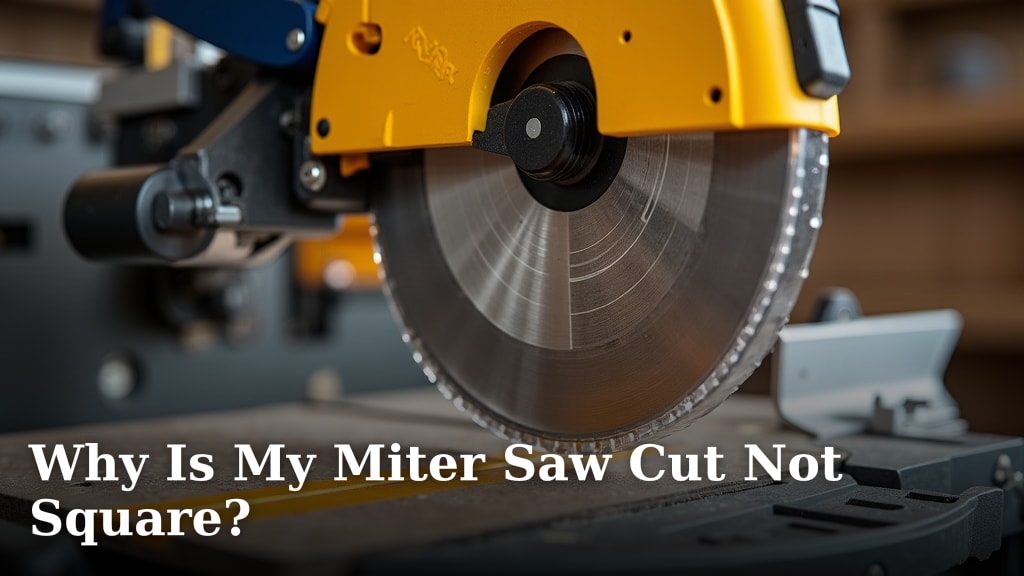
Your miter saw cut is not square because of a few common issues, most often a misaligned fence or blade, or a worn-out blade. Even a slight angle problem can lead to frustrating mistakes, making your projects less than perfect.
We understand how frustrating it is when your cuts aren’t perfectly straight, especially when you’re aiming for precision in your woodworking. You’re not alone; many DIYers and even pros encounter this problem. We’ve researched and found that checking your saw’s alignment and blade condition are usually the first steps to a perfect 90-degree cut.
- Misaligned fence or blade can cause crooked cuts.
- Worn-out blades lead to inaccurate angles.
- Incorrect miter settings are a common culprit.
- Saw defects or dirty components impact squareness.
Let’s walk through the common reasons why your miter saw isn’t cutting square and how you can fix these issues, step by step.
Troubleshooting Your Miter Saw’s Accuracy Issues
When your miter saw isn’t cutting straight, it’s usually due to a few common culprits. We’ve found that checking these areas first can save you a lot of time and frustration.
The Blade: Your First Suspect
Think of your miter saw blade as the heart of your cutting operation. If it’s not in top shape, your cuts won’t be either. A dull or damaged blade is a common reason for inaccurate cuts. A worn blade struggles to cut cleanly, often deflecting slightly and leaving you with a non-square surface. We’ve seen this happen countless times.
Dullness and Damage
Is your blade struggling to cut through wood, producing smoke, or leaving ragged edges? These are all signs of a dull blade. A dull blade forces you to push harder, which can lead to the blade flexing. This flex means your cut won’t be perfectly straight.
Look closely at the teeth. Are any of them missing, bent, or chipped? Even a single damaged tooth can throw off your cut. We recommend replacing damaged blades immediately for both accuracy and safety.
Blade Type and Compatibility
Are you using the right blade for the material? Using a blade designed for rough cutting on fine woodworking can lead to tear-out and an uneven surface. Ensure your blade has the appropriate tooth count and geometry for the material you’re cutting. For instance, a higher tooth count (like 60-80 teeth) is better for smooth cross-cuts on hardwoods, while fewer teeth work for faster, rougher cuts on softer woods.
Fence Alignment: A Critical Check
The fence on your miter saw is there to support your material and guide your cut. If it’s not perfectly aligned, your wood won’t be held at the correct angle, leading to inaccurate results. This is one of the most frequent causes of non-square cuts, as many woodworkers overlook it during setup.
How to Check and Adjust Your Fence
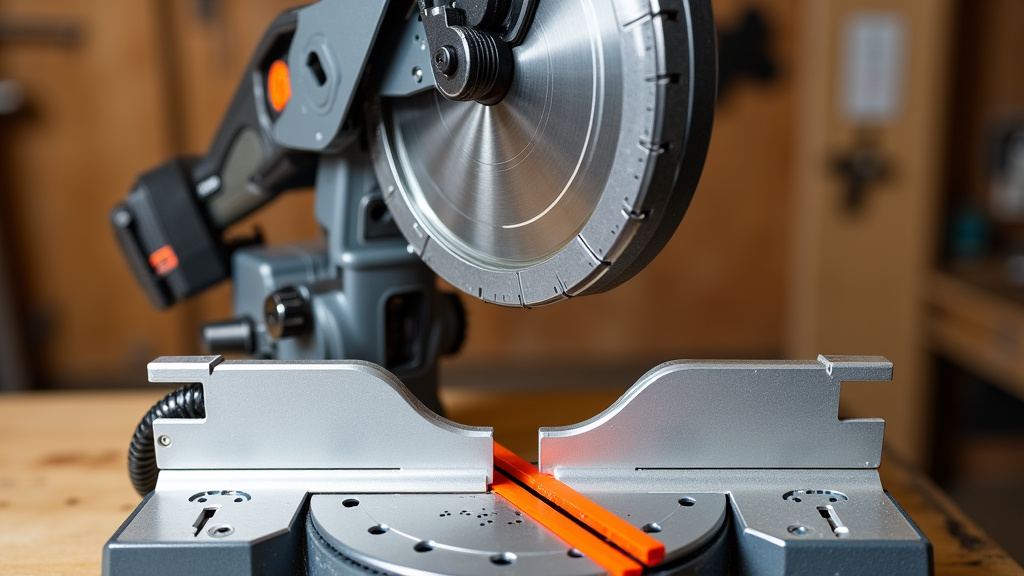
Checking your fence is a straightforward process. First, unplug your saw for safety. Then, place a reliable framing square or an engineer’s square against the saw’s table and the fence. The square should sit perfectly flat against both surfaces without any gaps. If you see a gap, your fence isn’t square to the table.
Most miter saw fences have adjustment screws. Consult your saw’s manual for specific instructions on how to loosen and adjust these. Make small adjustments, re-check with your square, and repeat until it’s perfect. This might take a few tries, but it’s worth the effort for precise cuts.
Miter Angle Settings: Are They Really 90 Degrees?
You set your saw to 90 degrees, but is it truly cutting at 90 degrees? Often, the pointer on your saw’s miter scale can be slightly off. This is a common manufacturing tolerance that you need to account for. Think of it like a car’s speedometer that’s a mile or two off; it’s close, but not exact.
Calibrating Your 90-Degree Stop
To truly check your 90-degree setting, you’ll need a reliable square and a piece of scrap wood. Make a cut on the scrap wood at what you believe is 90 degrees. Then, check the cut edge with your square. Is it perfectly square to the face of the wood?
If not, you’ll need to adjust your saw’s 90-degree stop. Most miter saws have an adjustment screw for this. Make small tweaks, cut again, and re-check. Keep doing this until your cut is perfectly square. This process is crucial for establishing a baseline for all other angle cuts you’ll make.
Bevel Angle Issues
Just like your miter angle, your bevel angle can also cause problems. If your blade isn’t truly perpendicular to the table when set at 0 degrees bevel, your cuts will be off even if the miter is perfect. You’ll end up with a cut that’s square on one face but angled on the other.
Checking Your Bevel Stop
Again, unplug your saw. Lower the blade fully and use your square to check the blade’s relationship to the saw table. The square should sit flat against the blade and the table, indicating a true 90-degree angle. If there’s a gap, your 0-degree bevel stop needs adjustment.
Most saws have a specific screw or mechanism for adjusting the 0-degree bevel stop. Once adjusted, make a test cut on scrap material and verify the squareness of the cut from both faces. This ensures your blade is truly vertical when you intend it to be.
Material Movement and Support
Even with a perfectly calibrated saw, if your material isn’t held securely or supported properly, your cuts can still be inaccurate. We often see this as a subtle but significant factor in cut quality.
Securing Your Workpiece
Never freehand a cut on a miter saw. Use clamps or the saw’s built-in clamping mechanism to hold your workpiece firmly against the fence and table. Any movement during the cut can cause the blade to wander, resulting in a non-square cut. This is especially true for longer pieces of wood (Consumer Reports).
Proper Material Support
For longer pieces, ensure they are supported adequately on both sides of the saw. If the unsupported end sags, it can create an angle when it reaches the blade, leading to a diagonal cut. Outfeed supports or roller stands are invaluable for this.
Saw Defects and Wear
Sometimes, the problem isn’t just about adjustment; it can be due to wear and tear or manufacturing issues within the saw itself. Think of it like an old car; some parts just get loose over time.
| Component | Potential Issue | Impact on Cut |
|---|---|---|
| Arm/Pivot Points | Loose or worn bearings | Blade wobbles or drifts during cut |
| Table/Base | Uneven or warped surface | Material not sitting flat |
| Slide Mechanism | Dust/debris, worn rails | Jerky motion, inaccurate stops |
| Arbor Nut | Loose | Blade wobble, poor alignment |
Checking for Play and Wobble
With the saw unplugged, try to gently wiggle the blade side-to-side and up-and-down. Is there any excessive play in the blade or the saw arm? A little bit of play is normal, but too much can indicate worn bearings or loose connections. If you notice significant wobble, it might be time for professional servicing or replacement of parts.
We’ve found that maintaining your saw and keeping it clean can extend its lifespan significantly. Regular cleaning prevents dust and debris from interfering with moving parts (OSHA guidelines emphasize this for safety and function).
Your Miter Saw Not Cutting Square: A Quick Checklist
Before you get too frustrated, run through this quick checklist to pinpoint the problem:
- Is your saw blade clean, sharp, and undamaged?
- Is the fence perfectly square to the saw table?
- Have you calibrated your 90-degree miter stop?
- Is your 0-degree bevel stop accurately set?
- Are you securely clamping your workpiece?
- Is your material properly supported on both sides of the cut?
Conclusion
Achieving perfectly square cuts with your miter saw is definitely within your reach. It often comes down to careful adjustments and regular maintenance, not necessarily a faulty saw. We’ve seen
