How to Change Bevel Angle on a Miter Saw?
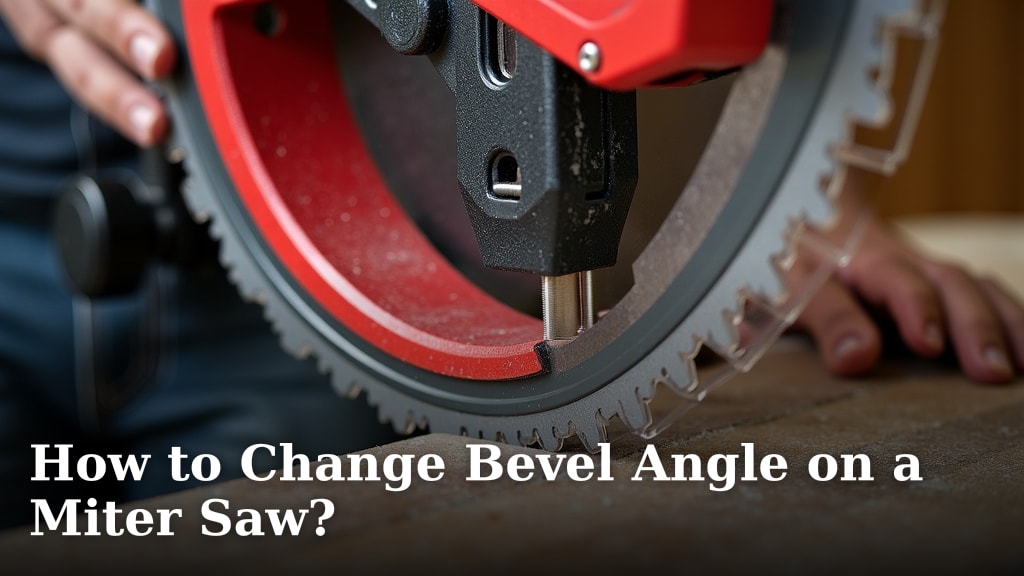
To change the bevel angle on a miter saw, you will typically unlock the bevel adjustment lever located at the front or back of the saw’s motor housing. Then, you can tilt the saw blade to your desired angle, usually shown on an angle scale, and finally, lock the lever back into place to secure the setting.
Getting your bevel cuts just right makes a big difference in woodworking projects. Whether you’re cutting crown molding or creating angled frames, knowing how to accurately adjust your miter saw’s bevel is a key skill. We found that a clear understanding of your saw’s specific controls prevents frustration and improves precision.
- Locate the bevel lock lever.
- Unlock the lever to allow blade tilting.
- Adjust the blade to the desired angle on the scale.
- Securely lock the lever to fix the angle.
- Always double-check your angle for accuracy.
Let’s walk through exactly how to change the bevel angle on your miter saw, step by step, so your next project goes smoothly.
Mastering Your Miter Saw’s Bevel Adjustments
Adjusting the bevel on your miter saw is simpler than you might think. It’s all about knowing where the controls are and how they work together.
Understanding Your Miter Saw’s Bevel Mechanism
Every miter saw has a system for bevel adjustments, though the exact location and type of levers can vary. Generally, you’re looking for a way to tilt the motor and blade assembly.
Common Bevel Adjustment Lever Types
We’ve found that most miter saws use one of a few common lever designs. Knowing which one your saw has makes adjustments much faster.
- Single Lever/Knob: Many saws have one main lever or knob at the front or rear that you loosen to tilt the blade.
- Dual Levers: Some models feature two levers, one on each side, which offer more stability during adjustments.
- Push-Button Release: A few advanced saws have a button you press to release the bevel lock.
Step-by-Step Guide to Changing the Bevel Angle
Let’s walk through the process together. Remember, safety first! Always unplug your saw before making any adjustments if you’re not actively cutting.
Step 1: Prepare Your Workspace and Saw
Before you touch any levers, make sure your saw is on a stable surface. Clear any debris from the saw’s table and around the blade. If you just finished a cut, allow the blade to come to a complete stop.
- Ensure the saw is unplugged (for initial setup or cleaning).
- Clear sawdust and debris from the saw table.
- Verify the blade is completely stopped if previously used.
Step 2: Locate and Unlock the Bevel Adjustment
This is where your saw’s specific design comes into play. Most bevel locks are found near the back of the saw’s motor or at the front base of the motor housing.
If it’s a lever, you’ll typically push it down, pull it out, or flip it up to release the lock. For a knob, you’ll turn it counter-clockwise to loosen. You should feel a slight give as the locking mechanism disengages.
Step 3: Tilt the Blade to the Desired Angle
With the lock released, you can now gently tilt the saw’s motor and blade assembly. You’ll see an angle scale, usually marked in degrees, right in front of you. This scale will guide you to your desired angle.
Common bevel angles include 0, 22.5, 30, and 45 degrees. Many saws have positive stops at these common angles, meaning the blade will “click” into place, making it easier to find them. If your project calls for an in-between angle, you’ll need to carefully align it yourself.
Step 4: Secure the Bevel Lock
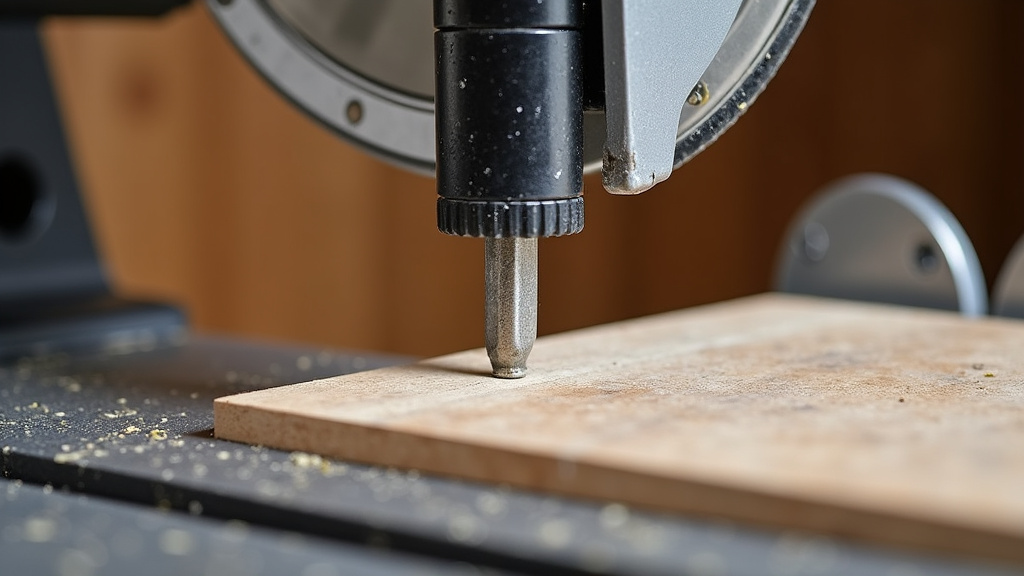
Once you’ve set the blade to your chosen angle, it’s time to lock it down. Re-engage the lever or knob by pushing it back, flipping it down, or turning it clockwise. Make sure it’s tight and secure. A wobbly blade can lead to inaccurate cuts and potential hazards.
Step 5: Verify the Angle for Accuracy
Never skip this step! Even with positive stops, it’s wise to double-check your angle. Use a reliable protractor or a digital angle finder. Place it against the saw’s table and the blade to confirm the reading. This simple check can save you from wasted material and frustration.
Tips for Achieving Perfect Bevel Cuts
Beyond the basic steps, a few extra tricks can help you get consistently precise bevel cuts. We’ve gathered some insights that can make a real difference.
Calibrating Your Bevel Scale
Over time, or with a new saw, your bevel scale might not be perfectly accurate. Many experts suggest periodically checking and calibrating it. To do this, set your saw to 0 degrees bevel, then use a reliable square to check if the blade is perfectly perpendicular to the table. If not, consult your saw’s manual for adjustment screws to fine-tune the scale.
Practice Makes Perfect
Don’t be afraid to practice on scrap wood. This is especially true for tricky angles or when you’re just getting used to your saw. Each practice cut builds your confidence and helps you understand how your saw behaves.
Table of Common Bevel Angles and Uses
Here’s a quick reference for some frequently used bevel angles and what they’re often used for in woodworking. This can be a handy guide for your projects.
| Bevel Angle | Common Use | Notes |
|---|---|---|
| 0 Degrees | Straight cuts, crosscuts | Blade is perfectly vertical. |
| 22.5 Degrees | Octagonal frames, 67.5-degree miter cuts | Common for 8-sided shapes. |
| 30 Degrees | Hexagonal frames, some trim work | Good for 6-sided objects. |
| 45 Degrees | Mitered corners for boxes, frames, trim | Most common angle for corner joints. |
| Beyond 45 Degrees | Specialized crown molding, complex joinery | Many saws allow up to 48 or 50 degrees. |
Troubleshooting Common Bevel Adjustment Issues
Sometimes things don’t go as smoothly as planned. Here are a few common issues you might encounter and how to handle them.
Blade Not Tilting or Stuck
If your blade won’t tilt, first double-check that the locking lever is fully disengaged. Sometimes, sawdust or debris can get trapped in the pivot mechanism. With the saw unplugged, try gently moving the assembly to see if it frees up. A bit of compressed air can also help clear out dust.
Inaccurate Angle Readings
If your cuts aren’t matching your scale, your bevel scale might need calibration. As mentioned, use a reliable angle finder to verify. If your saw has adjustment screws for the scale, make small corrections and re-test. We found that even a degree or two off can spoil a project (NCBI). You can also learn how to check miter saw alignment to ensure all your cuts are precise.
Blade Drifting After Locking
This is usually a sign that your bevel lock isn’t tight enough. Make sure you’re applying firm pressure when securing the lever or knob. If it continues to drift, inspect the locking mechanism for wear or damage. You might need to clean the locking surfaces or, in rare cases, replace a worn part.
Safety Reminders for Bevel Adjustments
Working with power tools always requires caution. Keeping safety in mind during adjustments is just as important as when you’re cutting.
- Always unplug the saw when making major adjustments or maintenance.
- Wear safety glasses, even when just checking angles.
- Keep hands clear of the blade at all times.
- Ensure the saw is stable on its stand or workbench.
- Read your saw’s manual for specific safety instructions.
Conclusion
You now have a solid understanding of how to adjust the bevel angle on your miter saw. We covered everything from locating the right levers to double-checking your work with an angle finder. Mastering this skill means your projects will have tighter joints and a more professional finish. Remember, precision comes from careful adjustments and regular practice.
Take these steps, apply them to your next project, and you’ll see a real difference in your woodworking. Don’t forget to keep safety as your top priority every time you use your saw.
Frequently Asked Questions
How often should I calibrate my miter saw’s bevel scale?
We suggest checking your bevel scale calibration a few times a year, especially if you use your saw frequently or notice your cuts aren’t perfectly square. It’s also a good idea to check it right out of the box with a new saw. Small adjustments can make a big difference in accuracy.
Can all miter saws tilt both left and right for bevel cuts?
No, not all miter saws can bevel in both directions. Many standard miter saws only bevel to one side (usually left). Compound miter saws and dual-bevel miter saws offer the flexibility to tilt both left and right. Always check your saw’s specifications to know its capabilities.
What if my miter saw doesn’t have positive stops for common bevel angles?
If your saw lacks positive stops, you’ll need to rely more heavily on the angle scale and a reliable angle finder. Carefully align the blade to your desired degree on the scale. Then, use a digital angle finder or protractor to confirm the exact angle before locking it down. This extra verification is key for precision.
Is it normal for the bevel adjustment to be stiff on a new miter saw?
Yes, it can be normal for the bevel adjustment to feel a bit stiff on a new miter saw. Components are fresh and haven’t been “broken in” yet. With a few uses, it should loosen up. If it remains excessively stiff, consult your saw’s manual for any lubrication recommendations or contact customer support.
What’s the difference between a miter angle and a bevel angle?
The miter angle is when you swing the saw blade left or right across the table (think of cutting a picture frame’s corner flat). The bevel angle is when you tilt the saw blade to the side, creating an angled cut through the thickness of the wood. Both are crucial for complex cuts, but they adjust in different ways.