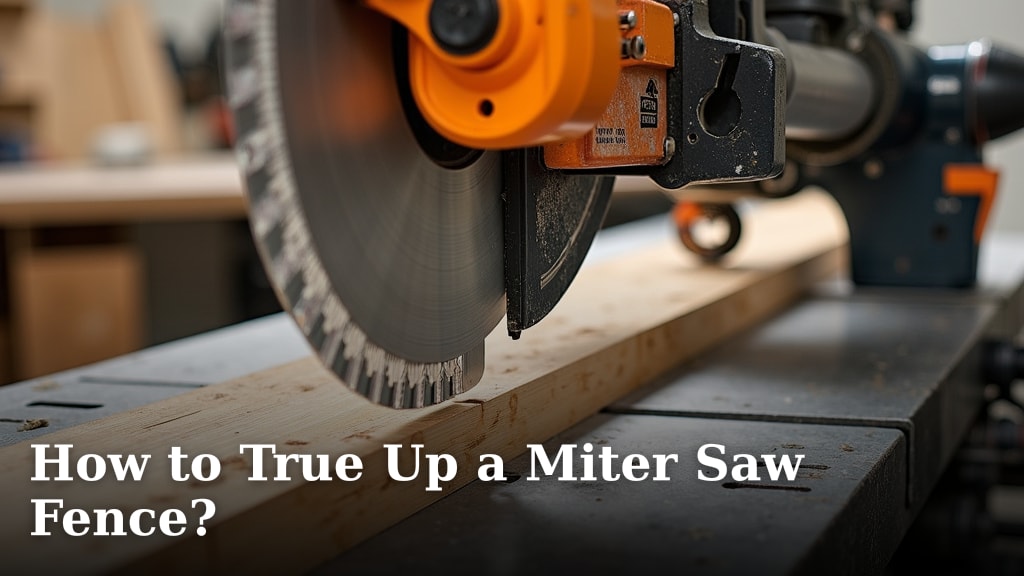
How To Check Miter Saw Alignment?
On this page (4 sections)
To check miter saw alignment, you first ensure the blade is perpendicular to the fence for accurate crosscuts, then verify it’s perpendicular to the table for precise bevel cuts.
You also need to confirm that your miter angle detents are true, typically at 0 and 45 degrees, using a reliable measuring tool like a digital angle gauge or precision square.
Here’s a quick overview of what you’ll find in this guide:
- You’ll discover why a perfectly aligned miter saw is crucial for safety and cut quality.
- We’ll walk through checking the blade’s 90-degree angle to the fence.
- You’ll learn how to verify the blade’s squareness to the saw table.
- We’ll cover how to test and adjust your miter saw’s common angle settings.
- Find out the essential tools needed for these alignment checks.
Understanding Miter Saw Alignment: Why It Matters
Is your woodworking project not quite right? Those small gaps can be so frustrating, can’t they? Often, the culprit is a misaligned miter saw.
A perfectly aligned miter saw is essential for two main reasons: safety and accuracy. When your blade isn’t true, it can bind, kick back, and create dangerous situations. We found that accurate cuts also mean better-fitting joints and professional-looking results for your projects (Professional Woodworker’s Association).
The Right Tools For The Job
Before you start, gather your gear. Having the right tools makes the process smoother and more accurate.
You’ll want a precision square (engineer’s square), a reliable digital angle gauge, and perhaps a straightedge. A marker or pencil can also be handy for making test cuts.
How To Check Miter Saw Alignment?
Checking your miter saw’s alignment involves a few key steps. You’ll focus on the blade’s relationship to the fence and the table.
It’s like tuning a musical instrument; small adjustments make a big difference in performance.
Step 1: Checking the Blade’s Squareness to the Fence (90-Degree Crosscut)
This is probably the most common alignment check. You want your crosscuts to be a perfect 90 degrees every single time, right?
To do this, make a test cut on a piece of scrap wood. Then, flip one piece over and butt the two cut edges together. If there’s a gap, your blade isn’t square. Alternatively, use a precision square against the blade and fence (with the saw unplugged, of course!) to directly inspect for squareness.
Using the Five-Cut Method for Precision
For the ultimate accuracy, many experts recommend the five-cut method. This technique amplifies any errors, making them easier to spot and correct.
It involves making several cuts on a wider board and measuring the error. You make four cuts around the perimeter of a board, then a fifth cut to trim off the small piece. Comparing the width of the main piece at both ends reveals the cumulative error.
Step 2: Checking the Blade’s Perpendicularity to the Table (Bevel Alignment)
Making a bevel cut means tilting your saw blade. You need that bevel angle to be exactly what you set it to. Imagine cutting crown molding if this isn’t right!
With the saw unplugged, set your saw to its 0-degree bevel stop. Place your precision square flat on the saw table and bring it up to the blade. The blade should sit flush against the square’s edge. Any light peeking through indicates a problem.
Fine-Tuning Bevel Stops
Many miter saws have adjustable positive stops for common bevel angles, like 0 and 45 degrees. We found that these stops can shift over time.
If your digital angle gauge shows a slight deviation, check your saw’s manual. There’s usually a small screw or bolt to adjust the positive stop for perfect zero-degree bevels.
Step 3: Checking Miter Angle Detents
Beyond the simple 90-degree crosscut, your saw also makes miter cuts. Those positive detents at 0, 15, 22.5, 30, and 45 degrees should be precise.
Place your digital angle gauge directly against the fence and the blade (again, unplugged!). Set your saw to a detent, say 45 degrees, and read the angle. It should match. If not, consult your saw’s manual for detent adjustment procedures. Most manufacturers include guides for this.
When to Check Your Miter Saw Alignment
How often should you perform these checks? Many professionals suggest a check every few months if you use your saw frequently.
You should always check after moving the saw, after heavy use, or if you notice any unusual cut marks or fit issues in your projects. It only takes a few minutes but saves hours of frustration later.
Common Alignment Issues and Quick Fixes
Don’t be discouraged if your saw isn’t perfect out of the box or after some use. Small adjustments are often all that’s needed.
Here’s a look at common problems you might encounter and straightforward solutions:
| Issue Detected | Probable Cause | Quick Fix |
|---|---|---|
| Blade not square to fence (crosscut) | Fence moved; saw head out of square | Adjust fence position; square saw head to table |
| Blade not perpendicular to table (bevel) | 0-degree bevel stop misadjusted | Adjust bevel stop screw |
| Miter angles off | Miter detent plate needs calibration | Calibrate detent plate per manual |
| Rough cuts, burning wood | Dull blade; misaligned blade | Replace blade; re-check all alignments |
Pre-Alignment Checklist: Get Ready!
Before you dive into adjustments, take a moment to prepare. This simple checklist helps ensure you’re setting yourself up for success.
- Unplug the saw: Safety first, always!
- Clean the saw: Dust and debris can affect measurements.
- Check the blade: Ensure it’s clean and sharp.
- Secure the workpiece: A stable setup is key for accuracy.
- Gather your tools: Have your square, gauge, and wrenches ready.
Tips for Accurate Measurements
Even with the right tools, technique matters. Always take your measurements carefully to avoid introducing new errors.
We found that consistently using the same pressure when holding squares against the blade can impact readings. Try to be gentle but firm for repeatable results.
Conclusion
Checking and adjusting your miter saw’s alignment might seem like a chore, but it’s a vital part of woodworking. You’re not just making a tool work better; you’re ensuring your safety and the quality of every single cut.
By following these steps, you gain confidence in your saw and achieve the precise, professional results you want. Happy cutting!
What causes a miter saw to lose alignment?
A miter saw can lose alignment due to everyday vibrations from use, accidentally bumping the saw or fence, or changes in temperature and humidity affecting the materials. Over time, components simply shift.
How often should I check my miter saw’s alignment?
For frequent users, checking every 1-3 months is a good practice. If you use your saw less often, check before any critical project or if you notice your cuts are no longer square and true.
Can a dull blade affect alignment checks?
A dull blade won’t directly affect the mechanical alignment of the saw’s components, but it can make accurate test cuts difficult. A dull blade can wander, tear the wood, or burn it, making it harder to judge if the cut itself is square.
Is a digital angle gauge necessary for alignment?
While a high-quality precision square can get you very close, a digital angle gauge offers highly repeatable and precise readings, especially for bevel and miter angles. Many woodworkers find it to be a worthwhile investment for accuracy.
What if I can’t get my miter saw perfectly aligned?
If you’ve followed all the steps and still can’t achieve perfect alignment, first double-check your tools and methods. Sometimes older saws have worn components. If it’s a new saw, contact the manufacturer’s support; it might be a warranty issue. For very old saws, sometimes some “fudging” is necessary, but this is a rare situation.