
How to Cut a Mitered Corner on a Picture Frame with a Miter Saw?
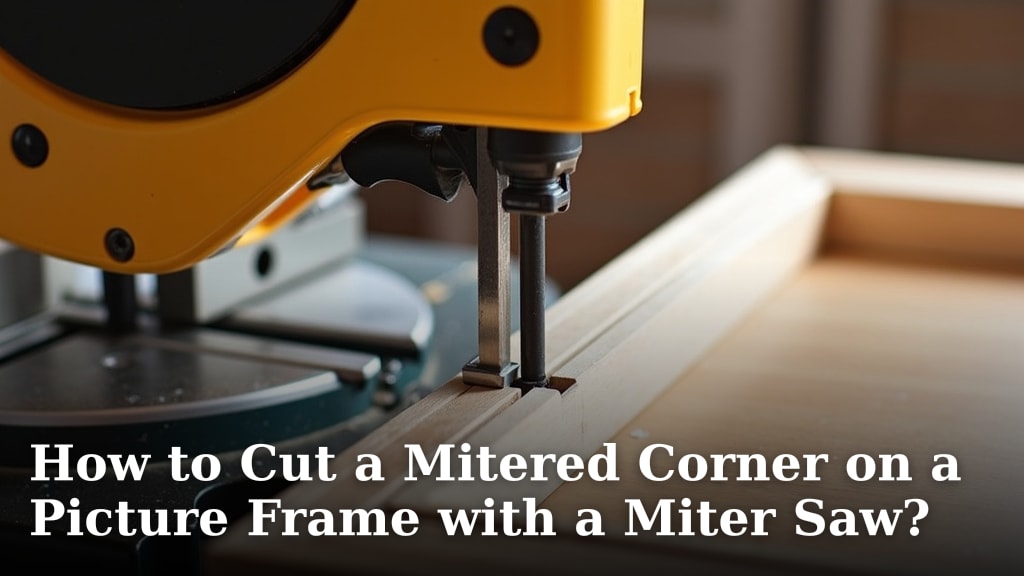
Cutting a mitered corner on a picture frame with a miter saw is surprisingly straightforward. You just need to set your saw to a 45-degree angle and make your cut. This simple technique is key to creating professional-looking frames at home. Getting this cut right means your frame corners will join up perfectly.
A miter saw is a fantastic tool for woodworking projects. It makes precise angled cuts, which are essential for things like picture frames and trim work. Knowing how to use it for mitered corners will save you money and give you satisfaction. Many DIYers find this skill very rewarding.
- Set your miter saw to 45 degrees.
- Ensure your wood is securely clamped.
- Make a clean, smooth cut.
- Repeat for all frame pieces.
- Test fit your corners before gluing.
Let’s walk through exactly how to achieve those perfect 45-degree cuts for your picture frame, step by step.
Achieving Perfect Picture Frame Corners with Your Miter Saw
Cutting a mitered corner for your picture frame is a skill that makes a huge difference. You want those corners to meet up like they were made for each other. That’s where your miter saw comes in. It’s designed to make these angled cuts with precision.
This guide will walk you through setting up your saw and making those perfect 45-degree cuts. You’ll learn how to get them just right. Soon, you’ll be crafting beautiful frames with clean, sharp corners. It’s a rewarding process you can master.
Understanding Your Miter Saw for Frame Cuts
Before you even touch the wood, it’s good to know your miter saw. These saws are built for accuracy. They have a fence to hold your wood steady. The blade pivots to create precise angles. For picture frames, the 45-degree angle is your best friend.
What is a Mitered Corner?
A mitered corner is simply an angled joint. For a standard rectangular picture frame, each corner is made of two pieces cut at 45 degrees. When you join them, they form a perfect 90-degree corner. This looks much cleaner than a butt joint. It’s the classic way to build a frame.
Key Components of Your Miter Saw
You’ll want to be familiar with a few parts of your saw. The base is where the saw sits. The fence is the tall piece at the back; it helps support your wood. The blade is what does the cutting, of course. The most important part for us is the miter adjustment. This allows you to set the angle of the blade.
The Miter Adjustment Knob/Lever
Most miter saws have a knob or lever that you loosen to adjust the angle. You’ll then swing the saw head to your desired degree. For picture frames, you’re aiming for 45 degrees. Many saws have pre-set stops for common angles like 0, 15, 22.5, 30, and 45 degrees. Find that To ensure your frame corners meet perfectly, learn how to make a 45-degree cut with a miter saw.45-degree mark and lock it in securely. Make sure it’s firmly in place before you cut.
The Blade Guard
Your saw’s blade guard is there for your safety. It covers the blade when it’s not cutting. Always make sure it’s working correctly. It should retract as you lower the blade and snap back into place when you raise it. Never disable or remove the blade guard. Safety first, always!
Preparing Your Wood for Cutting
Getting your wood ready is just as important as the cut itself. You don’t want any surprises when the blade engages the material. A little preparation goes a long way for a clean, accurate cut. Your frame pieces will thank you!
Choosing the Right Wood
For picture frames, you can use many types of wood. Pine is affordable and easy to work with. Hardwoods like oak or maple offer more durability and a richer look. Softwoods are great for beginners. Hardwoods can be trickier but look fantastic. The wood’s grain pattern can also influence the look of your finished frame.
Measuring and Marking Your Cuts
Measure twice, cut once is an old saying for a reason. Accurately measuring your frame pieces is vital. Use a good quality tape measure. Mark your cut lines clearly with a pencil. For mitered cuts, you need to mark the line where the blade will actually cut the wood. This is often called the If you’re working with trim for your frame, our guide on how to measure and cut trim with a miter saw can help.“long point” or “short point” mark, depending on how you measure.
Understanding Your Measurement Mark
When you make a miter cut, the end of the wood is no longer a square edge. You’ll typically measure to the longest point of your cut piece. So, if your frame needs to be 10 inches long on the outside edge, you’ll measure 10 inches from the longest point of one miter cut to the longest point of the other. Double-check this before you cut. Getting your measurements right means your frame will assemble perfectly. Many woodworkers find using a marking knife is even more precise than a pencil.
Securing Your Wood to the Saw
This is non-negotiable for safety and accuracy. You absolutely must secure your wood to the miter saw’s fence. Most saws come with a clamp. Use it! If your saw doesn’t have a clamp, or if it’s not positioned correctly for your cut, you can use other methods. Sometimes a simple C-clamp can hold the wood firmly against the fence. Or, you can use a stop block system. The wood should not move at all during the cut. A loose piece of wood is dangerous.
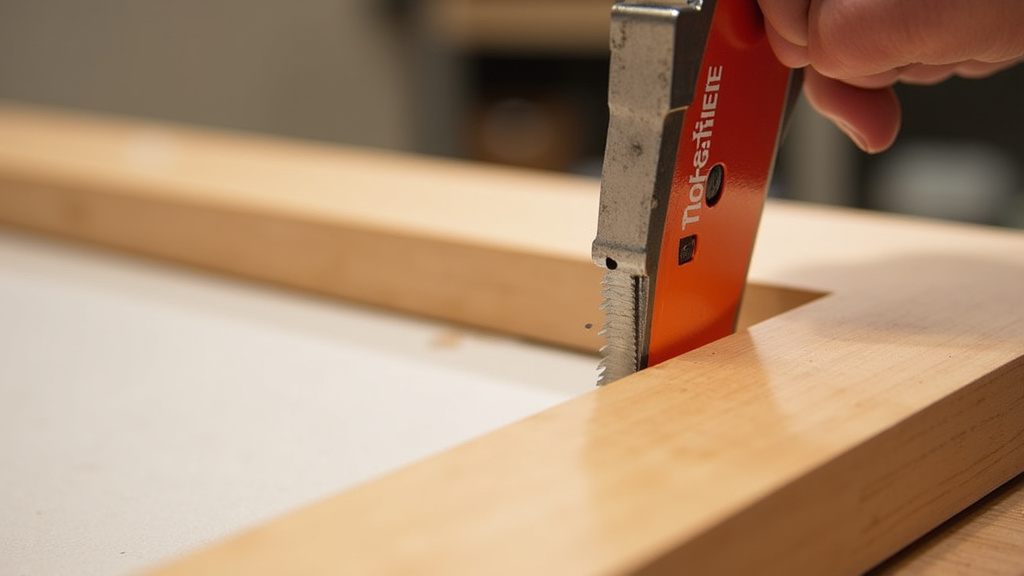
Making the Mitered Cut: Step-by-Step
Now for the exciting part: making the cut! It’s a simple process once everything is set up. Take your time and focus on smooth, controlled movements. This is where your frame starts to take shape.
Positioning the Wood for the First Cut
Place your wood piece flat against the fence and on the saw’s table. Align your marked cut line with the saw blade. You want the blade to cut exactly on your pencil mark. The angle of the blade should be set to 45 degrees. Make sure the blade will cut the waste side of your line. For example, if you’re cutting a piece that will be 10 inches long, and you measure from the long point, you’ll want the blade to cut off the extra bit beyond your 10-inch mark.
Performing the Cut Safely
Once the wood is positioned and clamped, turn on the saw. Let the blade reach its full speed before you lower it. Lower the blade slowly and steadily through the wood. Don’t force the cut. Let the saw do the work. Once the cut is complete, raise the blade all the way up. Then, you can release the clamp and remove the cut piece. Always wait for the blade to stop spinning completely before you reach for the wood.
Cutting the Second Mitered End
Now you need to cut the other end of the same piece. This cut needs to be at a 45-degree angle, but in the opposite direction. So, if your first cut angled to the left, this one will angle to the right. This creates the trapezoid shape needed for your frame. Re-position the wood, ensure it’s clamped securely, and make the second cut. Again, let the blade reach full speed before lowering it. Keep your hands clear of the blade.
Cutting Subsequent Frame Pieces
Repeat this process for all four pieces of your frame. Each piece will have two 45-degree mitered ends. The angles will face inwards on each end, creating the pointed shape of the corner. Many woodworkers find it helpful to cut two opposing sides first, then the other two. This can help you check your measurements and angles as you go.
Tips for Perfect Picture Frame Corners
Even with a good saw, small adjustments can make a big difference. These tips can help you achieve that professional look you’re aiming for. You’ll be amazed at the results!
Test Fitting Your Corners
Before you apply any glue or make permanent joins, test fit your corners. Lay out your four cut pieces on a flat surface. See how they join together. Do the 45-degree angles meet cleanly? Are there any small gaps? A slight gap might be okay, but large ones mean your angle was off or the wood shifted. Minor adjustments can sometimes be made with sandpaper, but it’s better to get the cut right the first time.
Using a Stop Block for Consistency
If you’re making multiple frames or need consistent lengths, a stop block is a lifesaver. This is a piece of wood clamped to the fence of your miter saw. You position it so that when your wood piece hits the stop block, it’s exactly where you want to cut. This ensures that all your frame pieces are the same length. You can use it for both the initial measurement and for repeat cuts.
Sanding the Mitered Edges
After cutting, you might have a few rough edges or splinters. A light sanding can clean these up. Use a sanding block or fine-grit sandpaper. You want to smooth the cut surface gently. Be careful not to sand away too much material, as this can alter your angle or length. A smooth edge will help the corners join together more tightly.
Here’s a quick checklist to keep you on track:
- Set your miter saw accurately to 45 degrees.
- Measure your wood pieces carefully, marking the correct cut line.
- Securely clamp your wood to the fence before each cut.
- Let the saw blade reach full speed before cutting.
- Test fit all four corners before gluing.
- Make small adjustments with sandpaper if needed.
Conclusion
You’ve now learned how to confidently cut perfect mitered corners on your picture frames using a miter saw. Remember that precise setup, secure clamping, and careful measurement are your best friends here. These steps ensure your frame corners meet up cleanly every time. This skill will not only save you money but also add a professional touch to your DIY projects. Ready to start building? Gather your wood and your miter saw, and bring your frame designs to life.
Frequently Asked Questions
What is the most common angle for picture frame corners?
The most common angle for standard rectangular picture frame corners is 45 degrees. When you join two pieces cut at 45 degrees, they form a perfect 90-degree corner, creating a neat and professional look for your frame.
Can I use a hand saw instead of a miter saw for these cuts?
While possible with a miter box and hand saw, a miter saw provides superior accuracy and ease for 45-degree cuts. Achieving perfectly matched corners by hand can be challenging and requires significant practice to get right.
How do I ensure my mitered cuts are exactly the same length?
Using a stop block system on your miter saw is the most effective way to ensure consistent lengths. Once set, each piece of wood will hit the block at the same point, guaranteeing identical measurements for all your frame sides.
What should I do if there’s a small gap in my mitered corner?
Small gaps can often be fixed with careful sanding or by using a wood filler that matches your frame’s finish. However, a large gap usually indicates an issue with the angle of your cut or wood slippage during cutting, so try to get the cut right initially.
How do I avoid tear-out on my wood when making the cut?
To minimize tear-out, ensure your saw blade is sharp. Also, consider using painter’s tape along your cut line on the wood surface, or try cutting from the back side of the wood first, then flipping it to complete the cut from the front.
