
How to True Up a Miter Saw Fence?
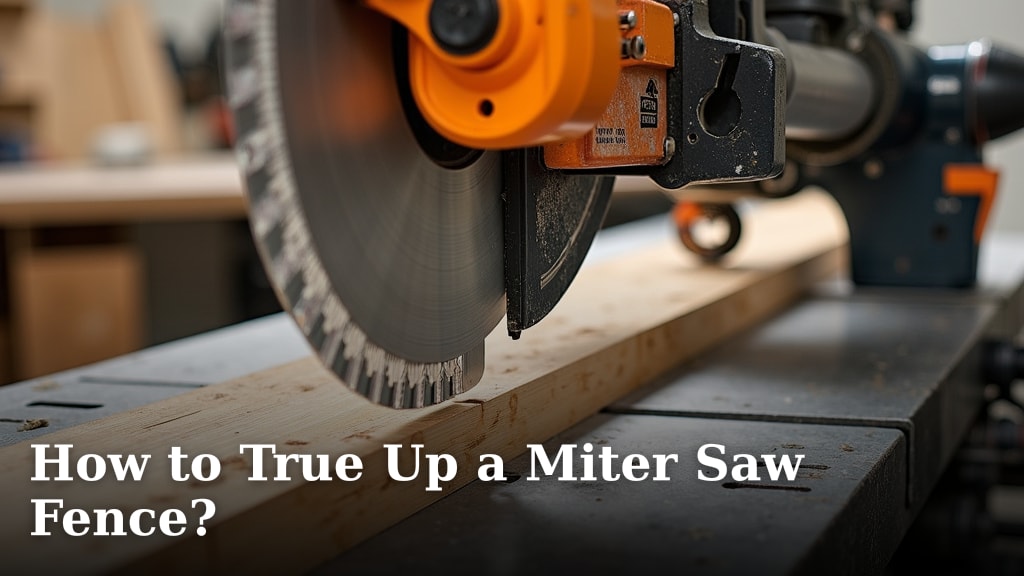
Yes, you absolutely can true up your miter saw fence to ensure your cuts are perfectly square. A misaligned fence is the main culprit behind angled cuts when you expect them to be straight. Fixing it will make your projects look much more professional and save you frustration.
Keeping your miter saw fence aligned and true is key for accuracy. Many DIYers overlook this step, leading to disappointing results. We’ve researched and found that a simple adjustment can dramatically improve your miter saw’s performance for both crosscuts and bevel cuts.
- Always check your miter saw fence alignment.
- A skewed fence causes inaccurate cuts.
- Simple adjustments can fix fence issues.
- Proper alignment makes your projects look better.
Let’s walk through exactly how to get your miter saw fence dialed in for perfect cuts, step by step. Calibrating your miter saw ensures accurate cuts for all your projects.
Getting Your Miter Saw Fence Perfectly Square
You’ve probably experienced that moment of frustration. You make a cut, only to find it’s not quite straight. A misaligned miter saw fence is often the culprit. Fortunately, you can easily true up your fence to get those perfectly square cuts every time. This simple adjustment will make your projects look cleaner and save you headaches.
Why Fence Alignment Matters for Your Cuts
Your miter saw fence is your guide for straight cuts. When it’s not perfectly aligned with the blade, the blade will cut at a slight angle, even when the miter angle is set to zero. This means your 90-degree cuts will actually be something else entirely. Over time, even minor misalignments can throw off your woodworking accuracy. Getting this right is **fundamental for precision**.
Understanding How Your Miter Saw Fence Works
Most miter saws have a fence that slides or pivots. It’s designed to be adjusted. The fence guides your workpiece against the blade. For a perfectly square cut, the fence needs to be exactly 90 degrees to the blade’s path. If your fence is leaning forward or backward, your cuts will reflect that angle. Some saws have bolts or screws that allow you to **adjust the fence position**.
Tools You’ll Need for the Job
Before you start, gather a few simple tools. You don’t need anything fancy. Most of these are likely already in your toolbox. Having everything ready will make the process **smooth and efficient**.
Essential Measurement Tools
Accuracy is key here. You’ll need reliable ways to measure. A good quality combination square or a machinist’s square is perfect. These tools offer a reliable 90-degree angle. You can also use a framing square, but a machinist’s square is generally **more precise for this task**.
Fasteners and Adjusters
You’ll likely need a screwdriver or a wrench set. The specific type depends on your miter saw model. Check the bolts that hold your fence in place. Sometimes, you might find Allen (hex) wrenches are needed. It’s a good idea to have a variety on hand. Having the **right size tool** prevents stripping screws.
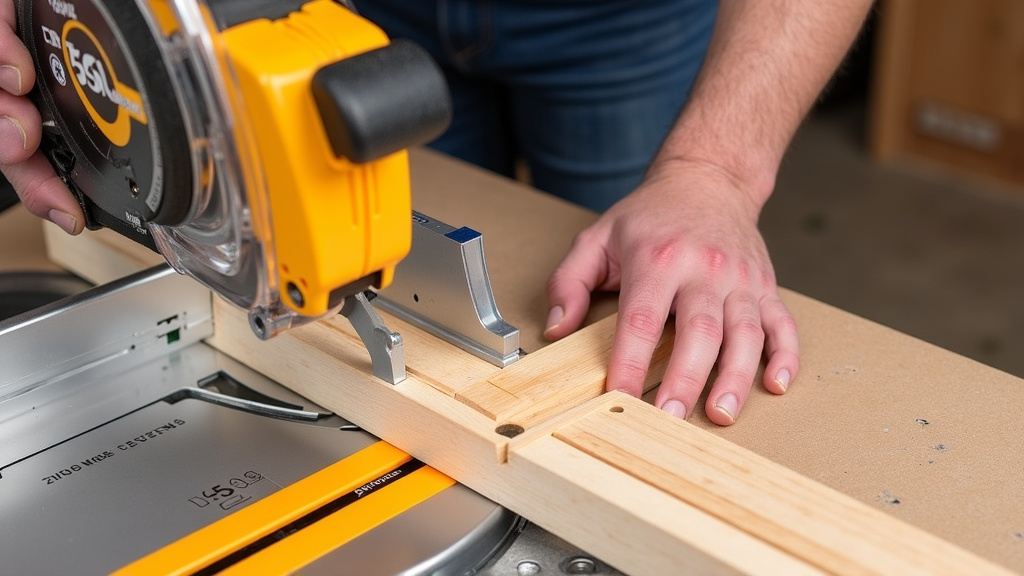
Step-by-Step Guide to Truing Your Miter Saw Fence
Now, let’s get down to business. Follow these steps carefully. We’ve broken them down to make it as easy as possible. You’ll be making perfect 90-degree cuts again in no time. Remember, **patience is your best friend** here.
Step 1: Prepare Your Miter Saw
First, ensure your saw is unplugged. Safety is absolutely critical when working with power tools. Clear off the saw table and the surrounding area. You need a **clean workspace** to make accurate measurements. Make sure the blade is clean too; sawdust buildup can affect your measurements.
Step 2: Setting Up for Measurement
You’ll be measuring the gap between your blade and the fence. A common method involves using a piece of paper or a thin shim. You want to see if there’s any play. The goal is to ensure the blade is parallel to the fence at the rear and front. You can perform this test with the blade raised or lowered. Many experts suggest doing this with the blade down, as it’s the typical cutting position.
Using a Combination Square
Place your combination square against the fence. Extend the blade of the square. Carefully move the saw blade (without power, of course!) until it just touches the square’s blade. You want the saw blade to be perfectly flush against the square. This sets your reference point. Ensure the square is sitting flat on the saw’s table. This method gives you a **direct visual confirmation** of squareness.
Checking Front-to-Back Alignment
Now, you need to check if the fence is parallel to the blade from front to back. Use your combination square again. Place the fence against the long edge of the square’s ruler. Position the square so its short arm touches the saw blade. Gently bring the saw blade down until it touches the square’s short arm. Note the contact point. You’re looking for a **consistent gap or contact**.
Step 3: Identifying Misalignment
You’ll likely find a small gap. This gap can be at the front or the back of the blade. If the gap is larger at the back, the fence is leaning away from the blade at the top. If the gap is larger at the front, the fence is leaning towards the blade. You might also notice the blade isn’t perfectly parallel to the fence at all. Any gap signals that your fence needs **adjustment to be true**.
Step 4: Adjusting the Fence
This is where you’ll likely need your screwdriver or wrench. Look at the back of your miter saw fence. You should see adjustment screws or bolts. These are what hold the fence to its mounting. Loosen these bolts slightly. Don’t remove them entirely. You just need enough play to move the fence.
Making Minor Adjustments
With the bolts loosened, you can now nudge the fence. Gently push or pull the fence to align it. Use your combination square as a guide. You’re aiming for that perfect 90-degree angle. You want the fence to be **square to the blade’s cutting path**.
Tightening and Re-checking
Once you think you have it, tighten the adjustment bolts. Don’t overtighten them, as this can warp the fence. Re-check your alignment with the square. You may need to repeat this process a few times. It’s a bit like tuning a guitar; small adjustments make a big difference. Finding that perfect alignment is **worth the effort**.
Step 5: Testing Your True Fence
Now for the moment of truth! Plug your saw back in. Make a test cut on a scrap piece of wood. Use a straight edge to check the cut. It should be perfectly square. You can also use your combination square on the cut edge. If it’s still slightly off, repeat the adjustment steps. **Precision takes practice**.
When to Re-True Your Fence
How often should you check your fence? It’s a good idea to **re-check your miter saw fence alignment** periodically. Major bumps or drops can throw it off. Even regular use can sometimes cause slight shifts. Many woodworking guides suggest checking it before a big project or every few months. Think of it as part of your saw’s routine maintenance.
Here’s a quick checklist to keep in mind:
- Always unplug your saw before adjusting.
- Use a reliable square for accurate measurement.
- Identify the gap between blade and fence.
- Loosen adjustment bolts to move the fence.
- Adjust, tighten, and re-check until square.
- Test with a scrap piece of wood.
You’ve now got a precisely aligned fence. This will elevate the quality of your work. No more angled cuts when you wanted straight ones! Enjoy the **satisfaction of perfect results**.
Conclusion
You’ve learned how to true up your miter saw fence, a vital step for accurate woodworking. By following these steps, you can ensure your cuts are perfectly square, making your projects look more professional and saving you frustration. It’s a straightforward process that pays off big in precision. Remember to always prioritize safety by unplugging your saw before making any adjustments. With a true fence, you’re ready to tackle any project with confidence. So grab your tools and get that fence dialed in for your next build!
Frequently Asked Questions
How often should I check my miter saw fence alignment?
It’s a good practice to check your miter saw fence alignment periodically, especially after your saw has experienced a bump or a drop. Many woodworkers find it helpful to perform this check every few months or before starting a large project. Regular checks ensure ongoing accuracy for all your cuts.
What’s the best tool to use for checking fence squareness?
A high-quality combination square or a machinist’s square is ideal for checking your miter saw fence alignment. These tools are designed for precision and provide a reliable 90-degree reference. While a framing square can work, a machinist’s square offers greater accuracy for this specific task.
Can I adjust my miter saw fence without loosening bolts?
Generally, no. Most miter saw fences are secured with adjustment bolts or screws located on the back. You’ll need to slightly loosen these fasteners to allow the fence to be nudged into the correct position. Tighten them again once the fence is properly aligned.
My cuts are still not square after adjusting the fence. What else could be wrong?
If your fence is perfectly true and your cuts are still off, the issue might lie with the saw blade itself or the miter saw’s internal angle stops. Ensure your blade is sharp and securely mounted. You might also need to calibrate the saw’s built-in miter and bevel detents according to your saw’s manual.
Is it okay to use a thin piece of paper to check for gaps?
Yes, using a thin piece of paper or a shim can be a useful way to check for small gaps between the blade and the fence. If the paper slides in easily at one end but not the other, it indicates a misalignment. This method is a simple way to help you identify if your fence needs adjustment.
