
How To Make A Miter Saw Jig?
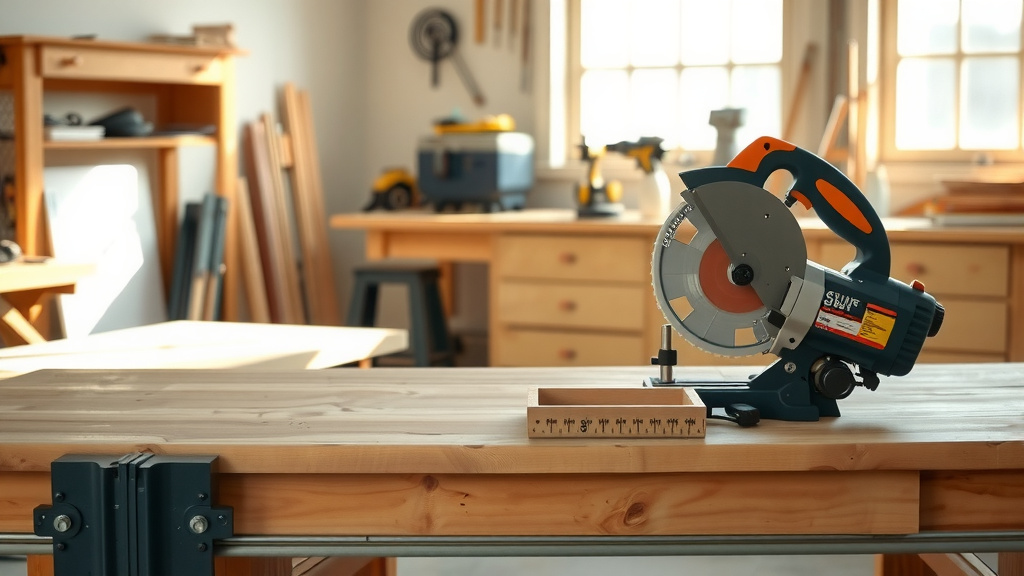
To make a miter saw jig, you typically need a flat base, a fence, and a stop block to support your workpiece and ensure accurate, repeatable cuts.
These simple fixtures help improve safety and consistency, especially for identical cuts or tricky angles on your miter saw.
- A custom miter saw jig significantly boosts your cutting accuracy and safety.
- You can build effective jigs using common shop materials like plywood, glue, and screws.
- Jigs help you achieve perfectly square or specific angle cuts repeatedly without constant remeasuring.
- They save time on repetitive tasks, making your woodworking projects smoother and more efficient.
- Prioritize safety measures, including clear work areas and proper material handling, when using any jig.
Understanding the Value of a Miter Saw Jig
Ever struggle to get that perfect, identical cut on multiple pieces of wood? It happens to the best of us! A miter saw jig isn’t just a fancy accessory; it’s a game-changer for precision and efficiency in your workshop. Imagine cutting twenty trim pieces, all exactly the same length. That’s the power a good jig gives you.
Why Do You Need a Miter Saw Jig?
You might ask, “Isn’t my miter saw accurate enough?” While miter saws are fantastic tools, a custom jig elevates your work. It provides consistent support and a reliable stop, eliminating human error. Many experts say that jigs add a layer of control that even the finest standalone tools cannot replicate (Fine Woodworking Magazine).
Benefits You’ll Immediately Notice
The moment you start using a jig, you’ll see the difference. You’ll enjoy greater accuracy, ensuring every cut mirrors the last. Your projects will look more professional, and you’ll save so much time by not re-measuring or re-cutting. Plus, it just feels good to work with tools that make your job easier, doesn’t it?
How To Make A Miter Saw Jig?
Making a basic miter saw jig involves creating a stable platform and a reliable fence system. You’ll be surprised how straightforward it is to build something that adds so much utility to your workshop.
Essential Materials for Your First Jig
Before you begin, gather your supplies. You likely have most of these lying around your shop. We found that high-quality plywood is often the best choice for its stability and flat surface.
- Plywood or MDF for the base (at least 1/2 inch thick)
- Plywood or hardwood for the fence (3/4 inch thick recommended)
- Wood glue
- Wood screws (1 1/4 inch to 2 inch, depending on material thickness)
- Measuring tape or ruler
- Pencil
- Square (framing square or combination square)
- Clamps
- Drill and driver
- Saw (circular saw or table saw for cutting jig pieces)
Step-by-Step: Building a Basic Crosscut Jig
Let’s make a simple, yet highly effective, crosscut jig. This will help you make repeated, perfectly square cuts with ease. Think of it as your miter saw’s best friend.
Preparing the Base
First, cut your base piece. A common size is about 12-16 inches deep and 24-30 inches wide. This gives you ample working space and stability. Make sure the edges are straight and square. A rough base leads to inaccurate cuts, and we don’t want that!
Attaching the Fence
Next, you’ll attach a fence to the back edge of your base. The fence provides the stopping point for your workpiece. Use wood glue and screws to secure it firmly. We found that countersinking the screws creates a smoother, snag-free surface.
Squaring the Fence: The Most Critical Step
This is where precision truly matters. You need to ensure your fence is **perfectly perpendicular** to your saw blade’s cutting path. Place the jig base on your miter saw table, pushed against the saw’s fence. Make a small cut through your new jig’s fence. Now, use an accurate square to check if this cut is truly 90 degrees to your fence. Adjust as needed. Many experts recommend small adjustments and test cuts until it’s perfect.
Adding Stop Blocks for Repetitive Cuts
Stop blocks are amazing for making identical cuts. They attach to your jig’s fence and define the length of your workpiece. You can make simple wooden blocks or use specialized hardware. Here’s a look at common options:
| Stop Block Type | Description | Best For |
|---|---|---|
| Fixed Wooden Block | Simple block screwed into place for a specific length. | Batch cutting many identical pieces. |
| Sliding Stop Block | Moves along a track or T-slot, locking into position. | Versatile length adjustments, frequent changes. |
| Flip Stop | Pivoting arm that can be flipped out of the way. | Cutting different lengths on the same setup. |
Customizing Your Jig for Specific Projects
Once you’ve mastered the basic jig, you can adapt it for specific needs. Think about picture frames, small boxes, or even cutting tricky angles. Many woodworkers create dedicated jigs for each repetitive task, finding it **saves immense time** in the long run.
Checklist for Jig Construction
Before you make that first cut, quickly run through this list:
- Is your material free of warps or defects?
- Are all measurements taken twice?
- Is your saw blade sharp and clean?
- Do you have enough clamps to secure everything during assembly?
- Have you checked your squareness multiple times?
Safety First: Essential Tips for Using Your Jig
Always remember that safety is not optional. Even with a jig, you’re using a powerful tool. Research often connects safe practices with **reduced workshop accidents** (OSHA guidelines). Never get complacent.
Ensure your workpiece is firmly against the fence and jig. Keep your hands clear of the blade’s path. Wear safety glasses, and consider hearing protection. Your fingers will thank you!
Conclusion
Building your own miter saw jig is a rewarding project that significantly upgrades your woodworking capabilities. It’s about more than just a piece of wood; it’s about achieving consistent accuracy and efficiency in every cut you make. By following these steps and prioritizing safety, you’ll soon be making perfect, repeatable cuts like a seasoned pro. Go ahead, give it a try – you’ll be glad you did!
Frequently Asked Questions
Can a miter saw jig be used for bevel cuts?
Yes, absolutely! A well-designed miter saw jig can accommodate bevel cuts. The key is to ensure your workpiece is securely held against the jig’s fence and base, and that the jig itself does not interfere with the saw blade’s beveling action. You might need to adjust your stop blocks or use clamps to ensure stability.
How often should I check my jig’s squareness?
You should check your jig’s squareness regularly, especially before starting a critical project or if you notice any inconsistencies in your cuts. Small bumps or movements can throw it off. Many experts recommend a quick check with a reliable square after every few uses or if the jig has been stored for a while.
What type of wood is best for making jigs?
Plywood or MDF are generally the best materials for making miter saw jigs. They are stable, flat, and relatively inexpensive. Baltic birch plywood is particularly good for its strength and void-free layers. Avoid softwoods or warped lumber, as they won’t provide the necessary stability and accuracy.
Can a miter saw jig replace a crosscut sled for some cuts?
While a miter saw jig and a crosscut sled serve similar functions (improving accuracy), they are generally used on different tools. A miter saw jig enhances the miter saw’s capabilities for repetitive cuts. A crosscut sled is primarily for a table saw, offering precision and safety for crosscutting wider boards. Each tool and jig has its specific strengths.
What if my jig isn’t perfectly flat?
If your jig isn’t perfectly flat, it will introduce errors into your cuts. Even a slight warp can cause your workpiece to lift or twist, resulting in inaccurate angles or lengths. It’s crucial to start with the flattest material possible for your jig’s base. If it warps over time, consider replacing it or reinforcing it to restore its flatness.


