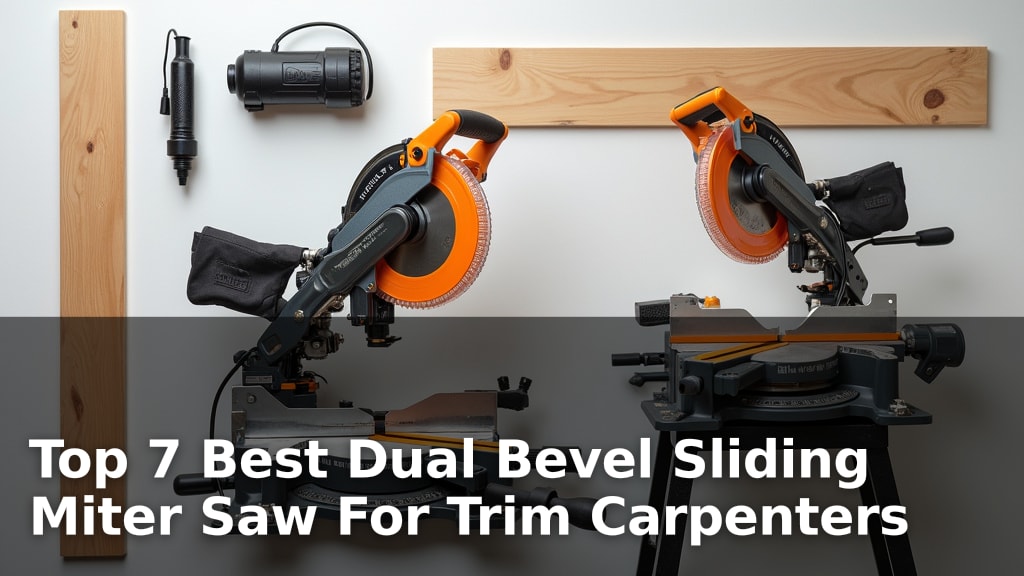
How to Cut Trim for Kitchen Cabinets with a Miter Saw?
On this page (10 sections)
- Mastering Miter Saw Cuts for Kitchen Cabinet Trim
- Understanding Your Miter Saw for Trim Work
- Essential Measurements and Marking
- Making the Perfect Miter Cuts
- Achieving Bevel Cuts When Needed
- Dealing with Different Trim Types
- Tips for a Flawless Finish
- Safety First, Always!
- Conclusion
- Frequently Asked Questions
You can absolutely cut trim for kitchen cabinets with a miter saw, and it’s often the best tool for the job. A miter saw allows you to make precise angle cuts needed for clean cabinet trim. Getting this right makes a big difference in your kitchen’s final look.
Cutting cabinet trim might seem a bit daunting at first. But with the right setup and technique, it’s a very achievable DIY project. Many homeowners find success by using their miter saw for accurate measurements and cuts, saving money on professional installation.
- Use a miter saw for precise cabinet trim cuts.
- Measure twice, cut once is your motto.
- Understand your saw’s angle settings.
- Safety glasses are a must.
- Practice on scrap wood first.
Let’s walk through exactly how to get those perfect cabinet trim cuts using your miter saw.
Mastering Miter Saw Cuts for Kitchen Cabinet Trim
You’re ready to give your kitchen cabinets a polished look with trim. Cutting that trim precisely is key. Thankfully, your miter saw is the perfect tool for this job. We’ll guide you through achieving those clean, professional-looking cuts. Thankfully, your miter saw is the perfect tool for this job.
Understanding Your Miter Saw for Trim Work
Before you even touch a piece of trim, it’s good to know your saw. Miter saws are designed for angle cuts. This is exactly what you need for corners and decorative trim pieces on your cabinets. You’ll be using both the miter and bevel settings.
The Miter vs. Bevel Distinction
It’s easy to mix these up. The miter setting adjusts the blade horizontally. This is for cutting angles like 45 degrees for a neat corner. The bevel setting tilts the blade vertically. You’ll use this for more complex joinery or if your trim needs to sit at an angle on the cabinet face. For most standard cabinet trim, you’ll focus on the miter cuts.
Setting Up Your Saw for Success
A stable saw is a safe and accurate saw. Make sure your miter saw is on a sturdy bench or stand. It should be level and secure. Most saws have a fence at the back. This is where your trim will rest. Ensure it’s clean and free of debris. You don’t want anything throwing off your angle.
Dust Collection is Your Friend
Cutting wood creates dust. A lot of it. Many miter saws have a port for a dust collection system or a bag. Hooking this up will make cleanup much easier. It also helps keep the air cleaner in your workspace. Some research suggests dust can irritate your lungs (CDC). So, it’s a good idea to manage it.
Blade Selection Matters
What kind of blade are you using? For fine trim work, a blade with more teeth is better. This results in a cleaner, smoother cut. A 60-tooth or 80-tooth blade is ideal for most wood trim. A blade with fewer teeth might leave a rougher edge. You’ll then have to spend more time sanding.
Essential Measurements and Marking
This is where “measure twice, cut once” becomes your mantra. Precision here prevents headaches later. You’ll need a reliable tape measure and a sharp pencil.
Accurate Measurement Techniques
Measure the exact length where the trim will go. For inside corners, measure from one inside edge to the other. For outside corners, measure from the furthest outward point. Always double-check your measurements. A small error can make a big difference.
Marking Your Cut Line
Once you have your measurement, transfer it to the trim piece. Use your pencil to make a clear, crisp line. For miter cuts, you’ll often mark a point on the trim. The angle of the saw will then guide the cut.
Accounting for Blade Kerf
Did you know your saw blade actually removes a small amount of material? This is called the kerf. When measuring, keep this in mind. If you’re cutting a piece to fit a specific gap, you’ll want to measure to the inside edge of your pencil line. The blade will cut away the line itself and a bit more.
Making the Perfect Miter Cuts
Now for the main event: cutting the trim. This involves setting your saw correctly and making a steady cut.
Setting the Miter Angle
For most standard inside or outside corners, you’ll need a 45-degree miter cut. Locate the miter lock on your saw. Loosen it and rotate the saw’s turntable. Most saws have detents (positive stops) at common angles like 0, 22.5, and 45 degrees. Align the indicator with your desired angle. Lock it down securely. You’ll want to cut one piece at 45 degrees left and the mating piece at 45 degrees right for a corner.
Positioning the Trim for Cutting
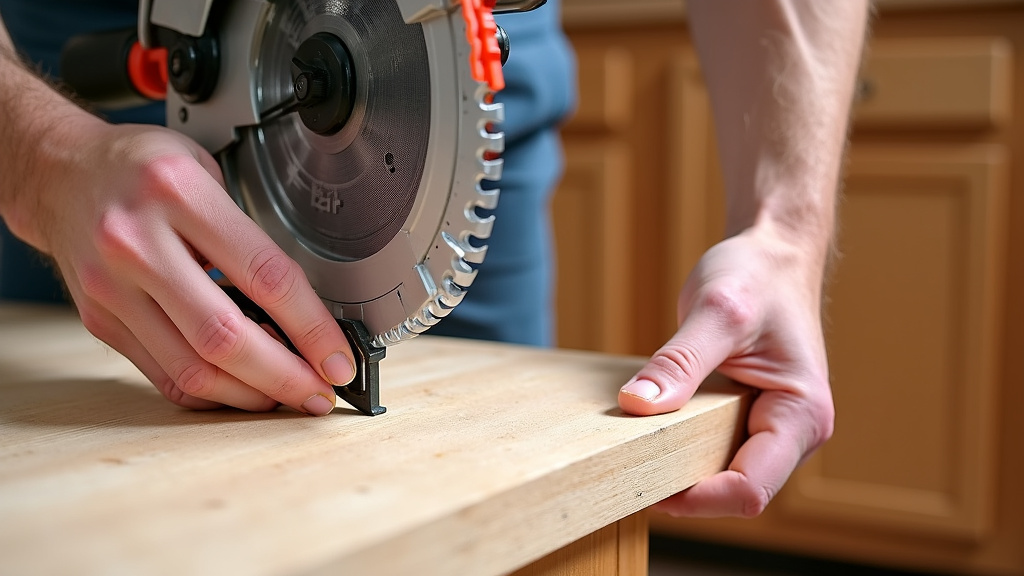
Place the trim piece flat on the saw’s table. Rest it firmly against the fence. Align your cut line with the saw blade. Make sure the blade will cut on the waste side of your line. Some saws have a laser guide. If yours does, ensure it’s calibrated and aligned with the blade.
Securing the Trim
Never hold the trim with just your hands. Use the saw’s clamp if it has one. If not, you can fashion a temporary clamp or use a helper to hold it steady. A stable piece means a cleaner cut and better safety. Many experts recommend using clamps for all cuts (Occupational Safety and Health Administration).
Executing the Cut
Turn on the saw and let it reach full speed. Slowly and steadily lower the blade through the trim. Don’t force it. Let the blade do the work. Once the cut is complete, raise the blade back up before removing the cut piece. Always wait for the blade to stop spinning completely before reaching near it.
Achieving Bevel Cuts When Needed
While less common for basic cabinet trim, bevel cuts are useful. Think of crown molding or trim that needs to sit at an angle. A bevel cut is a tilt of the blade.
Setting the Bevel Angle
Find the bevel lock. Loosen it and tilt the saw’s head. Again, look for detents at common angles like 0, 15, 22.5, 30, and 45 degrees. Lock it securely once set. For trim that meets a sloped surface, you’ll need a specific bevel angle. You might need to do some math or test cuts to find it.
Making the Bevel Cut
The process is similar to a miter cut. Position the trim so the bevel cut is oriented correctly. Ensure the trim is still stable against the fence and table. Lower the blade carefully. Bevel cuts can sometimes feel less stable. Always prioritize safety and a firm grip or clamp.
Dealing with Different Trim Types
Not all trim is created equal. The type of wood or material will affect your cut.
Softwoods vs. Hardwoods
Softwoods like pine are easier to cut. They are less dense. Hardwoods like oak or maple are denser. They require a sharper blade and a more deliberate cutting motion. For MDF or composite trim, ensure your blade is suitable. Some blades are better for particle board.
Flexible and Vinyl Trim
If you’re working with flexible trim or vinyl, proceed with caution. These materials can sometimes melt or chip with the heat of the blade. Use a very sharp blade, and make cuts at a moderate speed. Some vinyl materials may require a different cutting tool altogether.
Tips for a Flawless Finish
Once the cuts are made, a few extra steps can make your trim look like a pro installed it.
Sanding Your Cut Edges
Even with a good blade, edges might need a light sanding. Use fine-grit sandpaper (150-220 grit). Gently smooth any rough spots. This prepares the trim for painting or staining. You want a perfectly smooth surface.
Dry Fitting Your Trim
Before applying any adhesive or fasteners, dry fit your pieces. Place them in position to see how they line up. Check your corner joints. Do they meet snugly? Are there any gaps? This is your last chance to make minor adjustments. It’s much easier to fix now than after everything is glued.
Safety First, Always!
Working with power tools carries risks. Your safety is the most important thing. Never compromise on safety procedures.
Essential Safety Gear Checklist
- Safety Glasses: Non-negotiable. Protect your eyes from flying debris.
- Hearing Protection: Miter saws are loud. Earplugs or earmuffs are essential.
- Dust Mask: Especially if you don’t have great dust collection.
- No Loose Clothing: Avoid baggy sleeves or jewelry that could get caught.
- Keep Hands Clear: Always know where your hands are relative to the blade.
- Unplug When Adjusting: Always unplug the saw before changing blades or making adjustments.
Common Mistakes to Avoid
We’ve all been there, making a mistake. Let’s learn from common pitfalls.
- Not unplugging the saw before making adjustments.
- Holding small trim pieces with just your hands.
- Not letting the blade reach full speed before cutting.
- Forcing the blade through the wood.
- Not double-checking measurements.
- Ignoring the blade kerf in measurements.
Taking your time and following these steps will help you make perfect trim cuts for your kitchen cabinets. You’ve got this!
Conclusion
You’ve learned how to use your miter saw to cut precise trim for your kitchen cabinets. Remember that mastering the miter and bevel settings, along with careful measurement and blade selection, makes all the difference. Always prioritize safety by wearing your protective gear and securing your workpiece. With a little practice, you’ll be achieving those clean, professional corners that truly enhance your kitchen’s look. Your next step? Gather your materials and make a practice cut to build your confidence before tackling your cabinets!
Frequently Asked Questions
Can I use my miter saw for very small trim pieces?
Yes, but you need to be extra cautious. For very small trim, it’s best to use the saw’s clamp to secure the wood. If your saw doesn’t have a clamp, consider fashioning a temporary one or using a helper to hold the trim steady. Always keep your hands well away from the blade path.
What’s the best type of blade for cabinet trim?
For the smoothest, cleanest cuts on cabinet trim, a blade with more teeth is ideal. Look for blades with 60 to 80 teeth. These blades remove less material with each pass, resulting in a cleaner edge that requires less sanding.
How do I know if my miter saw is accurate enough for trim?
Your miter saw’s accuracy depends on its build quality and how well you maintain it. Always ensure the saw is on a stable surface and that the fence is clean. After setting your desired angle, test it on a scrap piece of wood. If the angles aren’t meeting correctly, check if your saw has adjustable stops or if it needs calibration.
What if my trim piece is too long for my saw’s capacity?
If your trim is longer than your saw can handle in a single cut, you’ll need to make multiple cuts. This is where precision is even more critical. Ensure your markings are exact and that you can accurately position the piece for each cut. Some larger trim pieces might require a different type of saw or a sliding miter saw. Some larger trim pieces might require a different type of saw or a sliding miter saw.
Do I need to sand every single cut edge?
It’s highly recommended to at least lightly sand every cut edge. Even with a sharp blade, there might be tiny splinters or rough spots. A quick pass with fine-grit sandpaper (150-220 grit) ensures a smooth surface for paint or stain and helps your trim pieces fit together more snugly.