How to Set Up a Metabo Miter Saw
To set up a Metabo miter saw, secure it on a stable surface, fit and inspect the blade, check the fence and angle scales, then make a test cut. Follow the manual for your exact model before connecting power.
On this page (9 sections)
- How should you mount a Metabo miter saw?
- What should you check before connecting power?
- How do you check the fence and table?
- How do you set the miter and bevel angles?
- How can you support molding during setup?
- How do you make a safe first test cut?
- Which blade accessories help with setup?
- What should you do if the saw will not release?
- What is the final setup check before cutting?
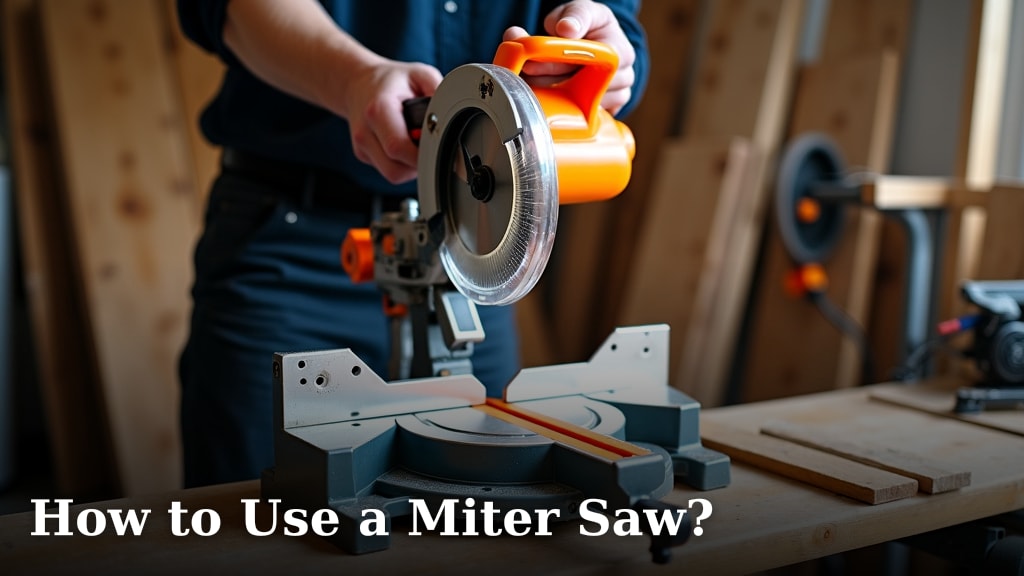
To set up a Metabo miter saw, mount it securely, check the blade and guard, confirm the fence and angle settings, and make a test cut. Use the manual for your exact model, since assembly and adjustment steps can differ between saws.
Keep the saw unplugged while assembling or adjusting it. Set it on a level, stable surface with enough room to support long stock and move the saw through its full range.
If floor space is limited, see overhead storage options for a miter saw before deciding where to keep the tool.
How should you mount a Metabo miter saw?
Secure the saw to a stable workbench or saw stand before use. Use the mounting method and hardware described in the manual, and make sure the base cannot shift when you lower or raise the saw.
If you're deciding how to attach it, see How To Mount A Miter Saw?. Check that the bench or stand is level and that the saw's base sits flat without rocking.
Arrange the work area so the cord stays clear of the blade path and moving parts. Leave room for the saw head to travel and for the workpiece to rest against the fence.
What should you check before connecting power?
Inspect the blade, guard, fence, table, and work clamp before plugging in the saw. The blade should be firmly secured and suited to the work, while the guard should move as intended and return to cover the blade.
With the saw unplugged, check that the blade is not cracked or damaged and that no teeth are missing. Follow the manual's instructions for blade changes, including the correct blade direction and tightening procedure.
Remove loose tools and scraps from the table. Make sure the fence is clear and that the workpiece can sit flat against it without rocking.
A suitable blade matters for clean cuts. The DEWALT 12-Inch Miter Saw Blade set includes one 80-tooth blade and one 32-tooth blade; confirm that the size and fit match your Metabo model before choosing one.
How do you check the fence and table?
Check that the fence is square to the blade and the table is clean and even. Unplug the saw, lower the blade as the manual directs, and use a reliable square to compare the blade plate with the fence.
Keep the square away from the teeth. If the blade and fence do not meet squarely, follow the model's adjustment procedure rather than forcing the fence or changing parts by guesswork.
The table should support the workpiece without a gap or wobble. If you find an uneven surface, read How to Shim a Miter Saw Table before deciding whether a shim is appropriate for your setup.
How do you set the miter and bevel angles?
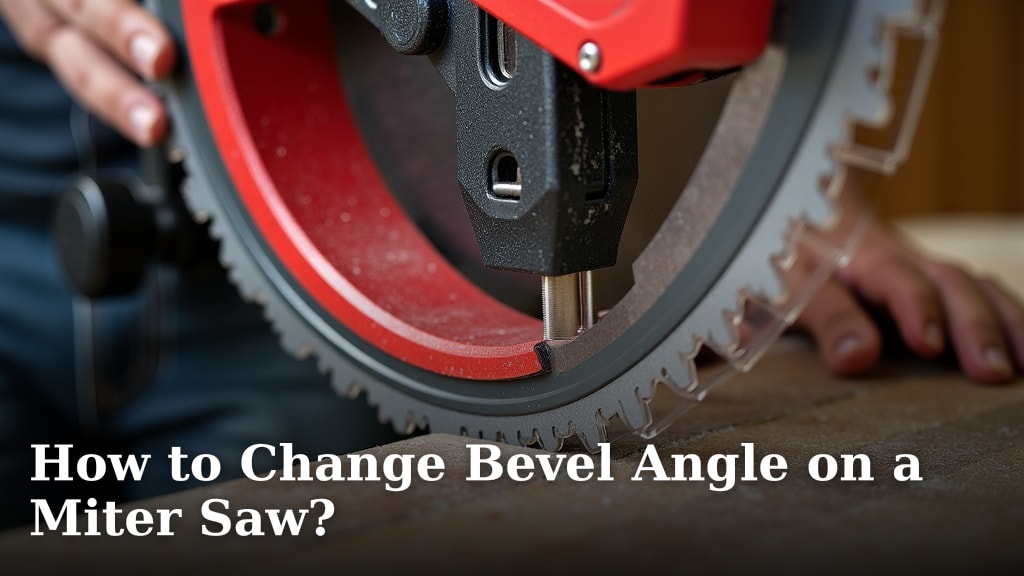
Set the miter and bevel scales to the angle your cut requires, then lock each adjustment. For a first square cut, set both to zero if your model's manual identifies those marks as the square-cut position.
Move the saw through its angle range while it's unplugged to learn how each lock works. Return it to the setting you need and confirm that the head and table are locked before cutting.
Scale marks are useful starting points, but a test cut helps reveal whether the setup is accurate. For another way to position repeat cuts, see measuring marks for a chop saw table.
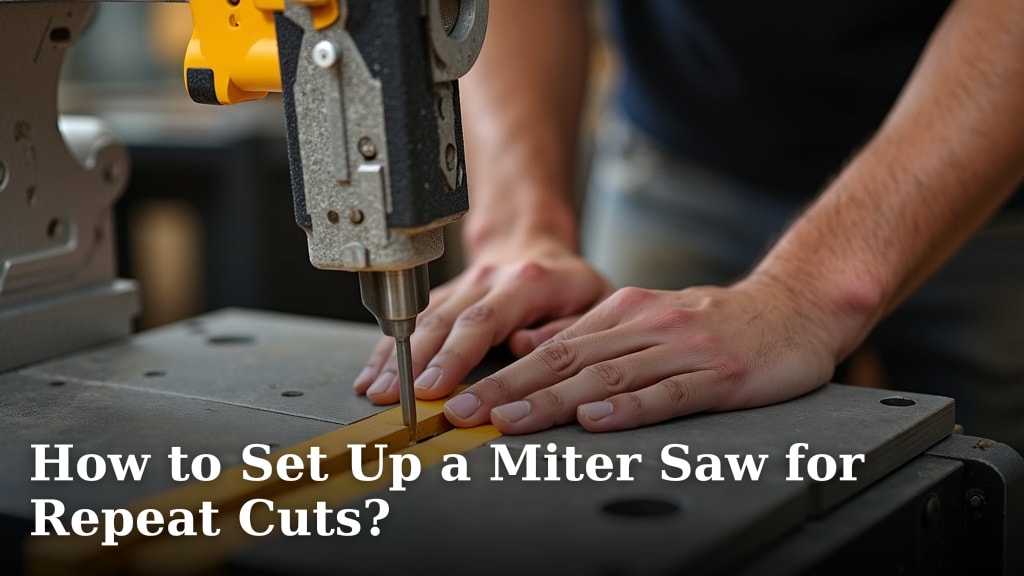
For repeated pieces, use How to Set Up a Miter Saw for Repeat Cuts? to plan a stop and check cut length.
How can you support molding during setup?
Keep molding firmly supported against the fence and table. Long or narrow pieces can shift if they hang unsupported, so use a stable support at the same height as the saw table.
For crown molding, the DEWALT Miter Saw Crown Stops are designed to position molding vertically against the saw fence. Check compatibility with your saw before buying, since these stops are described for specific DEWALT models.
If you are setting up another brand, compare the process in How to Set Up a Milwaukee Miter Saw. Follow your Metabo manual for its own fence, clamp, and accessory requirements.
How do you make a safe first test cut?
Wear eye and hearing protection, secure the workpiece, and make a test cut on scrap. Keep your hands clear of the blade path and wait for the blade to stop fully before lifting the saw head or removing the offcut.
Plug in the saw only after the setup checks are complete. Stand in a balanced position, start the saw as directed, and let it reach operating speed before lowering the blade through the stock.
Check the scrap for a square edge and the intended angle. If the cut is off, unplug the saw and review the fence, angle locks, and blade alignment using the manual's adjustment steps.
Which blade accessories help with setup?
Choose accessories only when they fit the job and the saw. The DEWALT 12-Inch Miter Saw Blade set is relevant only if your Metabo model accepts its blade size and mounting arrangement.
The Freud Diablo Finish Saw Blade is a 7-1/4 in blade for a circular saw, so it is not a miter saw blade choice for a Metabo miter saw. Check the saw manual for compatible blade dimensions before shopping for replacements.
Before buying any replacement, confirm the blade diameter, arbor fit, and permitted speed in your saw's manual. Do not install a blade based on appearance alone.
What should you do if the saw will not release?
Keep the saw unplugged and follow the model's release steps. Some saws use a transport lock or head latch, and forcing a locked mechanism can damage it or cause the head to move unexpectedly.
Find the correct release point in the manual and keep a hand on the handle as you release the mechanism. See How To Release a Metabo Miter Saw? for help locating the lock and release steps.
What is the final setup check before cutting?
Before the first cut, confirm the saw is secured, the blade and guard are sound, the workpiece is supported, and all locks are engaged. Make a scrap cut and check its angle before moving on to project stock.
Pick the accessory that solves a real setup need: crown stops for compatible crown molding work, or a replacement blade only after confirming the saw's requirements. Use the Metabo manual whenever an adjustment, lock, or blade fit is uncertain.