
Is a Miter Saw Necessary for Baseboard Installation?
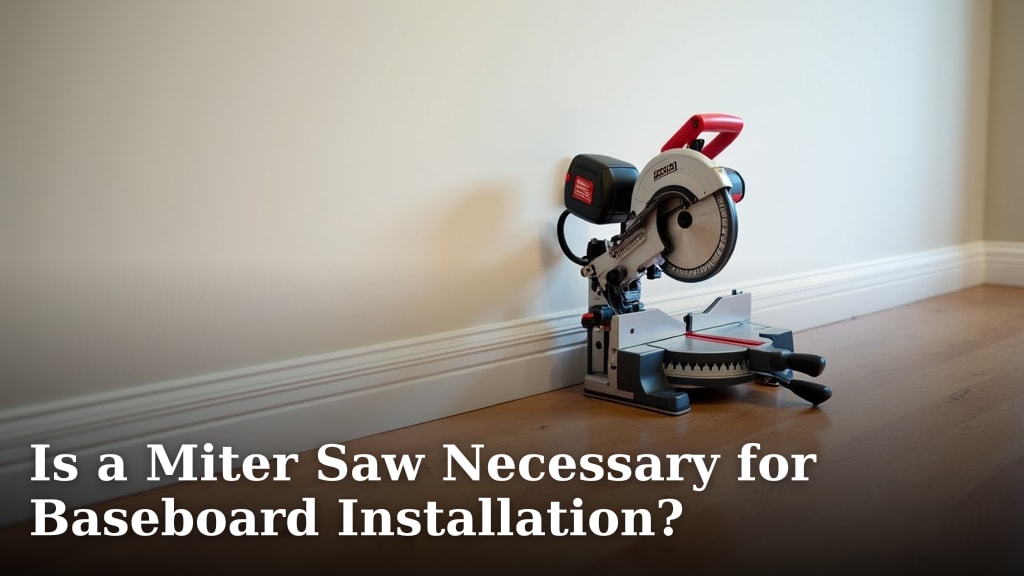
Yes, a miter saw is highly recommended for baseboard installation because it makes precise angle cuts quickly and easily. While you can technically use other tools, this power saw is the go-to choice for most professionals and serious DIYers. It ensures your corners look clean and professional.
We found that baseboard installation relies heavily on making accurate cuts, especially for corners and doorways. A miter saw excels at these tasks, saving you significant time and frustration. Many experts say it’s the most important tool for the job if you want flawless results.
- A miter saw makes fast, accurate angled cuts essential for tight corners.
- You can use a hand saw or miter box, but it takes much more time and effort.
- For a small, one-time project, renting a miter saw is a smart, cost-effective option.
- Precision is critical for a professional look, which is where the miter saw shines.
- It significantly reduces the chance of mistakes and wasted baseboard material.
Below, we’ll break down exactly why a miter saw is so useful and look at your other tool options. You’ll learn when this tool is a must-have versus when you might get by without it. Let’s make sure your next project is a success.
Do You Really Need a Miter Saw for Baseboards?
A miter saw is not strictly necessary, but it is the tool that makes the job faster, easier, and more accurate. Think of it like this: you can open a can of soup with a knife, but a can opener is designed for the task. For baseboard installation, the miter saw is your specialized can opener for corners. We found that for anyone doing more than a tiny repair, this tool quickly pays for itself in saved time and frustration.
The core of baseboard installation is cutting boards to fit together at angles. A miter saw is engineered precisely for this. It allows you to set and repeat angles like 45 degrees for corners with perfect consistency. This consistency is what separates a wobbly, gapped DIY job from a clean, professional-looking finish.
Why the Miter Saw is the Top Choice
When professionals install baseboards, they almost always reach for a miter saw. Here’s why it dominates the job site. It provides speed and precision in one package. You can make a cut in seconds, measure, and move to the next piece. A hand saw would take minutes per cut. Over an entire room, that time difference is massive.
The saw’s design also reduces mistakes. The blade guard, the stable fence, and the clamp all work together to hold the baseboard securely. This means the board won’t shift as you cut, leading to cleaner, safer results. Many experts say the reduction in wasted material from bad cuts often offsets the cost of the tool within a single project.
Key Angles You’ll Master
There are two primary cuts you need to know. Understanding them shows you why a dedicated tool helps.
- Inside Corner Cut: This is for corners that point into the room, like where two walls meet. These are typically 90-degree corners, so each baseboard gets a 45-degree cut.
- Outside Corner Cut: This is for corners that jut out, like around a chimney breast. Again, you’ll use 45-degree cuts, but on the opposite side of the board.
A miter saw lets you swing the blade from left to right to make these opposing cuts quickly. Juggling a hand saw and a miter box for these changes is possible but much more cumbersome.
Your Alternative Cutting Tools
So, what if you don’t have a miter saw? You have options, each with clear trade-offs. The key is to understand the time and effort each alternative demands. For a small closet or a single accent wall, these might be perfectly fine.
The Manual Option: Hand Saw and Miter Box
This is the most basic method. A miter box is a plastic or wooden guide with pre-cut slots for common angles like 45 and 90 degrees. You place the baseboard in the box and saw through the appropriate slot.
The pros? It’s cheap and quiet. The cons? It requires more physical effort. It also relies entirely on your steady hand. Even with the guide, it’s easy for the saw to wander, creating a slightly uneven cut. This often results in small gaps at the corners that you’ll have to fill with caulk.
The Power Tool Alternatives
If you’re looking for a power tool but not a miter saw, a few other saws can work in a pinch. However, they aren’t designed for this work.
- Circular Saw: With a straightedge guide clamped to the baseboard, you can make straight crosscuts. Making accurate angle cuts is very difficult and risky. We found this method requires significant skill and setup for each cut.
- Jigsaw: This is for curved cuts. While you can cut angles, getting a perfectly straight, square edge on a piece of baseboard is nearly impossible. It leaves a very rough finish.
- Oscillating Multi-Tool: Great for trimming baseboards already on the wall, like for new flooring. It’s not efficient for cutting new pieces to length from scratch.
Using the wrong tool often leads to more cleanup work. You spend extra time sanding and filling gaps. This can negate any initial time saved.
Cost Analysis: Buy, Rent, or Borrow?
The biggest hesitation is usually the cost. A good compound miter saw is an investment. But let’s break down the real financial picture for your project.
| Tool Method | Approximate Cost | Best For | Time & Effort |
|---|---|---|---|
| Hand Saw & Miter Box | $15 – $30 (one-time) | 1-2 small rooms, very tight budgets. | High effort, slow pace. |
| Renting a Miter Saw | $40 – $60 per day | A single, medium-sized home project. | Low effort, fast pace. |
| Borrowing a Miter Saw | $0 (cost of a good friend!) | If you have access and the project fits their timeline. | Low effort, requires coordination. |
| Buying a Miter Saw | $120 – $300+ (one-time) | Large projects, future DIY plans, or professional use. | Lowest long-term effort, fastest pace. |
For most homeowners, renting is a brilliant solution. Many hardware stores offer daily or weekly rentals. This gives you the perfect tool for the job without the long-term storage or cost. You can complete your entire baseboard project over a weekend for a fraction of the purchase price.
When Buying Makes Sense
Purchasing the saw is a smart move if you have a large house, plan to do trim work room by room over time, or foresee other projects like building shelves or picture frames. The tool is versatile. Look for a compound sliding miter saw for the most flexibility. It can handle wider boards and more complex angle cuts if you ever need them.
Key Factors in Your Decision
Choosing your method isn’t just about cost. Consider these factors to make the best choice for your situation and sanity.
The Scale and Complexity of Your Project
This is the most important factor. How many linear feet of baseboard are you installing? How many corners are there? A small bathroom with four corners is vastly different from an open-concept living area with twelve corners, two archways, and a bay window. We found that project complexity is the biggest predictor of tool regret.
Simple vs. Complex Layouts
A simple square room is the easiest test. A complex layout with multiple angles demands precision. For complex layouts, the time saved with a miter saw is enormous. You can dial in a weird 37-degree angle, lock it, and cut all your matching pieces perfectly.
Your DIY Experience and Patience Level
Be honest with yourself. Are you a patient person who enjoys slow, meditative work? A hand saw might be fine. If you just want the project done efficiently so you can enjoy your new room, a power tool is your friend. Remember, frustration often leads to mistakes.
The Quality of Finish You Demand
Do you want “good enough” or “looks like a pro did it”? If you plan to use a lot of caulk and paint to fill imperfections, a hand saw might get you there. If you want tight, hairline joints that look flawless even before painting, the precision of a miter saw is hard to beat.
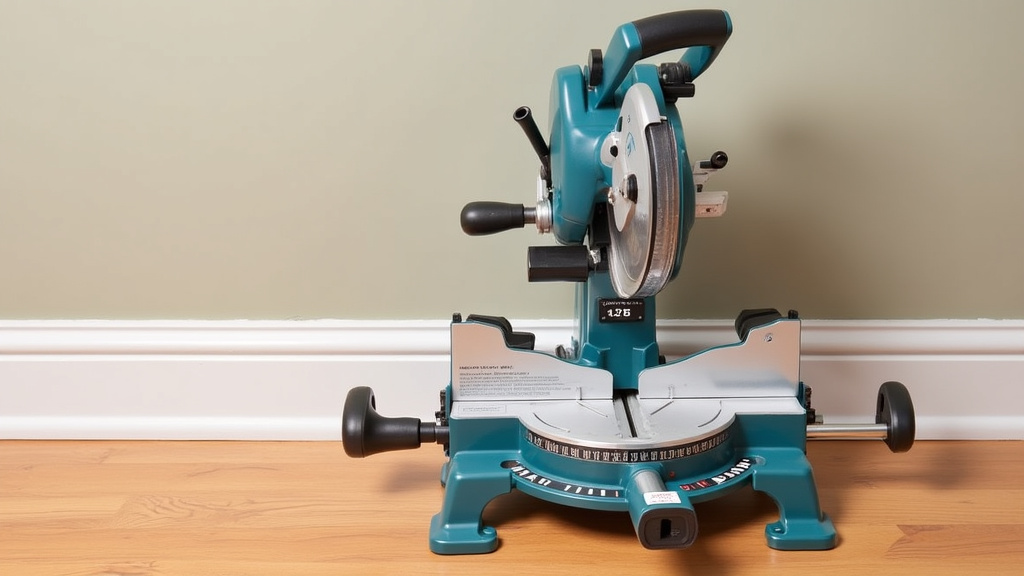
Working Without a Miter Saw: Pro Tips
If you decide to go the manual route, these tips will help you achieve the best possible results. Preparation is everything here.
- Measure Twice, Cut Once: This old saying is your mantra. Double-check every measurement before cutting.
- Clamp Everything Securely: Your baseboard and your miter box must not move. Use clamps to hold them firmly to a stable work surface.
- Use a Sharp Blade: A dull saw blade will tear the wood and require more force, leading to inaccurate cuts. Start with a new, sharp blade.
- Mark Your Cuts Clearly: Use a sharp pencil to mark the exact cut line on the top edge of the baseboard where it will be visible.
- Sand the Edges: After cutting, use fine-grit sandpaper to lightly smooth the cut end. This will help pieces fit together more tightly.
Even with these tips, expect the process to be slower. You are trading time and effort for a lower tool cost.
Checklist: Choosing Your Baseboard Cutting Tool
Use this quick checklist to guide your final decision. Answering these questions will point you toward the right path.
- Project Size: Am I doing one small room or the entire house?
- Budget: Can I afford to rent a tool, or is my budget strictly limited to hand tools?
- Time: Do I have days to devote to this, or do I need it done this weekend?
- Future Projects: Will I use a miter saw again in the next couple of years?
- Precision Need: Is a flawless, gap-free corner critical to my satisfaction?
- Workspace: Do I have a safe, level area to set up and operate a power saw?
The Bottom Line on Your Decision
Your choice boils down to a simple trade-off: time and effort versus tool cost. A miter saw is a force multiplier. It uses power to give you back hours of labor and deliver superior results. Manual tools save money but require a significant investment of your personal energy and patience.
For the vast majority of baseboard installation projects, renting or buying a miter saw is the decision that
Conclusion
So, is a miter saw necessary? Not strictly, but it is the tool that transforms a frustrating task into a manageable and satisfying one. We’ve seen that its speed and precision for cutting corners are unmatched by manual methods or other power tools. For any project beyond a tiny repair, it’s the professional’s choice for a reason. It saves you time, reduces waste, and delivers that clean, gap-free finish you’re hoping for.
Your best move depends on your project’s scale and your budget. For a one-time job, renting a miter saw is a smart, cost-effective choice. If you have multiple projects planned, buying one is a worthwhile investment. We encourage you to use the checklist above and make the choice that will set your baseboard project up for success.
Frequently Asked Questions
What can I use instead of a miter saw for baseboards?
For small projects, a hand saw and miter box are the most common manual alternative. You can also use a circular saw with a straightedge guide, but it’s difficult to get accurate angle cuts. These methods require more time, skill, and result in more sanding and caulking.
How do I cut baseboard corners without a miter saw?
You would use a miter box and a hand saw. Mark your 45-degree angle on the baseboard, place it in the box, and saw through the corresponding slot. Secure everything tightly with clamps and work slowly to ensure the cut stays straight.
Can I rent a miter saw for just one weekend?
Yes, most big-box hardware stores offer daily and weekend tool rentals. This is an excellent option for baseboard installation, giving you access to the right tool without the full purchase cost or long-term storage needs.
What’s the most common mistake when cutting baseboards by hand?
The most common mistake is not securing the baseboard and miter box firmly. Movement while sawing leads to angled, ragged cuts. Always clamp your workpiece and the guide box to a stable surface before you start cutting.
Is a miter saw dangerous for a DIY beginner?
When used correctly, it is very safe. The blade guard and safety features are designed to protect you. Always read the manual, wear safety glasses, and ensure your hands are clear of the blade path. Taking a minute to set up safely is the most important step.
