
What Is a Miter Gauge?
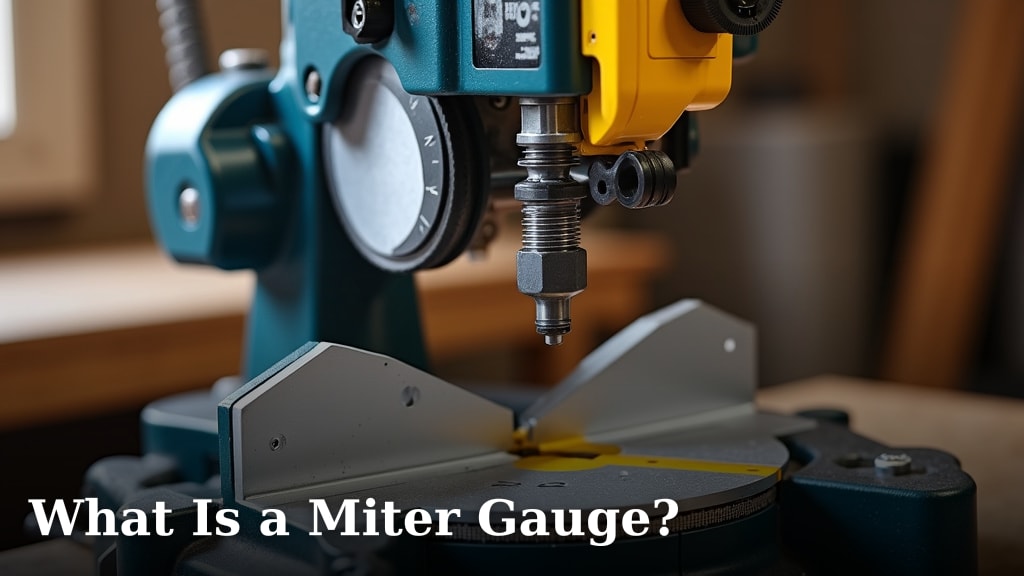
A miter gauge is a woodworking tool that helps you make accurate angle cuts on a table saw. It slides in a slot on your table saw to guide your workpiece through the blade at a precise angle. This ensures your cuts are straight and square, which is essential for many projects.
Think of it as your saw’s trusty sidekick for all things angled. Many woodworkers find it indispensable for framing, trim work, and furniture building. Getting your angles right can make a huge difference in the final look of your projects. You’ll find it much easier to create joints that fit together perfectly.
- A miter gauge guides wood for accurate angle cuts on a table saw.
- It slides in a table saw slot for precise angle control.
- It helps create straight, square, and perfectly fitting joints.
- This tool is essential for many woodworking projects.
Let’s dive into what makes a miter gauge so useful and how you can get the most out of yours.
Understanding Your Miter Gauge’s Role
A miter gauge is a woodworking tool. It helps you make accurate angle cuts on a table saw. It slides in a slot on your table saw. This guides your workpiece through the blade at a precise angle. This ensures your cuts are straight and square. That is essential for many projects.
Think of it as your saw’s trusty sidekick. It’s there for all things angled. Many woodworkers find it indispensable for framing, trim work, and furniture building. Getting your angles right makes a huge difference. It helps create joints that fit together perfectly.
How a Miter Gauge Works: The Basics
At its heart, a miter gauge is designed to bring precision to your table saw cuts. It’s a metal bar with a fence attached. This bar slides into the miter slots on your table saw’s surface. These slots are specifically designed for this purpose. They keep the gauge from moving side-to-side as you make your cut.
The fence on the miter gauge is what you push your workpiece against. This fence is usually adjustable. You can set it to different angles. This is where the magic happens for angled cuts. You align your workpiece with the fence. Then you slide the entire assembly, workpiece and gauge, across the saw blade.
The most common angles are 0 and 90 degrees, of course. But most miter gauges let you set angles anywhere from 0 to 45 degrees, and often beyond. Some allow for even more precise adjustments. This flexibility is key to creating those perfect joints we talked about.
The Miter Slot Connection
Your table saw has two parallel slots running down its surface. These are the miter slots. They are crucial for a miter gauge’s function. The gauge’s bar is designed to fit snugly into these slots. This snug fit is what prevents any wobble or play. It ensures the angle you set is the angle you get on your cut.
It’s important that the miter gauge fits well in your saw’s slots. If it’s too loose, you’ll get inaccurate cuts. If it’s too tight, it will be difficult to slide. Many woodworkers will shim their miter gauges. This means adding thin material to make the fit just right. This small adjustment can make a big difference in accuracy.
The Fence: Your Angle Setter
The fence is the part of the miter gauge you press your wood against. It’s typically a flat, sturdy piece of metal or plastic. The key feature is that it can pivot. You can loosen a lock, set the desired angle, and then retighten the lock. This holds the fence at your chosen angle relative to the saw blade.
The accuracy of your angle cuts depends heavily on the quality of the fence and its locking mechanism. A good fence will have clear angle markings. It should lock securely. You don’t want it slipping even a fraction of a degree during a cut. That’s how you end up with gaps in your joints.
Types of Miter Gauges: Finding the Right Fit
When you start looking for a miter gauge, you’ll find there are a few main types. The most basic ones come with your table saw. They are functional but may lack some advanced features. Then there are aftermarket miter gauges, which can offer much higher precision and build quality.
Basic Miter Gauges
Most new table saws come with a basic miter gauge. These usually have a simple adjustable fence. The angle markings might not be super precise. The build quality can vary. They get the job done for simple tasks. If you’re just starting out, the one that came with your saw is a perfectly good place to begin.
These gauges often feature a single bar that slides into the miter slot. The fence pivots on a central point. You loosen a knob, move the fence to your angle, and then tighten the knob. They are generally made of stamped metal or plastic. While effective, they might not be the most robust option for heavy use.
Aftermarket Miter Gauges
For those who demand higher accuracy and durability, there are aftermarket miter gauges. These are a significant upgrade. They often feature a beefier construction. Think solid aluminum or steel. They also tend to have much more precise angle setting mechanisms.
Many of these premium gauges have multiple bars that slide into the miter slot. This provides extra stability. It reduces any chance of the gauge tipping or wobbling. The fences are often thicker and have much finer adjustment controls. Some even come with extendable fences for better workpiece support.
Features to Look For
When considering an aftermarket miter gauge, check a few key things. Look for heavy-duty construction. Aluminum or steel is a good sign. Check the angle setting mechanism. Is it precise? Does it lock down firmly? Some have vernier scales for incredibly fine adjustments. Others offer ball-detent detents for common angles like 0, 15, 22.5, 30, and 45 degrees.
Consider the fence. Is it tall enough for your typical workpieces? Can it be extended or have jigs attached? Many advanced gauges allow for the addition of hold-downs and zero-clearance inserts. These accessories further enhance safety and cut quality.
Zero-Clearance Miter Gauges (Less Common)
A less common but interesting variation is the zero-clearance miter gauge. These are designed to fit so precisely into the miter slot that they can help prevent thin slivers of wood from falling into the slot. Some people build or buy specialized inserts for their table saw that work in conjunction with a miter gauge.
The goal is to minimize the gap around the blade. This reduces tear-out and improves the finish. It’s a bit more advanced, but for those doing fine woodworking, it’s a feature worth exploring.
Using Your Miter Gauge for Accurate Cuts
Getting good results with a miter gauge is about more than just setting an angle. It involves good technique and a bit of practice. You want to ensure safety and precision are always top priorities.
Setting the Angle Correctly
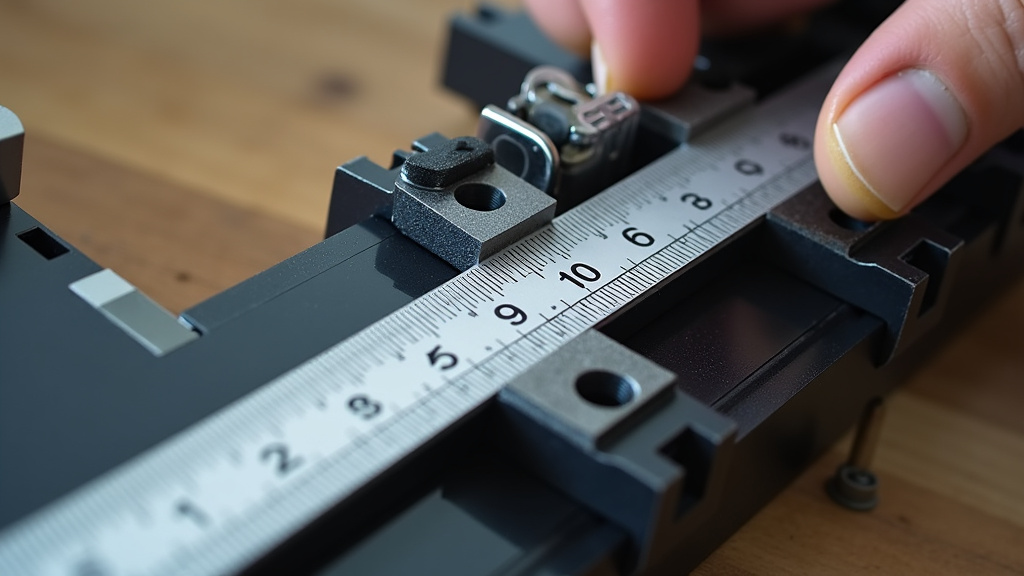
First, set your desired angle. Most gauges have a scale. Some use a knob you loosen to pivot the fence. Others have detents (clicks) at common angles. For super-precise work, you might use a digital angle finder or a protractor. Check your angle against a known square or another workpiece before you cut.
Remember to check both sides of your workpiece if you’re cutting a pair of angled pieces. For example, if you’re making a picture frame, you’ll need two opposite angles. Ensure the angles are mirrored correctly. A small error here can mean a gap in your frame.
The Cutting Process
Once your angle is set, place your workpiece firmly against the miter gauge fence. Ensure it’s snug. Bring the blade up to the wood (or the wood to the blade, depending on your saw). Make sure the wood is fully supported. It should be flat on the table and tight against the fence.
Now, slide the miter gauge and workpiece smoothly across the blade. Do not force it. A smooth, steady motion is key. Keep the workpiece pressed firmly against the fence throughout the cut. This is critical for maintaining the set angle. As the cut finishes, pull the gauge and workpiece away from the blade. Turn off the saw and wait for the blade to stop completely before removing any scrap pieces.
Safety First!
Safety is absolutely paramount when using any table saw accessory. Never attempt to cut small pieces without an extended fence or jig. Always keep your hands well away from the blade. Use a push stick if necessary to guide the wood. Make sure the miter gauge is securely in the miter slot. Never use a miter gauge in the rip fence slot.
It’s also a good idea to check for binding. If the wood feels like it’s catching or jamming, stop immediately. Assess the situation before continuing. Research has shown that proper technique significantly reduces the risk of accidents (Occupational Safety and Health Administration).
Common Uses for Miter Gauges
Where do you actually use this tool? Miter gauges excel at a few specific tasks. They are perfect for cutting picture frames and other projects requiring precise corner joints.
- Mitered Trim: Installing baseboards, crown molding, or window trim often requires precise miter cuts.
- Box Construction: Building boxes for drawers, cabinets, or decorative items frequently uses mitered corners.
- Picture Frames: This is a classic use, creating those 45-degree corners that fit together seamlessly.
- Furniture Components: Legs, frames, and decorative elements in furniture can benefit from accurate angled cuts.
Tips for Maximizing Your Miter Gauge’s Performance
Want to get the absolute best out of your miter gauge? A few simple tips can make a world of difference. These aren’t complicated, but they do require a little attention to detail. Let’s make your cuts as perfect as possible.
Keep it Clean and Lubricated
Just like any tool, your miter gauge needs a little TLC. Keep the sliding bar clean. Dust and sawdust can build up. This can make it harder to slide smoothly. A quick wipe-down with a cloth should suffice. If it feels sticky, a little bit of paste wax or furniture polish can help it glide like a dream.
Check for Squareness Regularly
Even the best miter gauges can go out of calibration. Periodically check your gauge for squareness. Use a good quality combination square or a machinist’s square. Check it at 0 degrees. If it’s off, you might be able to adjust it. Consult your gauge’s manual. A quick check before starting a critical project is always wise.
Consider Add-ons and Jigs
Many woodworkers find that adding accessories can greatly improve their miter gauge’s capability. You can buy or build stop blocks. These allow you to make multiple identical length cuts quickly. You can also create jigs for holding irregularly shaped workpieces.
Some advanced users create their own specialized fences or attachments. These might include hold-downs or even small router bits for specific joinery tasks. The possibilities are quite extensive for those who enjoy tinkering.
Upgrade When Ready
If you find yourself using your miter gauge frequently and consistently fighting with its accuracy or stability, it might be time to consider an upgrade. A higher-quality aftermarket gauge can be a game-changer for many projects. We’ve found that investing in a good one pays off in reduced frustration and better results.
It’s a tool that, when used correctly, can make you look like a seasoned pro. And who doesn’t want that?
Miter Gauge Checklist for Success
- Ensure your miter gauge fits snugly in the table saw’s miter slot.
- Always set and double-check your desired angle before cutting.
- Keep your workpiece firmly against the fence during the entire cut.
- Slide the gauge smoothly; never force it through the blade.
- Always prioritize safety: keep hands clear and use push sticks if needed.
- Wait for the blade to stop completely before removing scrap pieces.
Conclusion
You’ve learned that a miter gauge is a fundamental tool for achieving precise angle cuts on your table saw. It ensures your projects, from picture frames to furniture, have tight, professional-looking joints. We’ve covered how it works, the different types available, and how to use it safely and effectively. Remember that practice and attention to detail are key. Ready to put your newfound knowledge to work? Start by checking your current miter gauge for squareness and ensuring it fits snugly in your table saw’s miter slot. Then, try a few practice cuts to get a feel for its performance.
Frequently Asked Questions
Can I use a miter gauge in any table saw slot?
No, you should only use your miter gauge in the dedicated miter slots on your table saw. These slots are designed to guide the gauge accurately. Using it in the rip fence slot, for example, will not provide stability and is very unsafe.
What’s the difference between a miter gauge and a miter saw?
A miter gauge is an accessory for a table saw, used to guide wood at an angle through the blade. A miter saw is a standalone power tool designed specifically for making angled cuts on wood, often with a blade that drops down onto the material.
How do I know if my miter gauge is accurate?
You can check your miter gauge’s accuracy by setting it to 0 degrees and using a high-quality square to see if it’s perfectly at 90 degrees to the blade. Many gauges also have adjustments to fine-tune their calibration if they go slightly out of square.
Is a basic miter gauge good enough for most projects?
For many hobbyist woodworkers and simpler projects, a basic miter gauge that comes with a table saw can be perfectly adequate. If you find yourself needing higher precision or dealing with more complex builds, investing in an aftermarket gauge is recommended.
Can I make my own miter gauge?
Yes, some experienced woodworkers do build their own miter gauges. This usually involves creating a sturdy body with precise angle-setting capabilities and ensuring a snug fit in the table saw’s miter slots. However, for most people, purchasing one is more practical and reliable.
