
Can You Use a Miter Saw for Ripping Boards?
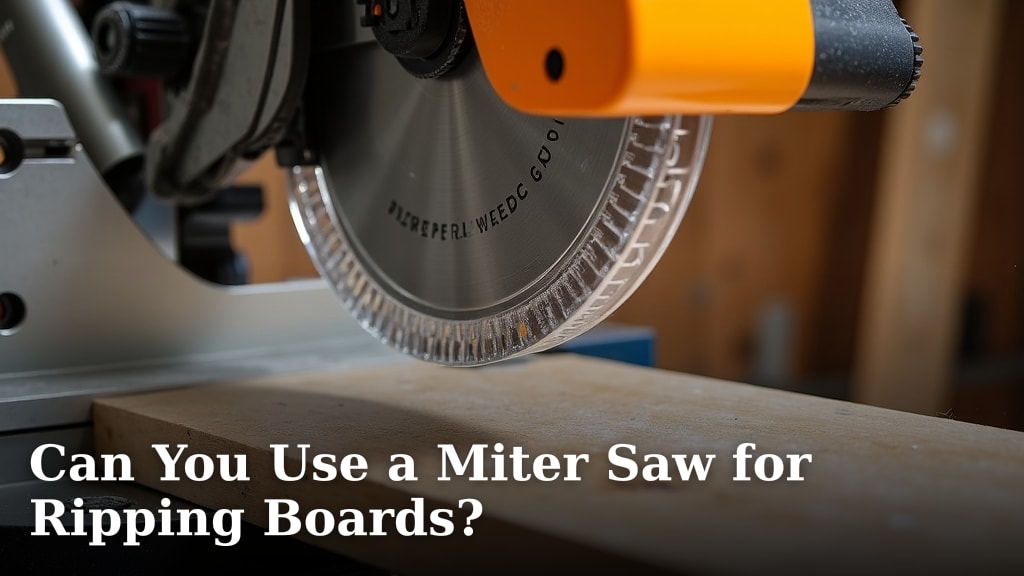
Can you use a miter saw for ripping boards? Yes, but it’s generally not recommended for full rips. A miter saw is designed for crosscuts and miter cuts, not for cutting along the length of a board. While you might be able to make very short rips or “partial rips,” attempting long rips can be dangerous and inaccurate.
Ripping typically requires a table saw, which offers better control and safety for these types of cuts. Trying to rip with a miter saw can lead to kickback, uneven cuts, and potential damage to your saw or workpiece. Many woodworkers find that using the right tool for the job saves time and frustration in the long run.
- Miter saws excel at crosscuts and angled cuts.
- Ripping is cutting along the length of a board.
- Table saws are the preferred tool for ripping.
- Attempting long rips on a miter saw is unsafe and inaccurate.
- Always use the correct tool for your woodworking project.
Let’s look at why a miter saw isn’t ideal for ripping and what you should use instead for those longer cuts.
Understanding Miter Saw Capabilities vs. Ripping Needs
So, you’ve got a project that needs some long cuts. You’re looking at your miter saw and wondering, “Can this thing handle it?” It’s a fair question, and one many DIYers and woodworkers ponder. The short answer is: it’s tricky and often not the best idea for long, precise rips.
Think of your miter saw like a specialist. It’s incredibly skilled at making precise angled and crosscuts. It’s built for speed and accuracy when you need to chop pieces down to size or create fancy corners. But asking it to rip a long board is like asking a chef to perform surgery. They might have a steady hand, but it’s not their primary tool or training.
What Exactly is Ripping?
Before we go further, let’s make sure we’re on the same page about “ripping.” Ripping means cutting a board lengthwise, from one end to the other. You’re essentially splitting a wider board into narrower pieces. It’s common when you need to make a 1×6 into two 1x3s, for example.
This process requires a different kind of control than a miter saw typically offers. It’s about guiding a long piece of wood against a blade that’s spinning parallel to its length. This is where the design differences between tools become really important for safety and quality.
Miter Saw Design: Built for Crosscuts
Your miter saw’s arm pivots on a base. The blade descends through the wood. This design is perfect for making cuts across the width of a board, or at an angle. You can easily adjust the angle of the blade for miter or bevel cuts. The workpiece stays relatively stationary and stable on the table.
The action is straightforward: you line up your cut mark, pull the handle down, and the blade makes a clean slice. Because the blade is spinning perpendicular to the board’s length, it’s less prone to grabbing and throwing the wood on these types of cuts. This is its sweet spot, where it truly shines.
Why Ripping is a Miter Saw’s Weak Spot
When you try to rip, you’re feeding the board *into* the spinning blade along its length. The blade is trying to cut through the wood’s grain, not across it. This is fundamentally different. The forces at play change dramatically. Research and common woodworking practice highlight several key issues:
- Blade Alignment: Miter saw blades aren’t designed for the stresses of ripping. They can flex or wobble when pushed sideways.
- Support Issues: The way you hold and support the wood is challenging. Long boards can easily tilt or rise.
- Kickback Risk: This is the big one. Kickback happens when the blade binds in the wood and violently throws the workpiece back at you. It’s extremely dangerous.
The Dangers of Kickback
Many woodworking injuries are a result of kickback, and attempting to rip on a miter saw significantly increases this risk. When ripping, the offcut piece can pinch the blade. The blade’s teeth can snag the wood. This can cause the board to shoot backward with tremendous force. Experts at OSHA (Occupational Safety and Health Administration) and similar safety bodies consistently warn about this danger. A miter saw’s open design and the way the blade enters the wood during a rip make it harder to control this potential hazard.
Accuracy and Finish Quality
Even if you manage to avoid kickback, your rip cut is unlikely to be straight or clean. The blade might wander. The wood might vibrate. You’ll probably end up with a wavy, uneven edge. This means more work for you later trying to fix it, or a finished product that just doesn’t look professional. You want smooth, straight lines, and a miter saw is just not built to deliver that consistency for ripping.
The Right Tool for the Job: Table Saws and Alternatives
So, if a miter saw isn’t the star player for ripping, what is? The undisputed champion for ripping boards is the table saw. It’s specifically designed for this task, offering the safety and precision you need.
But what if you don’t have a table saw? Are there other options for making these longer cuts? Let’s explore the best tools for ripping.
Why Table Saws Excel at Ripping
A table saw has a flat table with a blade that extends up through a slot. The blade spins parallel to the fence, which is a guide running along the length of the table. You slide the board along the fence, and the blade cuts it lengthwise. This setup offers:
- Superior Control: The fence keeps the blade perfectly aligned with the wood’s grain.
- Blade Stability: The blade is supported differently, reducing wobble and flexing.
- Reduced Kickback Risk: With the proper use of a riving knife or blade guard, and by keeping the wood against the fence, kickback is much less likely.
- Consistent Results: You get straight, clean cuts every time.
Many professionals and experienced woodworkers, like those featured in woodworking publications, consider a table saw essential for any serious workshop. They are built to handle the demands of ripping multiple boards accurately and safely. The investment in a table saw pays off in better results and fewer safety concerns.
Can You Use Other Tools for Ripping? (With Caution!)
While a table saw is ideal, sometimes you have to work with what you have. If you absolutely must rip a board and don’t have a table saw, you can consider a circular saw. However, this requires significant caution and some setup.
Using a Circular Saw for Ripping
A circular saw is a handheld power tool. You can use it to cut wood in a straight line. To make a rip cut with a circular saw, you’ll need a way to guide it precisely along the length of the board. This is typically done using a rip guide attachment that comes with some saws, or by clamping a straight edge (like a metal ruler or another piece of wood) to your workpiece as a guide.
- Measure Carefully: Mark your cut line accurately on the board.
- Set Up a Guide: Clamp a straight edge parallel to your cut line. Ensure it’s positioned so the saw’s base plate will follow it perfectly.
- Maintain Contact: Keep the saw base firmly against the guide throughout the cut.
- Support the Wood: Make sure the board is well-supported and not sagging.
- Safety First: Wear safety glasses and hearing protection. Be aware of the blade and potential for the wood to shift.
We found that this method works best for shorter rips or when precision isn’t absolutely critical. For very long boards or when you need perfect accuracy, it can still be challenging. The user needs to maintain steady pressure and keep the saw perfectly aligned, which takes practice. It’s a viable alternative, but it requires more attention than using a table saw.
What About “Partial” Rips on a Miter Saw?
Okay, back to the miter saw. Can you do anything at all? Sometimes, you might need to make a very short cut along the length of a board, perhaps just an inch or two, to trim a slight imperfection or to make a small adjustment. These are sometimes called “partial rips” or “trim cuts.”
For these extremely short, partial rips, you might get away with it. You need to be very careful. The cut should be very shallow. The piece you’re cutting off should be very small. You still need to be hyper-aware of potential binding and kickback. It’s a bit like threading a needle while riding a unicycle – possible, but definitely not recommended for beginners or for anything critical.
Most experts agree that even for short rips, if a table saw or even a well-guided circular saw is available, it’s a safer and more effective choice. The goal is always to minimize risk and maximize the quality of your work. A miter saw is simply not designed for the forces involved in ripping.
Making the Smart Choice for Your Woodworking Projects
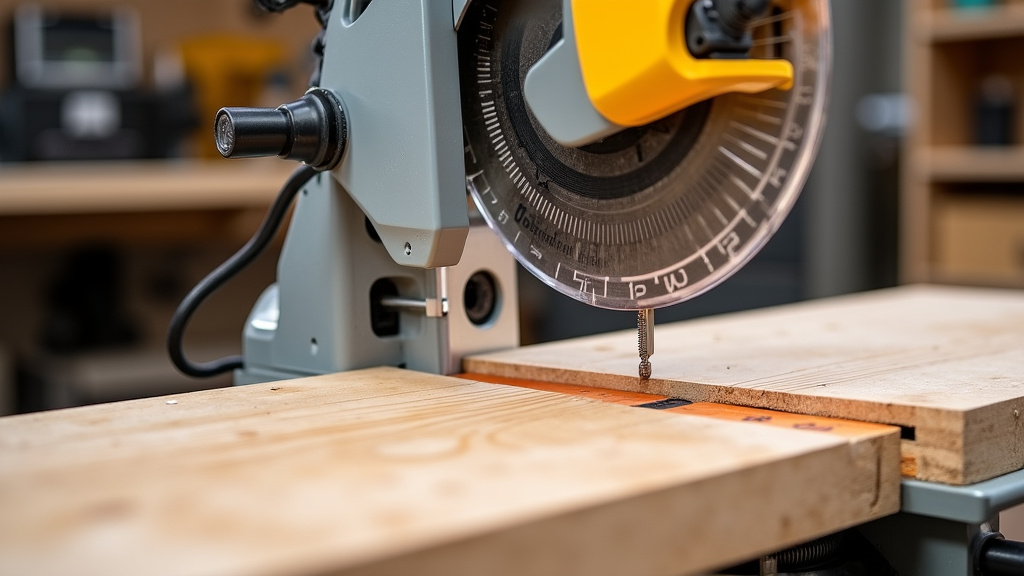
Ultimately, the decision of what tool to use comes down to safety, accuracy, and efficiency. While your miter saw is a fantastic tool for many tasks, ripping boards isn’t one of its strengths. Pushing it to do so can lead to:
- Dangerous kickback incidents.
- Inaccurate and rough cuts.
- Potential damage to your saw.
- Frustration and wasted materials.
Many woodworking guides and safety organizations stress the importance of using the right tool for the job. A table saw is the clear winner for ripping. If you don’t have one, a circular saw with a good guide system can be a reasonable substitute for some tasks.
Choosing the correct tool ensures your projects are completed safely and with the professional finish you’re aiming for. It’s about working smarter, not harder, and that often means using the equipment it was designed for. So, while you can technically try to rip on a miter saw, it’s usually best to leave that job to the tools built for it.
Quick Checklist for Ripping vs. Miter Cuts
Here’s a quick reminder to help you decide which tool to grab:
- Need to cut across the width of a board? Grab your miter saw.
- Need to cut a board at an angle? Your miter saw is perfect.
- Need to split a wide board into narrower ones lengthwise? Use a table saw.
- Need to make a long, straight cut along the grain? A table saw is best, or a circular saw with a guide.
- Dealing with very short, minor length adjustments? Extreme caution with a miter saw, but better tools exist.
- Safety and accuracy are your top priorities? Always choose the right tool for the specific cut.
Conclusion
We’ve learned that while your miter saw is a champion for angled and crosscuts, it’s simply not built for ripping boards. Trying to rip long boards on a miter saw puts you at a much higher risk of dangerous kickback and often results in messy, inaccurate cuts. For your woodworking projects, it’s always best to use the right tool for the job. Reaching for a table saw for ripping ensures safety, accuracy, and a professional finish. If you don’t have a table saw, a circular saw with a good guide can get the job done with careful setup. Make the smart choice for your next project and pick the tool designed for the task!
Frequently Asked Questions
Can I make a short rip cut on a miter saw if I’m very careful?
For extremely short, partial rips – think an inch or two – you might be able to get away with it if you’re hyper-vigilant. The key is to ensure the cut is very shallow and the piece being removed is small. However, research and experience still show that even short rips increase the risk of binding and kickback on a miter saw. It’s always safer to use a tool designed for ripping if possible.
What’s the biggest danger when attempting to rip on a miter saw?
The most significant danger is kickback. This happens when the blade binds in the wood and violently throws the workpiece back at you. Miter saws are not designed to handle the forces involved in ripping, making kickback a much more likely and severe hazard compared to crosscutting. Safety experts consistently warn against this practice.
How do I know if a cut is a rip cut or a crosscut?
A crosscut goes across the width of the board, typically perpendicular to the grain. A rip cut, on the other hand, runs along the length of the board, splitting it into narrower pieces parallel to the grain. Think of it this way: crosscuts shorten the board; rip cuts make it narrower.
Besides a table saw, what’s the next best alternative for ripping boards?
If you don’t have a table saw, a circular saw is your next best option for ripping. You’ll need to set up a reliable guide, such as a clamped-on straight edge or a rip guide attachment, to ensure a straight cut. This method requires careful setup and steady hand control to achieve accurate results.
Will my miter saw blade get damaged if I try to rip with it?
While a miter saw blade is designed for crosscuts, attempting to rip can put undue stress on it. The blade can flex or wobble when pushed sideways during a rip cut. This can lead to a less precise cut and, in some cases, can potentially damage the blade or the saw’s arbor over time.
