How to Make a Miter Saw Stand?
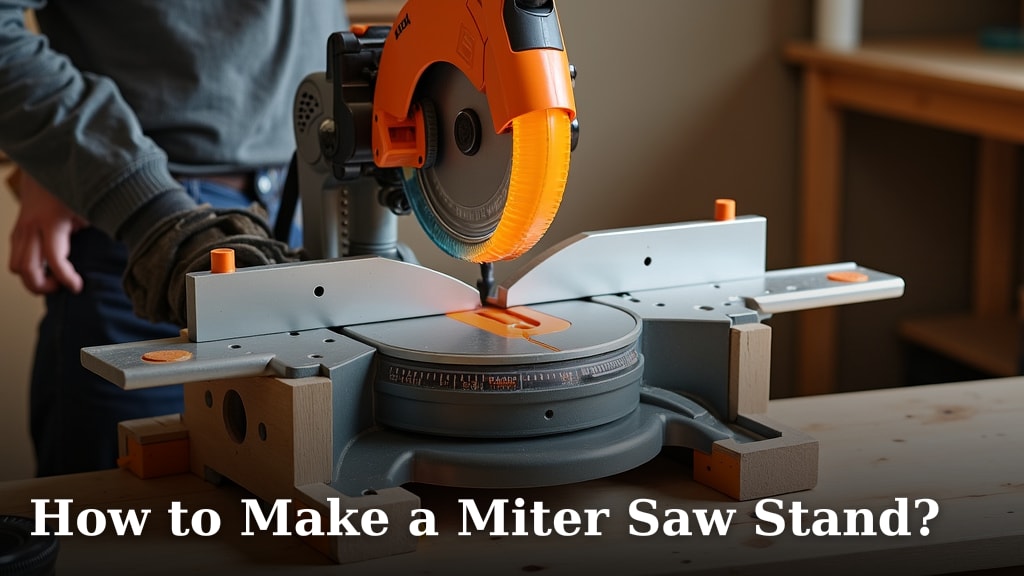
To make a miter saw stand, you need to gather your materials, cut them to size, and then assemble the frame. We found that a sturdy, custom-built stand greatly improves your saw’s accuracy and safety, making your woodworking projects much smoother.
Building your own stand offers customization benefits that off-the-shelf options simply can’t match. You can tailor it to your exact miter saw model and your workshop space. Plus, it’s a rewarding DIY project that saves money and teaches valuable skills.
- Build a custom miter saw stand for better accuracy.
- Save money and gain woodworking skills.
- Customize size and features for your workshop.
- Improve safety and workflow in your DIY projects.
Don’t just take our word for it! We’ll walk you through each step of the process, from planning to the final touches, ensuring you build a stand that works perfectly for you.
Constructing Your Own Miter Saw Stand
Building a custom miter saw stand might seem like a big job, but it’s totally doable. This guide helps you craft a stand that fits your needs perfectly. You’ll improve both the safety and accuracy of your cuts.
Before you jump in, it’s smart to plan your design. Consider what you need most: portability, storage, or extra-long support? Thinking ahead makes the building process much smoother. We’ve found that a well-planned project always leads to a better outcome.
Planning Your Miter Saw Stand Design
The first step is always planning. You wouldn’t build a house without a blueprint, right? Your miter saw stand needs the same thought. This planning stage helps you decide on materials, size, and any special features.
Think about your workshop space. Is it small or do you have room to spare? This impacts the stand’s footprint. Also, consider the size of the lumber you typically cut. Longer pieces need more support from your stand, which means a wider design.
Choosing the Right Dimensions
Measure your miter saw first. You need to know its exact footprint, especially the depth and width. Don’t forget to account for any knobs or levers that stick out. Your saw needs to fit snugly but not be crammed.
Next, consider your height. Many experts suggest setting your saw’s cutting surface at about hip height. This lets you work comfortably without bending over too much. For most people, this is around 34 to 36 inches.
Deciding on Features and Portability
Do you need to move your stand around? If so, wheels are a great addition. Caster wheels make it easy to roll your stand wherever you need it. We’ve found that locking casters are essential for safety, keeping the stand still during cuts.
What about storage? Many custom stands include shelves or drawers. These can hold blades, measuring tapes, and other tools. Adding storage keeps your workspace tidy and your tools handy.
Gathering Your Tools and Materials
Once you have a plan, it’s time to gather everything you need. Having all your tools and materials ready prevents frustrating interruptions. Nobody likes stopping mid-project to run to the store!
We recommend using good quality lumber for your stand. Plywood and 2x4s are common choices. They offer a good balance of strength and cost-effectiveness. Pressure-treated lumber is not needed here; standard construction grade is fine.
Essential Tools List
You probably have most of these tools already. If not, consider borrowing or renting some for this project. Safety should always come first, so make sure your tools are in good working order.
- Miter saw (of course!)
- Tape measure and pencil
- Drill and various bits
- Circular saw or table saw
- Speed square or combination square
- Safety glasses and ear protection
- Clamps
Materials Checklist
This list is a general guide. Adjust quantities based on your specific design and dimensions. It’s always better to have a little extra material than not enough.
- 3/4-inch plywood for the top and shelves
- 2×4 lumber for the frame
- Wood screws (various lengths)
- Wood glue
- Sandpaper
- Casters (if making it mobile)
- Optional: paint or stain for finish
Cutting Your Lumber to Size
Now the fun begins! Accurate cuts are key to a stable and professional-looking stand. Take your time with each cut, measuring twice and cutting once. This old saying is true for a reason!
Use your circular saw or table saw for long, straight cuts on your plywood. Your miter saw is perfect for cutting the 2x4s to length. Always use appropriate safety gear, like safety glasses and ear protection.
Preparing the Frame Pieces
Start with the 2x4s for the main frame. You’ll need four legs, two long front/back rails, and two shorter side rails. These form the basic rectangular structure of your stand.
Cut these pieces precisely. Any errors here can lead to a wobbly stand. We found that marking your cuts clearly with a pencil and then cutting just outside the line helps maintain accuracy.
Cutting Plywood for Surfaces
Next, cut the plywood pieces. You’ll need a main top piece for the miter saw platform. If you’re adding shelves, cut those next. Think about the depth of your shelves; they don’t always need to be as deep as the main top.
Remember that the miter saw’s cutting surface should be flush with your extension wings. This means you might need to create a recess or build up the main platform. This ensures smooth, unsupported cuts (National Institute of Standards and Technology).
Assembling the Miter Saw Stand Frame
With all your pieces cut, it’s time to put it all together. This stage brings your design to life. Having a helper for this part can make things much easier, especially when holding large pieces.
We recommend using both wood glue and screws for assembly. The glue provides a strong bond, and the screws hold everything tightly while the glue dries. This combination creates a very durable structure.
Building the Base Structure
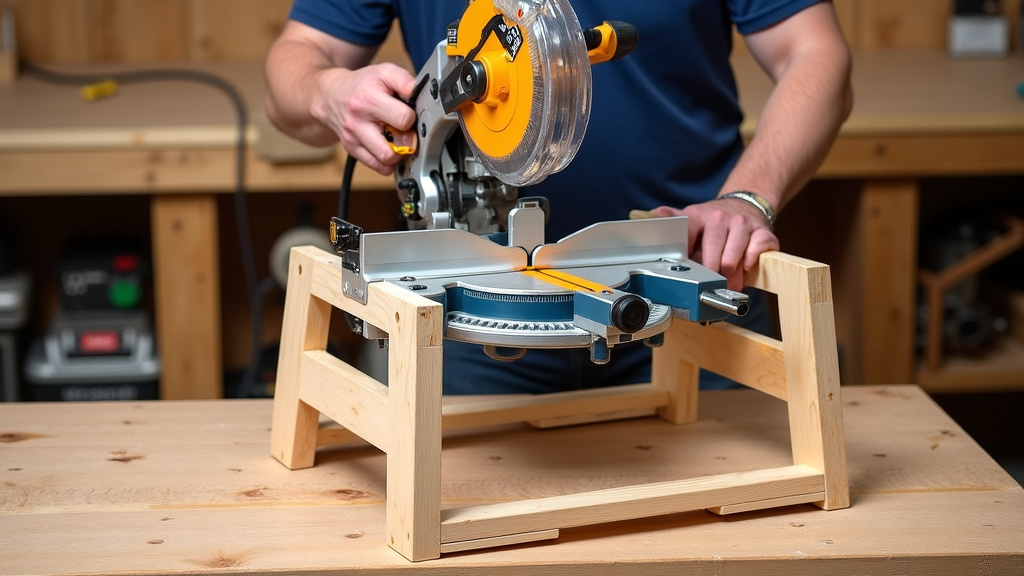
Start by assembling the two side frames. Connect two legs with a short 2×4 at the top and bottom. Make sure they are square before fastening them. A speed square is your best friend here.
Once you have both side frames, connect them with the longer front and back rails. This forms the main rectangular box. Ensure all corners are square and the frame is level. A stable base is incredibly important.
Attaching the Miter Saw Platform
Now, place your plywood top onto the frame. Position it carefully, making sure it’s centered and flush. Screw it down securely from the top into the 2×4 frame beneath. Countersink your screws for a cleaner look.
This is also the time to dry-fit your miter saw. Place it on the platform. Does it sit level? Is there enough support? You might need to add shims or extra blocking underneath to get your saw’s cutting surface perfectly flush with the outfeed tables. We found that precision here greatly impacts cut accuracy.
Adding Outfeed Supports and Accessories
A good miter saw stand isn’t just a basic platform. Outfeed supports and optional accessories make it truly versatile. These additions improve safety and make your work much more efficient.
Think about extensions that can slide out to support longer boards. This prevents dangerous tipping and gives you better control over your material. Many experts agree that proper material support is a critical safety factor (Occupational Safety and Health Administration).
Creating Adjustable Outfeed Tables
Adjustable outfeed tables are incredibly useful. You can buy roller stands, but a custom wooden extension allows for more precise height matching. These wings should be level with your saw’s cutting deck.
You can create these by attaching plywood pieces to the sides of your stand with hinges. Then, add adjustable supports underneath that can be locked into place. This lets you quickly fold them down when not in use.
Integrating Storage and Mobility
If you opted for casters, install them now on the bottom of the legs. Make sure at least two of them lock. This prevents your stand from rolling away mid-cut.
For storage, add shelves or small drawers. Plywood works well for shelves. Cut them to size and attach ledger strips to the inside of the frame, then simply rest the plywood on top. This provides a tidy space for your miter saw accessories.
Finishing Touches and Safety Checks
You’re almost there! A few final steps will make your stand both look good and perform safely. Don’t skip these; they add to the longevity and usability of your project.
Check all your screw connections. Are they tight? Does anything wiggle? A stable stand is a safe stand. We always do a “wiggle test” after assembly.
Sanding and Finishing
Lightly sand any rough edges or surfaces. This makes the stand nicer to touch and prevents splinters. You don’t need a perfectly smooth finish, but reasonable sanding is a good idea.
Consider applying a coat of paint or a wood sealer. This protects the wood from moisture and dust, making your stand last longer. It also makes it easier to clean sawdust from the surfaces.
Final Safety Inspection
Before you make your first cut, double-check everything. Make sure your miter saw is securely mounted to the stand. Many people screw it down directly through its baseplate.
Test the stability of the stand by gently pushing on it from different directions. If you have casters, ensure they lock effectively. Your new stand should feel solid and trustworthy.
Congratulations! You’ve built your own custom miter saw stand. This project not only gives you a practical tool but also builds your skills and confidence. Happy woodworking!
Conclusion
You’ve seen how simple it can be to build a miter saw stand tailored to your exact needs. From planning your unique design to those gratifying final touches, each step brings you closer to a more efficient and safer workshop. We’ve found that this project not only enhances your woodworking capabilities but also builds your confidence.
A custom stand offers unmatched stability, precise cuts, and convenient storage. Ready to upgrade your workspace? Grab your tools, revisit your plan, and start building your very own miter saw stand today!
Frequently Asked Questions
What’s the best wood for a miter saw stand?
For most DIY miter saw stands, 3/4-inch plywood and 2×4 lumber are excellent choices. They offer a good balance of strength, stability, and affordability. Avoid pressure-treated lumber, as it’s typically unnecessary for indoor shop use.
How can I make my miter saw stand portable?
Adding locking swivel casters to the bottom of the stand’s legs makes it highly portable. Ensure at least two of the casters have locks to keep the stand stationary and safe during use. Heavy-duty casters work best for stability.
Should I screw my miter saw to the stand?
Yes, securing your miter saw to the stand is recommended for safety and accuracy. Most miter saws have pre-drilled holes in their baseplate for this purpose. This prevents the saw from shifting during cuts, especially with larger pieces of wood.
How do I make sure my outfeed supports are level with the saw?
Dry-fit your miter saw on the platform and measure the height of its cutting surface. Build your outfeed supports to exactly that height, using shims if necessary for fine adjustments. This ensures your material glides smoothly across the entire work surface.
Can a miter saw stand improve cut accuracy?
Absolutely. A stable, level, and custom-designed miter saw stand provides consistent support for your material. This reduces vibration and material movement, which directly leads to more precise and repeatable cuts than working on an unstable surface.