How to Cut a Bevel with a Miter Saw?
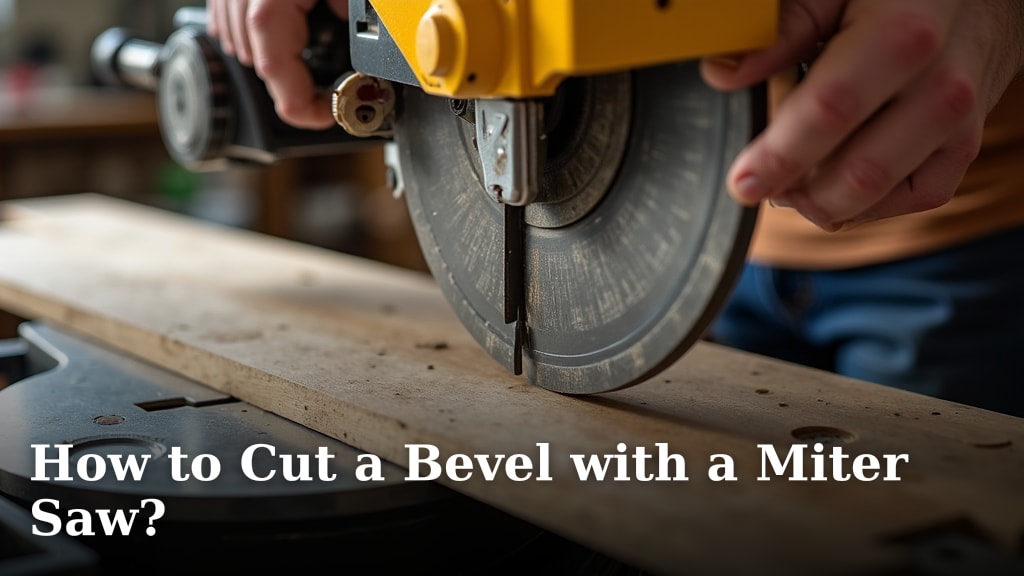
The easiest way to cut a bevel with a miter saw is by adjusting the saw’s bevel angle to your desired degree and then carefully making your cut, ensuring the material is stable. This lets you create slanted edges for various woodworking projects.
You might be wondering, “Why do I need a bevel cut?” Bevel cuts are essential for projects like crown molding, picture frames, and angled trim work, giving your creations a professional, finished look. We found that understanding your saw’s bevel capabilities is key to successful results.
- Adjust your miter saw’s bevel angle.
- Secure your workpiece before cutting.
- Understand common bevel degrees.
- Perform test cuts for accuracy.
- Prioritize safety measures always.
Let’s walk through exactly how to set up your miter saw for a perfect bevel cut, step by step.
Setting Up Your Miter Saw for Angled Cuts
Before you begin any project involving angled cuts, understanding your miter saw’s capabilities is key. We found that a well-prepared workstation makes all the difference. Think of it like getting ready to bake a cake – you wouldn’t start without checking for all the ingredients first, right?
Your miter saw is a versatile tool. It can cut straight (90 degrees), mitered (angled horizontally), and beveled (angled vertically). Today, we’re focusing on that vertical tilt – the bevel.
Understanding Your Saw’s Bevel Mechanism
Every miter saw has a way to adjust for bevel cuts. We found that most saws have a locking lever or knob at the back or front. This mechanism allows the saw head to tilt left or right. It’s usually quite intuitive once you locate it.
On some saws, you’ll see a digital readout. Others have an analog scale. Both are good, but the digital one gives you precise numbers. Always consult your saw’s manual if you’re unsure where your specific model’s bevel adjustment is located (Consumer Reports).
Identifying Bevel Stops and Adjustments
Many miter saws include preset positive stops for common bevel angles, like 0, 22.5, 33.9, and 45 degrees. These are like little notches that the saw head “clicks” into. They’re designed for speed and accuracy in frequently used angles. We found that these stops are incredibly helpful for repetitive cuts.
To use them, you simply tilt the saw head until it nests into the desired stop. For angles not covered by stops, you’ll need to manually adjust the head and then tighten the lock. Always double-check your angle with a separate digital angle finder if precision is critical.
Calibration and Safety First
Accuracy and safety go hand-in-hand in woodworking. We found that taking a few extra moments for both can prevent frustration and injury. It’s like doing a quick pre-flight check before you fly a plane – everything needs to be in its right place.
You wouldn’t want a skewed cut on your dream project, would you? And certainly, no one wants an accident. Always prioritize these steps.
Calibrating Your Bevel Angle
Even brand-new saws can be slightly off. Your saw’s manual will have instructions on how to calibrate the bevel scale. This often involves using a square to check that the blade is exactly 90 degrees to the fence when the scale reads zero.
We found that a good combination square or speed square is your best friend here. Place it against the fence and the blade. If there’s any gap, adjustments are needed. This ensures your 0-degree bevel is truly square.
Essential Safety Gear and Practices
Never, ever skip safety. This is non-negotiable. Many woodworking injuries are preventable (OSHA). Always wear safety glasses or a face shield to protect your eyes from flying debris. Hearing protection is also a must, as power tools can be loud enough to cause permanent damage.
Here’s a quick safety checklist:
- Wear eye protection.
- Use hearing protection.
- Keep hands clear of the blade path.
- Ensure the workpiece is securely clamped.
- Avoid loose clothing or jewelry.
- Unplug the saw before making adjustments.
Always let the blade come to a complete stop before removing your hands or reaching for offcuts. Think of the blade as always “on” until it’s completely still.
Preparing Your Material for Bevel Cuts
Proper material preparation is often overlooked but critically important. We found that a stable, well-marked workpiece leads to cleaner, more accurate cuts. Imagine trying to draw a straight line on a piece of paper that’s constantly moving – it’s just not going to work.
Your material needs to be as stable as possible to avoid kickback or an uneven cut. Don’t rush this step.
Securing Your Workpiece
The single most important step after setting your angle is to secure your material. Use clamps, not just your hands. Your miter saw likely has a built-in clamp. If not, separate C-clamps or quick-release clamps work perfectly.
The material needs to be tight against both the fence and the miter saw table. Any movement during the cut can result in a dangerous kickback, a ragged cut, or both. We found that this step reduces almost all potential accidents.
Marking Your Cut Lines Accurately
Measure twice, cut once – it’s an old adage for a reason. Use a pencil and a reliable tape measure or ruler. For precise work, a marking knife or a sharp pencil will create a finer line than a dull one. Accuracy here impacts the final fit of your project components.
Remember that the saw blade has a thickness, called the “kerf.” You’ll typically want to cut on the waste side of your line, so the line itself remains on the piece you’re keeping. Take the time to understand which side of the line to cut.
Making the Perfect Bevel Cut
With your saw set, safety gear on, and material secured, you’re ready for the main event. We found that a smooth, controlled motion is key to any successful cut, especially a bevel. It’s not about brute force, but gentle guidance.
Think of it like drawing a perfect curve – a steady hand and even pressure are far more effective than a clumsy rush.
The Cutting Process, Step by Step
- Adjust the Bevel: Unlock your saw’s bevel mechanism and tilt the saw head to your desired angle. Look at the scale first, then finely adjust. Re-lock the mechanism securely.
- Position Material: Place your material firmly against the fence, aligning your pencil mark with the blade. Double-check that it’s the correct side of the line for your cut.
- Clamp Down: Secure the material with a clamp. Make sure it’s snug and won’t move.
- Power On: Turn on the saw and let the blade come to full speed before beginning your cut. This prevents the blade from grabbing and tearing the wood.
- Slow, Steady Descent: Gently and slowly lower the spinning blade through the material. Don’t force it. Let the saw do the work. Maintain a consistent downward pressure.
- Complete the Cut: Once the blade has passed completely through the material, keep the saw running as you slowly raise the blade back to its starting position.
- Release and Inspect: Only after the blade has stopped spinning and is fully retracted, release the clamp and remove your cut piece. Inspect the cut for smoothness and accuracy.
We found that rushing any of these steps often leads to a less-than-perfect result. Patience pays off.
Common Bevel Degrees for Projects
Certain bevel angles are used more often than others in woodworking projects. Understanding these can help you quickly set up your saw for common applications. Think of them as your go-to settings.
Here’s a quick reference table for common bevel angles and their uses:
| Bevel Angle | Common Project Uses | Notes |
|---|---|---|
| 0 Degrees | Straight cuts, crosscuts | Your standard square cut, no tilt. |
| 22.5 Degrees | Octagonal (8-sided) frames, specific molding cuts | Often a positive stop on many saws. |
| 30 Degrees | Hexagonal (6-sided) items, custom boxes | May require manual adjustment. |
| 45 Degrees | Picture frames, boxes, internal corners in crown molding | Very common angle, often a positive stop. |
We found that mastering the 45-degree bevel is particularly useful for many DIY and professional projects (Popular Woodworking).
Troubleshooting and Best Practices
Even with careful preparation, sometimes things don’t go perfectly. We found that knowing how to troubleshoot common issues can save you time and frustration. It’s like having a plan B when things go awry.
Don’t be discouraged by a less-than-perfect cut initially. It’s all part of the learning process.
Dealing with Tear Out and Rough Cuts
If your cuts consistently have fuzzy edges or “tear out,” consider a few things. First, your blade might be dull. A sharp blade makes a clean cut. Second, the type of blade matters. A blade with more teeth (e.g., 60-80 teeth) is better for finer cuts and less tear out, especially on delicate materials.
We also found that applying painter’s tape along the cut line can help reduce tear out, especially on plywood or veneered materials. It gives the fibers extra support during the cut. Cutting slower can also improve the cut quality.
Test Cuts for Accuracy
Always, always, always make a test cut on a scrap piece of the same material before making your final cut. This cannot be stressed enough. We found that this simple step is the most effective way to ensure accuracy and prevent wasted material.
A test piece allows you to verify your bevel angle, check for tear out, and ensure your blade height is correct. It’s your dress rehearsal before the big show. Adjust your saw as needed after the test cut and then proceed with your actual project.
Remember, woodworking is a skill that improves with practice. Each bevel cut you make brings you closer to mastering your miter saw.
Conclusion
You now have the tools and knowledge to confidently tackle bevel cuts with your miter saw. We’ve shown you how understanding your saw’s mechanics, coupled with careful calibration and unwavering safety practices, sets the stage for success. Remember that securing your material and performing test cuts are not optional steps; they are critical for achieving professional results and avoiding frustration.
Mastering these techniques will open up a world of project possibilities, from elegant trim work to perfectly fitting boxes. So, grab a scrap piece, put on your safety gear, and start practicing your bevel cuts today. You’ll be amazed at what you can create!
Frequently Asked Questions
What is the difference between a miter cut and a bevel cut?
A miter cut adjusts the saw head horizontally, allowing you to create angled cuts across the face of your material. A bevel cut, on the other hand, involves tilting the saw blade vertically. This creates an angle along the edge of your material.
Can all miter saws make a bevel cut?
Most miter saws offer bevel cutting capabilities, but they vary. Some saws can only bevel in one direction (left or right), while others can bevel in both directions (compound miter saws). Always check your saw’s specifications or manual to confirm its capabilities.
Why are my bevel cuts not perfectly angled?
Inaccuracy in bevel cuts often stems from improper calibration or not making test cuts. Your saw’s bevel scale might be slightly off. Always calibrate your saw with a reliable square and verify angles with test cuts on scrap material before your final project.
What materials can I bevel cut with a miter saw?
You can make bevel cuts on various materials, primarily wood and wood composites like plywood and MDF. With the appropriate blade, some miter saws can also bevel cut plastics or soft metals. Always use a blade designed for the material you are cutting.
How do I prevent wood from tearing out during a bevel cut?
To reduce tear out, ensure your blade is sharp and has a high tooth count (e.g., 60-80 teeth for fine work). You can also apply painter’s tape along the cut line to support wood fibers. Cutting slowly and allowing the blade to reach full speed before engaging the material also helps significantly.