How to Cut Aluminum with a Miter Saw?
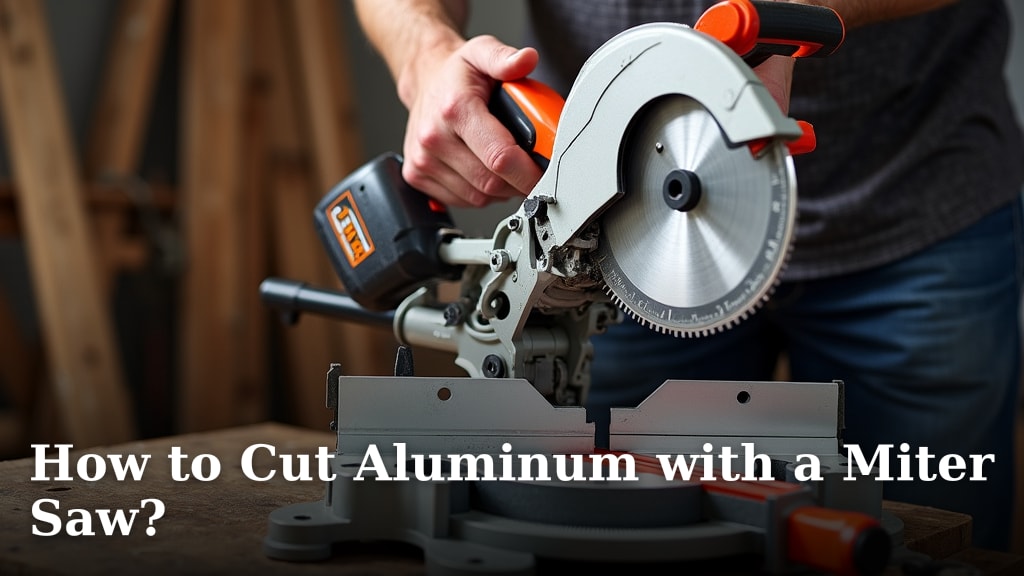
Yes, you can cut aluminum with a miter saw, but it requires the right approach and equipment. You’ll need to use a specific blade type and follow important safety steps. This method is effective for precise aluminum cuts.
We found that many people wonder if their miter saw is up to the task for metal. While primarily designed for wood, a miter saw can handle aluminum if you prepare correctly. Understanding the differences in material properties is key.
- Choose the right blade for aluminum.
- Set up your saw properly for safety.
- Learn the correct cutting technique.
- Understand the importance of lubrication.
Let’s walk through exactly how to safely and effectively cut aluminum with your miter saw, step by step.
Setting Up Your Miter Saw for Aluminum
Cutting aluminum safely with your miter saw starts with proper setup. You can’t just slap on a new blade and go. Preparation is key to getting clean cuts and keeping yourself safe.
Your miter saw is likely designed for wood. Aluminum behaves differently. It’s softer than steel but can be gummy and grabby. This means you need to adjust your approach significantly.
Choosing the Right Blade
This is arguably the most critical step. Using a wood blade on aluminum is a recipe for disaster. It can damage the blade, the aluminum, and potentially injure you.
Dedicated Aluminum Cutting Blades
You need a blade specifically designed for cutting non-ferrous metals like aluminum. These blades have a few key differences from wood blades. You can find recommendations for the best miter saw blade for various tasks in our detailed review.
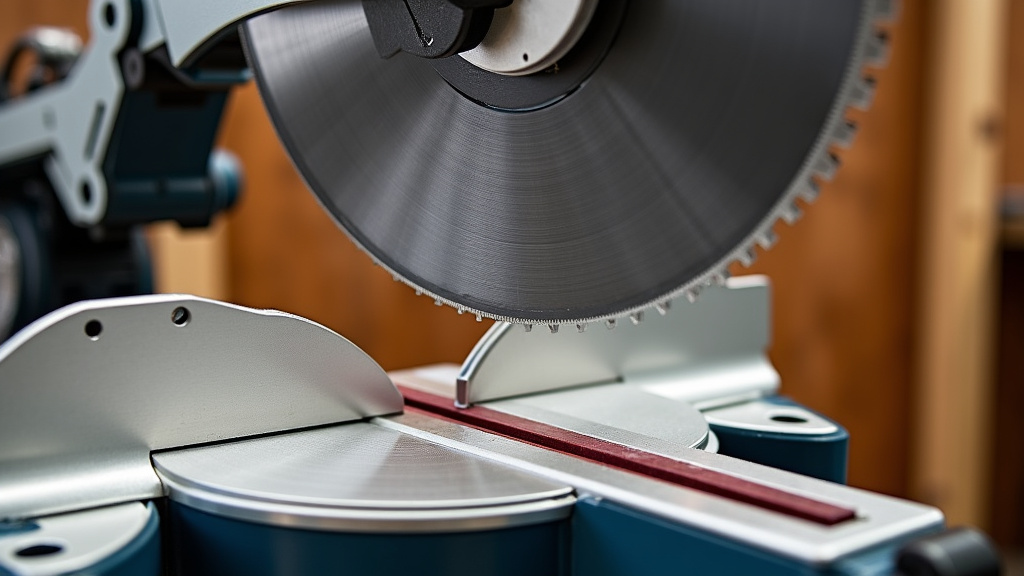
- High Tooth Count: Aluminum blades have many more teeth than wood blades. This helps to create a smoother cut and prevents the material from tearing. We found that a higher tooth count (80-100+ teeth for a 10-inch blade) is ideal for cleaner results.
- Negative Hook Angle: This is a crucial feature. A negative hook angle means the teeth are angled slightly backward. This helps the blade to shear the metal rather than aggressively “digging in,” which can cause kickback.
- Carbide-Tipped Teeth: Carbide is much harder than steel, allowing the blade to stay sharp longer when cutting metal.
- Thinner Kerf: Some aluminum blades have a thinner kerf (the width of the cut) to reduce material waste and heat buildup.
Make sure the blade you choose matches the arbor size of your miter saw. Always double-check this before purchasing.
Blade Comparison: Wood vs. Aluminum
To help you understand the differences, here’s a quick comparison:
| Feature | Wood Blade (Typical) | Aluminum Blade (Required) |
|---|---|---|
| Tooth Count | 24-60 teeth | 80-100+ teeth |
| Hook Angle | Positive or neutral | Negative |
| Material | Steel, some carbide-tipped | Carbide-tipped |
| Cut Quality | Rougher on aluminum | Smooth, clean |
| Safety | High risk on aluminum | Lower risk (when used correctly) |
As you can see, the differences are significant. Don’t try to make do with a wood blade. It’s simply not worth the risk or the poor results.
Safety First: Essential Precautions
Cutting metal generates more heat and different kinds of debris than wood. Your safety gear is non-negotiable when working with aluminum.
- Eye Protection: Always wear safety glasses or goggles. Metal chips can fly with considerable force.
- Hearing Protection: Cutting metal can be loud. Earplugs or earmuffs protect your hearing.
- Gloves: Wear work gloves to protect your hands from sharp edges and hot material. Avoid loose-fitting gloves that could get caught in the blade.
- Long Sleeves/Pants: Protect your skin from flying chips. Synthetic fabrics can melt if they come into contact with very hot metal, so consider natural fibers.
- Clear Work Area: Remove anything that could interfere with your cut or become a tripping hazard.
- Check Your Saw: Make sure all guards are in place and working correctly. Is the blade secure? Is the fence aligned?
We found that many workshops emphasize the “dress for the job” rule for a reason. Don’t skip these steps.
Preparing Your Aluminum Stock
Once your saw is ready and you’re protected, it’s time to get the aluminum ready. This step is about securing the material and marking your cuts accurately. Precision here means less rework later.
Securing the Material
Aluminum needs to be held firmly in place. This prevents movement during the cut, which can lead to inaccuracies, blade binding, or dangerous kickback. Never try to hand-hold aluminum against the fence while cutting.
Most miter saws come with some form of clamping mechanism. Use it! If your saw doesn’t have one, or it’s insufficient, consider C-clamps or specialized hold-down clamps.
- Tight against the Fence: Ensure the aluminum is pushed firmly against the miter saw’s fence. This provides a stable reference point.
- Clamped to the Table: Secure the material to the saw table. This prevents it from lifting or shifting.
- Support Long Pieces: If you’re cutting long pieces of aluminum, use roller stands or outfeed tables to support the material. Unsupported material can sag, causing uneven cuts or binding.
Imagine trying to cut a spaghetti noodle without holding both ends. It would just flop around, right? Same idea with aluminum – it needs support.
Marking Your Cuts Accurately
Precision is important in any cutting task. Use a reliable method for marking your cut lines.
- Pencil or Marker: A regular pencil works well on most aluminum. For darker pieces, a silver or white marker can be more visible.
- Engineer’s Square/Combination Square: Use a square to draw a perfectly straight line across your aluminum.
- Measure Twice, Cut Once: This old adage is especially true when working with materials that are costly or hard to replace.
Some experts recommend scoring your cut line lightly with a utility knife. This creates a small groove that the blade can follow, helping to prevent tear-out on the edges.
The Cutting Process: Step-by-Step
With everything set up and your aluminum prepared, you’re ready to make the cut. Remember to take your time and stay focused. Haste can lead to errors and accidents.
Applying Lubrication
Lubrication is a game-changer when cutting aluminum. Aluminum tends to gum up and stick to the blade, especially without lubrication. This can lead to overheating, blade wear, and poor cut quality.
- Cutting Wax/Stick Lubricant: This is a popular choice. You simply apply the wax directly to the blade teeth before and occasionally during the cut.
- Spray Lubricant: Some people use cutting fluid sprays. Be careful with overspray and ensure it won’t affect your saw’s electrical components.
- Why Lubricate?: The lubricant reduces friction and helps clear away chips from the blade, allowing for a smoother, cooler cut. It’s like putting oil on a rusty hinge – things move much better.
Many fabricators we spoke with stressed that skipping lubrication when cutting aluminum is a common mistake. Don’t make it!
Making the Cut
Now for the main event. Your technique is crucial for a clean, safe cut.
- Start the Saw Before Contact: Engage the saw’s motor and let the blade reach full speed before slowly bringing it into contact with the aluminum.
- Slow and Steady Feed Rate: Do not rush the cut. Apply steady, moderate pressure. Let the blade do the work. Forcing the blade can cause it to bind or overheat.
- Don’t Lift Until Blade Stops: Once the cut is complete, keep the blade fully engaged in the material until it has completely stopped spinning. Lifting a still-spinning blade can cause it to catch and kick back.
- Listen to Your Saw: Pay attention to the sound of the saw. If it sounds like it’s struggling, you might be pushing too hard.
It’s generally recommended to make a practice cut on a scrap piece of aluminum first if you’re new to this. This helps you get a feel for the material and your saw’s behavior.
Troubleshooting Common Issues
Even with the best preparation, you might encounter some issues. Knowing how to troubleshoot can save you time and frustration.
Blade Sticking or Gummy Buildup
This is a frequent complaint when cutting aluminum. It often means your blade isn’t clearing chips effectively or there’s too much friction.
- More Lubrication: Apply more cutting wax or lubricant.
- Clean the Blade: If buildup is severe, remove the blade (with the saw unplugged!) and carefully clean the teeth.
- Check Feed Rate: Are you pushing too fast? Slow down your feed rate.
- Blade Type: Reconfirm you’re using a proper aluminum-cutting blade with a negative hook angle.
Think of it like trying to chew gum. If you don’t have enough saliva, it just sticks to your teeth. Lubrication acts like that “saliva” for your blade.
Excessive Burring or Rough Cuts
If your cuts aren’t clean and have lots of burrs, it points to a few potential problems.
- Dull Blade: Even carbide-tipped blades dull over time. A dull blade will tear rather than cut cleanly.
- Incorrect Blade Type: Double-check that your blade has a high tooth count and a negative hook angle.
- Movement: Was the aluminum fully secured? Any movement during the cut can lead to rough edges.
- Feed Rate: Sometimes a slightly slower or more consistent feed rate can improve cut quality.
Many experienced users confirm that a sharp, clean, and lubricated blade on a securely clamped workpiece leads to almost burr-free cuts.
Post-Cut Care and Finishing
You’ve made your perfect cut! What’s next? A little bit of post-cut care can make your project shine.
Deburring and Finishing Edges
Even the cleanest cuts can leave a slight burr. This is a sharp, thin edge of metal that can cut you or snag on other materials.
- Deburring Tool: A dedicated deburring tool is quick and effective for removing burrs.
- File: A fine-toothed file can also be used to smooth the edges.
- Sandpaper: Fine-grit sandpaper can finish the edges and remove any minor imperfections.
Always deburr your aluminum pieces, especially if they will be handled frequently or assembled into a project. It makes them safer and look much more professional.
Cleaning Your Saw
After cutting aluminum, your miter saw will have metal chips and possibly lubricant residue. It’s important to clean it properly.
- Unplug the Saw: Always unplug your saw before cleaning.
- Brush Away Chips: Use a brush to remove metal chips from the table, fence, and around the blade guard.
- Vacuum: A shop vacuum can help pick up finer dust.
- Wipe Down Surfaces: Use a damp cloth to wipe down surfaces and remove any lubricant residue.
Keeping your saw clean not only prolongs its life but also ensures it’s ready for your next project, whether it’s wood or more aluminum.
Conclusion
Cutting aluminum with your miter saw is definitely achievable when you follow the right steps. You’ve learned how choosing the correct blade and safety gear protects you and ensures quality cuts. Remember, proper material clamping and consistent lubrication are your best friends for smooth results.
Take your time, apply the techniques we’ve discussed, and you’ll confidently tackle your aluminum projects. With careful practice and adherence to safety, you’ll be making precise, clean cuts in no time. Now, go make something awesome!
Frequently Asked Questions
Can I use a regular wood miter saw for aluminum?
Yes, you can use a standard wood miter saw for aluminum, but you must change the blade. A specialized non-ferrous metal blade with a negative hook angle and high tooth count is essential for safety and good results. Never use a wood blade on aluminum.
What kind of lubricant should I use when cutting aluminum?
For cutting aluminum, we found that cutting wax or stick lubricant works best. You apply it directly to the blade’s teeth. Some people use spray lubricants, but be mindful of overspray getting into your saw’s electrical components.
How can I prevent the aluminum from melting or gumming up on the blade?
To prevent melting or gumming, always use a dedicated aluminum-cutting blade with a negative hook angle and high tooth count. Consistent lubrication with cutting wax and maintaining a slow, steady feed rate are also key to keeping the material cool and preventing buildup.
Is it okay to cut thick aluminum with a miter saw?
Miter saws are generally better for cutting thinner aluminum profiles and tubing. Cutting very thick or solid aluminum billets can put excessive strain on your saw and is often better suited for other tools like a bandsaw or cold saw. Always check your saw’s capacity and motor power.
What’s the best way to clean my miter saw after cutting aluminum?
Always unplug your saw first. Use a brush to remove metal chips from the table and blade area. A shop vacuum can help with finer debris. Wipe down surfaces with a damp cloth to remove any lubricant residue, keeping your saw clean for future projects.