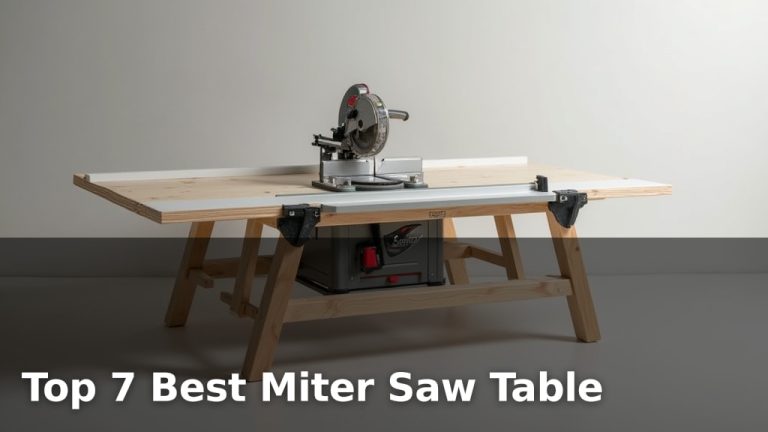
How to Cut Door Casing with a Miter Saw?

To cut door casing with a miter saw, you will need to measure accurately and set your saw to the correct angle. Most door casing requires 45-degree miter cuts for a clean joint. Always use a sharp blade to get the best results when you cut door casing.
Getting your casing cuts just right can make all the difference in your home’s appearance. We found that precision is key for a professional finish. Are you ready to tackle this common home improvement project?
- Accurate measurements are critical.
- Set your miter saw to 45 degrees for corners.
- Use a sharp blade for clean cuts.
- Practice on scrap wood first.
Let’s walk through exactly how to cut door casing with a miter saw, step by step.
Prepping for Perfect Door Casing Cuts
Before you even touch your miter saw, a little preparation goes a long way. Think of it as setting the stage for a flawless performance. You want to make sure your workspace is ready and your materials are prepared. This helps you avoid common mistakes and ensures a smoother process.
Gathering Your Tools and Materials
Having everything you need within reach saves time and frustration. We found that a well-organized workspace makes any project easier. What tools will you need for this job?
- Miter Saw (compound miter saw is ideal)
- Sharp Saw Blade (a fine-tooth blade is best for trim work)
- Measuring Tape
- Pencil
- Speed Square or Combination Square
- Safety Glasses and Hearing Protection
- Door Casing Material
- Scrap Wood (for practice cuts)
- Caulk Gun and Paintable Caulk (for finishing)
- Nail Gun (optional, but very helpful)
- Wood Glue (for miter joints)
Make sure your miter saw blade is clean and sharp. A dull blade can tear the wood, leading to fuzzy, unprofessional cuts. We always recommend a blade designed for fine finish work (Tool Guide Pro).
Safety First: Protecting Yourself
Working with power tools always requires caution. Your safety is the most important thing. Never skip these steps when operating a miter saw.
- Wear safety glasses to protect your eyes from flying debris.
- Use hearing protection; miter saws can be loud.
- Keep your hands a safe distance from the blade.
- Ensure your workpiece is securely clamped or held against the fence.
- Avoid loose clothing or jewelry that could get caught.
Treat the saw with respect. It’s a powerful tool that can cause serious injury if not used correctly. A moment of carelessness can lead to regret.
Understanding Door Casing Measurements
Measuring accurately is the cornerstone of great trim work. You’ve probably heard the old saying, “measure twice, cut once.” For door casing, this advice is particularly true. Even a small error can create noticeable gaps.
The Reveal: Your Guiding Line
What is a reveal? It’s the small, consistent offset between the door frame (jamb) and the inside edge of your casing. This reveal creates a shadow line that adds a professional touch. Many experts recommend a 1/4-inch reveal, but you can adjust this based on your preference (Fine Homebuilding).
- Mark your reveal line on the door frame using a pencil and a speed square.
- This line will guide where the inside edge of your casing should sit.
- Consistency is key; make sure your reveal is the same all around the door.
Imagine a picture frame. The small space between the picture and the frame makes the picture stand out. Your reveal does the same for your door.
Measuring for Vertical Side Casings
The vertical pieces are often the first you’ll cut. They run from the floor up to the top of your door frame. You’ll measure these carefully.
- Measure from the floor up to your reveal line on the top of the door frame.
- Do this on both sides, as floors and door frames aren’t always perfectly level or square.
- Write down your measurements clearly.
- Remember, the casing will extend past the reveal line at the top to meet the header casing with a miter joint.
Don’t assume both sides are the same length. Always measure each piece individually. This simple step prevents frustrating recuts.
Measuring for the Horizontal Header Casing
The header casing goes across the top of the door frame, connecting the two vertical pieces. This piece requires two miter cuts.
- Measure the total distance between the outside edges of your two vertical reveal lines.
- Add the width of your casing material to this measurement. This accounts for the mitered “ears” that extend beyond the vertical pieces.
- For example, if your casing is 2.5 inches wide, and the distance between your reveal lines is 36 inches, your total header length will be 36 inches + (2.5 inches x 2) = 41 inches.
- Double-check your math!
This measurement often confuses people, but it’s crucial for getting those mitered corners to line up perfectly. We found that drawing it out on paper first can really help visualize it.
Setting Up Your Miter Saw for Casing Cuts
Your miter saw is a precision tool, and setting it correctly is paramount for clean, tight joints. If your saw isn’t perfectly calibrated, your angles will be off, and your casing won’t fit together well. Let’s make sure it’s ready for action.
Calibrating Your Saw
Before any cutting, check your saw’s accuracy. This is a step many skip, but it’s really important. How can you be sure your 45-degree cut is actually 45 degrees?
- Unplug your saw for safety.
- Use a digital angle finder or a reliable speed square to check the blade’s angle against the fence at 0 and 45 degrees.
- Adjust if necessary using the saw’s calibration screws (refer to your saw’s manual).
- Make a test cut on scrap wood and check the angle again.
A small deviation can lead to a noticeable gap in your finished trim. Invest a few minutes here; it will save you hours later.
Adjusting the Blade for Depth
For most casing, you won’t need to adjust the blade’s depth of cut. The blade should be set to cut completely through your material and slightly into the saw’s sacrificial fence or table insert. This ensures a clean exit cut and prevents splintering on the back of your trim.
- Ensure the blade extends fully below the wood.
- If cutting thin material, some saws have a depth stop, but for casing, it’s rarely needed.
Always ensure your blade is appropriate for the thickness of your material. A blade that’s too small won’t cut cleanly.
Making the Miter Cuts
Now for the exciting part – cutting your casing! This is where all your careful measurements and setup pay off. Remember, the goal is a tight, professional-looking miter joint.
Cutting the Vertical Side Pieces
You’ll start with the vertical pieces that run up the sides of your door frame. These have one straight cut and one miter cut.
- Measure your vertical piece from the floor to the top reveal line.
- Cut the bottom end of the casing square (90 degrees). This end will rest directly on the floor.
- For the top end, set your miter saw to 45 degrees.
- Place the casing on the saw table so the long point of the miter cut will be on the outside edge of the casing (the side facing away from the door opening). The short point will be on the reveal side.
- Make your cut slowly and smoothly.
- Repeat for the other vertical piece, ensuring the miter angle is opposite to the first one so they can meet the header casing.
When you’re cutting the 45-degree angle, imagine the two pieces coming together to form a corner. The angles need to face each other to create a perfect 90-degree corner. Understanding how to cut picture frame corners with a miter saw can further illustrate this concept of joining angles.
Cutting the Horizontal Header Piece
This is where those two 45-degree miter cuts come into play. This piece forms the top of your door casing, bridging the two vertical sides.
- Take your carefully measured length for the header casing. This is the long point to long point measurement.
- Set your miter saw to 45 degrees.
- Place the casing on the saw. Cut one end with the miter angle facing inwards (the short point will be on the inside).
- Flip the casing over or adjust the saw to the opposite 45-degree angle.
- Line up your measurement from the long point of the first cut to where the long point of the second cut will be.
- Make the second cut.
You should now have a piece with two opposing 45-degree angles, creating a trapezoid shape. This will sit perfectly on top of your vertical pieces.
Tips for Achieving Clean Miter Joints
Perfect miters are the mark of a skilled trim carpenter. It takes practice, but these tips will help you get there faster.
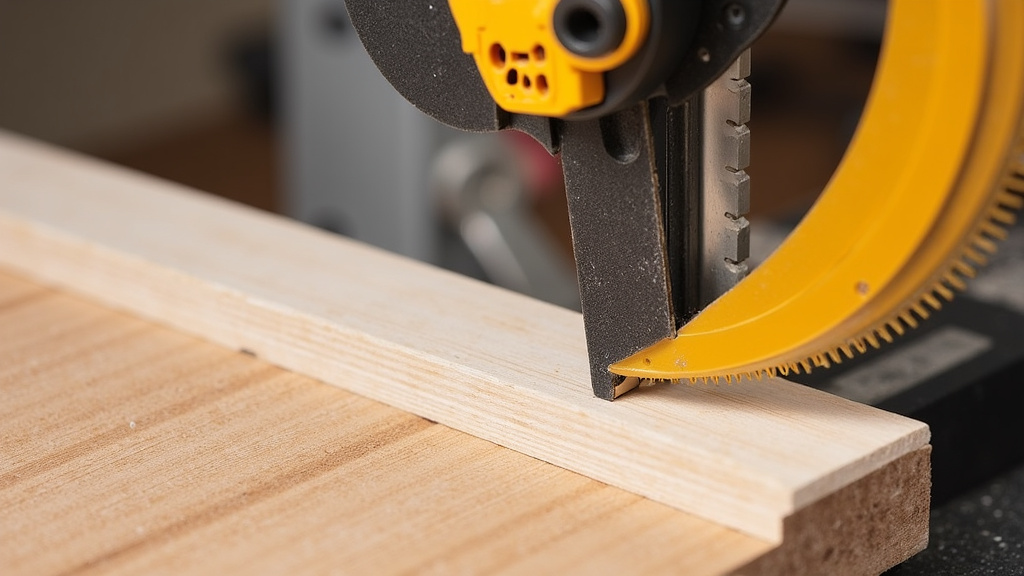
- Always use a sharp, fine-tooth blade.
- Cut slowly and steadily; don’t rush the blade through the wood.
- Support your material fully on the saw table and against the fence.
- Use a stop block for repetitive cuts to ensure identical lengths.
- Practice on scrap wood first. This builds confidence and helps you dial in your saw settings.
We found that many pros will intentionally cut their miters just a hair long, then make tiny “shaving” cuts until they get a perfect fit. It’s better to cut a little long than too short.
Troubleshooting Common Miter Saw Issues
Even with careful preparation, things can sometimes go wrong. Don’t get discouraged! Many common issues have simple solutions. We’ve all been there, staring at a gap that just won’t close.
When the Angles Don’t Line Up
A common problem is when your 45-degree cuts don’t create a perfect 90-degree corner. This often results in a V-shaped gap at the joint.
- Check your saw calibration again. Is your saw truly cutting at 45 degrees?
- Ensure your workpiece is held firmly against the fence during the cut. Any movement can throw off the angle.
- If the gap is small, you might be able to fill it with wood filler or caulk later.
- For larger gaps, you’ll need to recut the piece.
Sometimes, the issue isn’t the saw, but the walls or floor not being perfectly square. In older homes, this is very common. You might need to slightly adjust your miter angle (e.g., 44.5 or 45.5 degrees) to accommodate. This is called a compound miter or scribing, and it’s a bit more advanced.
Dealing with Splintering or Tear-Out
Splintered edges on your casing can ruin the look, especially on painted trim. This happens when the saw blade tears the wood fibers instead of cutting them cleanly.
- Use a sharp, fine-tooth blade specifically designed for finish work.
- Place painter’s tape along the cut line before cutting. This can help hold wood fibers together.
- Lower the blade slowly and allow the saw to reach full speed before cutting.
- Use a sacrificial fence behind your workpiece. This provides support for the wood fibers as the blade exits.
A good quality blade makes a significant difference. It’s an investment that pays off in cleaner cuts and less frustration, we’ve found.
Final Steps: Installation and Finishing
Once your cuts are made, it’s time to bring it all together. This stage brings your vision to life and adds those professional finishing touches.
Dry Fitting Your Casing
Always perform a dry fit before you permanently attach anything. This means holding the pieces in place without glue or nails.
- Hold up your vertical pieces, aligning them with your reveal marks.
- Place the header piece on top, checking how the miter joints align.
- Look for any gaps or misalignments.
- If something doesn’t look right, identify which piece needs adjustment.
It’s much easier to make small adjustments now than after the casing is nailed in place. Think of it as a dress rehearsal before the main performance.
Attaching the Casing
With your dry fit looking good, you’re ready to secure the casing. A nail gun makes this process quick and easy, but you can also use a hammer and finish nails.
- Apply a thin bead of wood glue to the miter joints before securing them. This adds strength and helps prevent future gaps.
- Start with one vertical piece. Align it with your reveal and nail it to the door frame. Nail every 12-16 inches.
- Next, attach the header piece. Secure it to
Conclusion
You now have a solid understanding of how to cut door casing with a miter saw. Remember, success comes down to careful measurement, precise saw setup, and a patient approach. Don’t rush your cuts, and always prioritize your safety. With each successful cut, you’ll gain confidence and bring a professional finish to your home. You’ve got this!
Now, gather your tools, double-check your measurements, and create those perfect miter joints.
Frequently Asked Questions
What’s the best type of miter saw blade for door casing?
For door casing and other trim work, you’ll want a fine-tooth blade. Look for one with 60 to 80 teeth, specifically designed for finish carpentry. This type of blade creates cleaner cuts and minimizes splintering on delicate wood.
How do I prevent gaps in my miter joints when installing door casing?
To prevent gaps, ensure your miter saw is accurately calibrated to 45 degrees. Always dry fit your pieces before nailing. Applying a small amount of wood glue to the joint before fastening also helps create a strong, gap-free connection.
Can I cut door casing with a hand saw instead of a miter saw?
While technically possible, cutting door casing with a hand saw is much more challenging for achieving precise miter joints. A miter box and a sharp hand saw can work for small projects, but a miter saw offers superior accuracy and consistency, especially for multiple cuts.
What should I do if my walls aren’t perfectly square when cutting casing?
If your walls aren’t perfectly square, a standard 45-degree miter won’t close perfectly. You may need to slightly adjust your miter saw’s angle by half a degree or so (e.g., 44.5 or 45.5 degrees) to fit the actual corner. Test these minor adjustments on scrap wood first.
Is it better to cut casing long and trim it, or try to cut it perfectly the first time?
It’s generally better to cut your casing pieces a hair long, especially on mitered ends. You can then make very small, thin “shaving” cuts until you achieve a perfect, tight fit. It’s always easier to remove a tiny bit more wood than to try and add it back.