
How to Cut Picture Frame Corners with a Miter Saw?
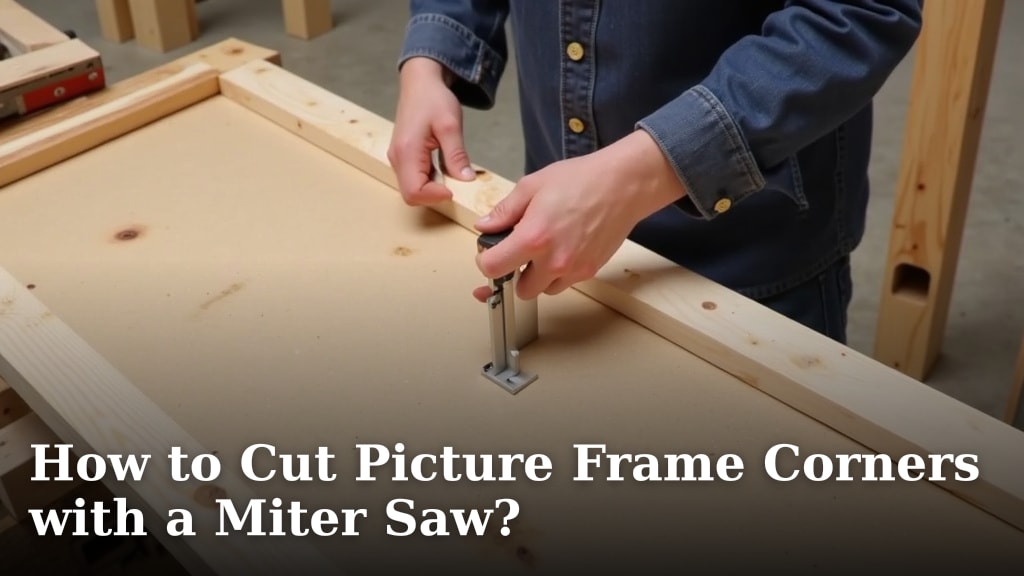
To cut perfect picture frame corners with a miter saw, you will need to set your saw to a 45-degree angle. This allows for a precise miter joint. We found great success using a proper saw for clean, tight corners.
Making a beautiful picture frame at home is very rewarding. It adds a personal touch to your decor. Getting those mitered corners just right makes all the difference.
- Set your miter saw to 45 degrees.
- Measure your frame stock carefully.
- Use test cuts to check angles.
- Always prioritize safety with power tools.
- Aim for tight, gap-free joints.
Ready to make some amazing frames? Let’s walk through exactly how to cut picture frame corners with a miter saw, step by step.
Achieving Flawless Picture Frame Corners Using Your Miter Saw
Creating beautiful picture frames at home gives your decor a truly personal touch. Getting those mitered corners just right can make all the difference in the final look of your project.
The miter saw is your best friend for this task. We found it offers the precision and control you need. Let’s explore how to get those tight, clean joints you’re dreaming of.
Gathering Your Essential Tools and Materials
Before you make a single cut, gather everything you’ll need. This preparation saves time and helps ensure a smooth workflow. Think of it like a chef prepping ingredients before cooking.
The Right Miter Saw
You’ll need a miter saw capable of accurate 45-degree cuts. A compound miter saw or even a sliding compound miter saw works wonderfully. We found these offer superior stability and cutting capacity (Wood Magazine).
- Standard Miter Saw: Good for basic cuts up to 45 degrees.
- Compound Miter Saw: Allows for bevel cuts as well, though not strictly needed for basic miters.
- Sliding Miter Saw: Offers extended cross-cutting capacity, great for wider frame stock.
Selecting Your Frame Stock
The wood or material you choose directly impacts your final product. Opt for material that is straight and free of warps. Examine each piece carefully.
Avoid knotty or twisted pieces. These can cause your saw blade to bind or your cuts to be imperfect. We recommend a stable, consistent material for the best results.
Essential Safety Gear
Safety is not negotiable when operating power tools. Always wear your protective gear. Your eyes and ears will thank you.
- Safety Glasses: Protect against flying debris.
- Hearing Protection: Power saws are loud; protect your hearing.
- Dust Mask: Fine sawdust can be irritating and unhealthy to breathe.
Setting Up Your Workspace for Precision
A well-organized and stable workspace is key to accurate cuts. Don’t rush this step. It sets the stage for success.
Clearing and Securing Your Area
Ensure your saw is on a stable, level surface. Clear away any clutter. Any wobbling can throw off your measurements and cuts.
Extend the work supports on your miter saw, if available. This helps support long pieces of frame stock. It prevents the material from sagging, which can lead to inaccurate angles.
Testing Your Miter Saw’s Accuracy
Even new saws can be slightly off. It’s crucial to check your saw’s calibration before cutting your good material. A small error can lead to noticeable gaps in your frame corners.
Set your saw to a 45-degree angle. Make a cut on a piece of scrap wood. Then, flip the scrap piece over and make another 45-degree cut to create a 90-degree corner, just like two sides of a frame. If it’s not a perfect 90 degrees, adjust your saw until it is (Fine Woodworking).
The Art of Measuring and Marking Your Cuts
Accurate measurement is perhaps the most critical step. “Measure twice, cut once” is a mantra for a reason. Precision here ensures tight joints.
Calculating Your Frame Dimensions
First, determine the overall size of your picture frame. This is usually based on the size of the artwork or photo it will hold. Let’s say you have an 8×10 inch picture.
You need to cut the frame pieces so the inside edge forms an 8×10 inch opening. Remember that the frame material itself has thickness. This is known as the “Rabbet depth” or “Lip.”
Marking Your Frame Stock with Clarity
Use a very sharp pencil or a specialty marking knife. Mark your cut lines on the face of the material. Be as precise as possible. We found that even a thin pencil line can impact accuracy when it comes to mitered joints.
For each piece, you will typically cut two 45-degree angles, mating opposite directions. This creates the corner. For example, two short pieces and two long pieces for a rectangular frame.
Making the Perfect 45-Degree Miter Cuts
This is where your preparation pays off. Approach each cut with focus and care. Your hands-on technique matters.
Securing the Workpiece
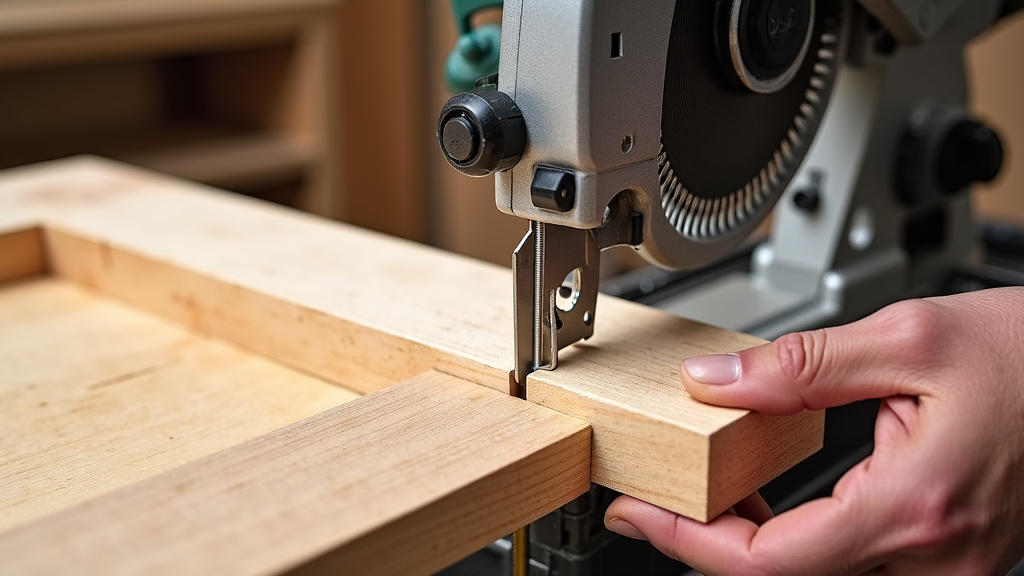
Always use a clamp to hold your frame stock securely against the saw’s fence. Do not rely on your hands alone. This provides stability and safety.
A clamped workpiece won’t shift during the cut. This prevents dangerous kickback and ensures a straight, clean cut. We can’t stress the importance of a secure setup enough.
The Cutting Technique
Bring the saw blade down slowly and steadily. Don’t force it. Let the blade do the work. A slow, controlled plunge results in a cleaner cut and reduces tear-out.
After the cut, keep the blade fully lowered until it stops spinning. Then, slowly raise it. This prevents the blade from catching on the wood as you lift it. This detail helps to avoid small imperfections on your cut edge.
| Step | Key Action | Why it Matters |
|---|---|---|
| Safety First | Wear glasses and hearing protection. | Protects your vision and hearing from injury. |
| Calibrate Saw | Test 45-degree angles on scrap wood. | Ensures precise 90-degree frame corners. |
| Measure Accurately | Use a precise ruler; mark clearly. | Prevents gaps and ensures correct frame size. |
| Secure Material | Always use a clamp. | Prevents kickback, improves cut quality. |
| Slow, Steady Cut | Lower blade slowly, let it stop. | Reduces tear-out, creates cleaner edges. |
Assembling Your Picture Frame Corners
Once all your pieces are cut, it’s time to join them. This is the moment of truth for your miter cuts. You want those corners to meet perfectly.
Checking for Gaps
Dry-fit your corners before applying glue. Place two pieces together to form a corner. Does it look tight? Any noticeable gaps? Small gaps might be overlooked now but will be very obvious later.
If you have small gaps, you might need to slightly adjust your saw’s angle. Even a half-degree difference can cause a gap. Some woodworkers use a miter sled for even greater accuracy (Popular Woodworking).
Gluing and Clamping Your Frame
Apply a thin, even layer of wood glue to each mitered surface. Don’t overdo it. Too much glue just makes a mess. We found a small brush or a thin bead works best.
Bring the pieces together and use specialized frame clamps or strap clamps to hold them firmly. Apply gentle, even pressure. Allow the glue to dry completely. This curing time is essential for a strong, lasting joint.
Final Touches and Troubleshooting Tips
Even with the best intentions, things can go slightly awry. Don’t fret! There are ways to fix minor issues and enhance your frame.
Addressing Minor Gaps
If you find tiny gaps after assembly, don’t despair. Wood filler tinted to match your frame can work wonders. Apply it carefully, sand smooth, and then finish your frame.
Another trick is using a mixture of very fine sawdust from your frame material and wood glue. Pack it into the gap, let it dry, and sand. This creates an almost invisible fix.
Creating a Complete Checklist
Here’s a quick checklist to help you stay on track for perfect picture frame corners:
- Safety glasses and hearing protection on?
- Miter saw calibrated to true 45 degrees?
- Frame stock measured and marked accurately?
- Material clamped securely before cutting?
- Dry-fit all corners before gluing?
- Glue applied, and corners clamped tightly for drying?
Making picture frames is a rewarding skill. With practice and patience, your mitered corners will look professional. Happy framing!
Conclusion
You now have the knowledge and steps to confidently cut perfect picture frame corners with your miter saw. Remember, precision in measurement and a steady hand are essential. Start by setting up a safe, clear workspace, and always test your saw’s calibration first.
Dry-fitting your corners before gluing helps catch any minor issues early. Even if small gaps appear, effective fixes are available. With practice, you’ll achieve professional-looking frames that beautifully showcase your cherished items. Go ahead and start creating your next framed masterpiece!
Frequently Asked Questions
What is the best type of wood for picture frame corners?
The best wood for picture frame corners is typically stable hardwood like oak, maple, or cherry. These woods hold detailed cuts well and are less prone to warping. Avoid very soft or knotty woods, as they can splinter or make cuts less precise.
How do I prevent tear-out when cutting picture frame stock?
To prevent tear-out, ensure your miter saw blade is sharp and has a high tooth count (e.g., 60-80 teeth for fine cross-cutting). You should also lower the blade slowly and steadily through the material. Using a sacrificial fence on your saw can also provide support directly at the cut line.
Can I cut wider frame stock with a standard miter saw?
A standard miter saw has limitations on how wide of a board it can cut. If your frame stock is wider than your saw’s cross-cut capacity, you might need a sliding miter saw for those longer cuts. Always check your saw’s specifications for its maximum width capacity at a 45-degree angle.
What if my miter saw isn’t exactly 45 degrees?
It’s common for saws to be slightly off. You should always calibrate your saw by making test cuts on scrap wood and adjusting. Cut two scrap pieces at 45 degrees and join them to form a 90-degree corner. Adjust your saw’s angle until this test corner is perfectly square.
How can I make sure my picture frame corners are strong and don’t come apart?
For strong corners, use quality wood glue and ensure good clamping pressure until the glue fully cures. For added strength, you can incorporate splines or biscuits into the miter joint. These internal reinforcements significantly increase the joint’s durability over time.
