
How to Cut Window Trim with a Miter Saw?
The easiest way to cut window trim with a miter saw is by using the right blade and proper setup for accurate angles. You’ll want to take careful measurements and always cut slightly long first. This helps you achieve those perfect, snug joints for your trim work.
Getting crisp miter cuts for window trim can feel a bit tricky at first, right? We found that mastering your miter saw for this task involves understanding a few key techniques and adjustments. From crown molding to baseboards, these tips apply to various trim projects around your home, making your work look professionally finished.
- Understand your miter saw settings.
- Measure window openings precisely.
- Set up your saw for miter cuts.
- Make test cuts on scrap wood.
- Learn common trim cutting techniques.
Let’s walk through exactly how to cut window trim with a miter saw, step by step, so you can achieve beautiful results every time.
Perfecting Your Window Trim Cuts with a Miter Saw
Achieving clean, professional-looking window trim starts with understanding your miter saw. We’ll guide you through setting up your saw, making precise measurements, and executing flawless cuts.
Gathering Your Tools and Materials
Before you begin, make sure you have everything you need. Having the right tools on hand makes the job much smoother and safer.
Essential Tools for Trim Work
You’ll need a few key items to get started. A good miter saw is at the top of that list, of course. For safety, always wear safety glasses and hearing protection when operating power tools (Occupational Safety and Health Administration).
- Miter Saw: A compound miter saw is ideal for most trim angles.
- Measuring Tape: A reliable, steel measuring tape for accuracy.
- Pencil: For clear marking on your trim pieces.
- Speed Square or Combination Square: Great for marking straight lines and checking angles.
- Scrap Wood: Always have some for test cuts.
- Caulk Gun and Caulk: For filling small gaps after installation.
- Wood Glue: For strong miter joints.
- Nail Gun (Brad Nailer) and Nails: To secure the trim.
- Utility Knife: For scoring and fine adjustments.
- Sanding Block or Fine-Grit Sandpaper: For smooth edges.
Selecting the Right Saw Blade
The blade makes a huge difference in cut quality. For trim, you want a fine-tooth blade. We found that a blade with 60 teeth or more provides a much cleaner cut on wood trim, preventing tear-out. A general-purpose blade might leave rough edges, which means more sanding for you later.
Understanding Your Miter Saw
Your miter saw is a powerful tool with several adjustments. Getting familiar with them will help you make accurate cuts every time.
Miter and Bevel Angles Explained
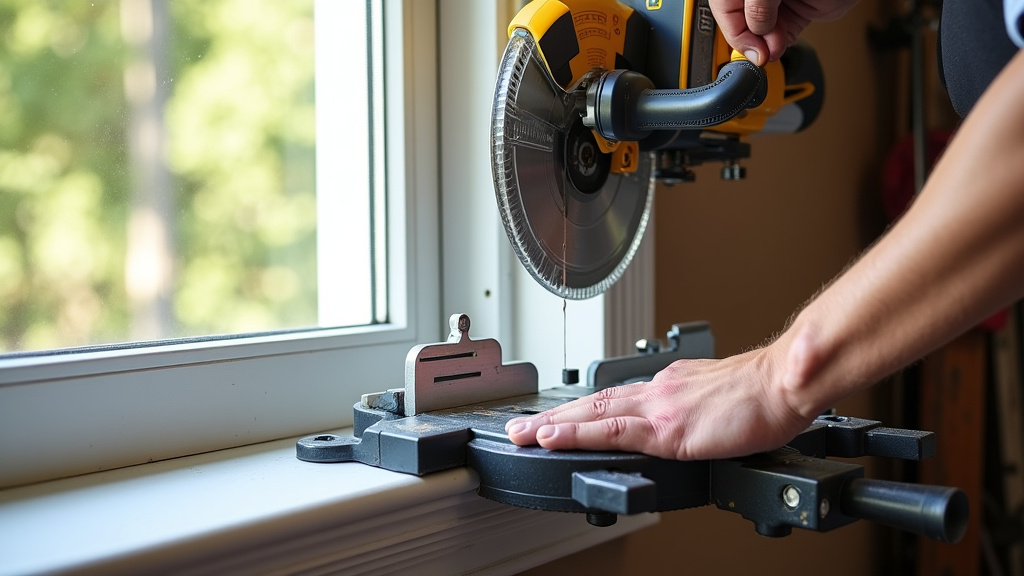
A miter cut is when you turn the saw head left or right, changing the horizontal angle of the cut. Think of it like cutting a picture frame corner flat on a table. A bevel cut is when you tilt the saw blade itself, changing the vertical angle. This is often used for crown molding or angled window sills. Many miter saws can do both, making them “compound” miter saws.
For standard window trim, you’ll primarily be making miter cuts at 45 degrees. Sometimes, you might need a slight bevel if your window frame isn’t perfectly plumb or square. But don’t worry, we’ll focus on the basics first.
Calibrating Your Miter Saw for Accuracy
Even new saws can be slightly off. It’s smart to check your saw’s calibration. Use a reliable square to test if your 90-degree and 45-degree stops are truly accurate. If they’re not, most saws have adjustment screws. This simple check can save you a lot of frustration with ill-fitting joints later on.
We found that taking a few minutes to calibrate pays off big time. You’ll get much tighter, professional-looking joints.
Measuring and Marking Your Trim Pieces
Accurate measurement is critical. “Measure twice, cut once” isn’t just a saying; it’s a golden rule in trim work.
Taking Precise Window Measurements
Start by measuring the window opening itself. You’ll need the width for the top and bottom pieces, and the height for the side pieces. Measure from the shortest point to the shortest point for inside measurements, or longest to longest for outside. Always measure in at least three places for each dimension – top, middle, and bottom/sides – as windows are rarely perfectly square.
When you measure the length of your trim, remember to account for the miter angle. For a standard picture frame miter, your trim piece will be longer than the actual window opening to create the overhang. Many pros mark directly on the trim piece after holding it up to the window, which can be very effective.
Marking Your Cut Lines Clearly
Use a sharp pencil to mark your cut lines. Make a small, clear line. When you’re making miter cuts, it’s important to mark which side of the line is the “waste” side. We often draw a small “X” on the part you’re going to cut off. This helps prevent mistakes, especially when you’re making cuts for different sides of the window.
Consider using a speed square to extend your pencil lines all the way across the trim. This ensures your cut is square to the edge of the board, which is especially important for compound angles or larger trim pieces.
Making Your Miter Saw Cuts
Now for the fun part: making the cuts! Always prioritize safety and take your time.
Setting Up for a 45-Degree Miter Cut
For standard window trim corners, you’ll be making 45-degree miter cuts. To do this, simply set your saw’s miter angle to 45 degrees. Remember, the two pieces of trim meeting in a corner will each have a 45-degree angle, adding up to a perfect 90-degree corner. Think of it like a puzzle piece. You can learn more about how to cut picture frame corners for perfect 45-degree joints in our detailed guide.
When cutting the first piece of your window trim, cut one end at 45 degrees. Then, hold the trim piece up to the window to mark the exact length for the other end. This “cut-to-fit” method helps you account for any slight inaccuracies in your window opening. It’s often called “fitting in place.”
The “Cut Long, Trim Short” Principle
This is a brilliant technique for achieving snug joints. Always cut your trim piece slightly longer than your measurement (perhaps by an 1/8th of an inch). Then, you can make very small, thin “shaving” cuts until the piece fits perfectly. It’s much easier to take a little more off than to add wood back on, right?
Many experienced carpenters use this method. It helps you sneak up on the perfect length, ensuring a tight, seamless fit (University of Missouri Extension).
Dealing with Inner and Outer Corners
Window trim generally has outer corners. The top and bottom pieces will have miter cuts angled away from the center of the trim. The side pieces will have corresponding angles that meet them. It’s all about how the pieces “wrap” around the window. Imagine the trim forming a picture frame around your window. The long point of your miter cut for the top and bottom pieces will be on the outside edge of the trim, and the short point on the inside edge. The opposite is true for the side pieces.
If you’re unsure, practice on scrap wood. It’s much better to make mistakes on cheap wood than on your good trim material. We found that a few practice cuts help build your confidence.
Achieving Professional-Looking Joints
The goal is invisible joints. A good fit means less filling and sanding.
Using Wood Glue for Strength
Apply a thin bead of wood glue to the mitered edges before joining them. This adds significant strength to the joint and helps prevent separation over time. Wipe away any excess glue immediately with a damp cloth. A strong joint will keep your trim looking great for years to come.
Nailing Your Trim into Place
Once glued, secure the trim with a nail gun. Use brad nails or finish nails. Nail both sides of the miter joint to draw them together tightly. Aim your nails so they go into the window framing or studs, if possible, for the best hold. Use a nail set to recess the nail heads slightly below the surface, ready for wood filler.
Checking for Square and Level
As you install each piece, use a level to ensure your trim is straight and plumb. A speed square can confirm your corners are 90 degrees. Even small errors can be noticeable. Taking the time to check as you go means fewer adjustments later.
Troubleshooting Common Miter Saw Issues
Even with careful planning, things can sometimes go awry. Don’t worry, there are solutions!
When Your Miter Joints Don’t Close Properly
If your 45-degree miter joints have a gap, it usually means one of two things: your saw isn’t perfectly calibrated, or your walls/window opening aren’t perfectly square. Try adjusting your saw’s angle by half a degree or less and make a test cut. You can also try making a very slight “back-bevel” on one piece of the joint (less than 1 degree) so the back edges meet first, allowing the front to close tightly.
Sometimes, a slight gap can be filled with caulk later. But for the best look, try to get the tightest possible dry fit first. Think of it like fitting a puzzle piece – small adjustments make a big difference.
Preventing Tear-Out on Trim Pieces
Tear-out happens when the saw blade rips wood fibers at the edge of the cut. A sharp, fine-tooth blade is your best defense. You can also place a piece of painter’s tape over your cut line before cutting. The tape holds the fibers down, resulting in a cleaner edge. Another trick is to use a “zero-clearance insert” on your saw, which supports the wood right up to the blade.
| Problem | Common Cause | Solution |
|---|---|---|
| Gap in Miter Joint | Saw not calibrated, uneven walls | Calibrate saw, small angle adjustments, back-bevel |
| Tear-Out on Cut Edge | Dull blade, coarse blade, unsupported wood | Use fine-tooth blade, apply painter’s tape, zero-clearance insert |
| Piece Too Short | Inaccurate measurement, wrong cut direction | Measure carefully, cut long and trim, double-check mark |
| Uneven Surface | Dust/debris on saw fence, material not flat | Clean saw, ensure wood is flat against fence and table |
Final Touches for a Seamless Finish
Almost there! These last steps ensure your hard work looks its best.
Filling Nail Holes and Gaps
Once your trim is installed, use wood filler to cover all nail holes. For small gaps in your miter joints or between the trim and the wall, a high-quality paintable caulk is your best friend. Apply it smoothly, and then wipe away excess with a damp finger or cloth for a clean line. This step truly gives your project a professional, finished look.
Sanding and Painting
Lightly sand the filled areas once dry. Then, your trim is ready for paint. Many experts recommend priming bare wood trim first, especially if you’re using a lighter paint color. Two coats of good quality paint will make your new window trim shine.
Congratulations, you’ve successfully cut and installed your window trim with a miter saw! We found that with practice, each project gets easier and the results get even better. You’ve got this!
Your Window Trim Cutting Checklist:
- Double-check saw calibration.
- Measure window openings precisely, accounting for overhang.
- Make test cuts on scrap wood to verify angles.
- Cut all trim pieces slightly long and trim to fit.
- Apply wood glue to all mitered joints.
- Use a nail gun to secure trim, nailing into framing.
- Fill nail holes and caulk any gaps.
Conclusion
You’ve now got the essential knowledge to confidently tackle your window trim project with a miter saw. Remember, precision in measuring, proper saw calibration, and the “cut long, trim short” method are your best friends. We’ve found that patience and practice truly pay off, leading to those satisfyingly tight joints. Don’t rush the process, and always prioritize your safety. Grab your saw, trust your measurements, and get ready to transform your windows with a professional touch!
Frequently Asked Questions
What miter saw settings are best for cutting window trim?
For most standard window trim, you’ll set your miter saw to a 45-degree angle. This creates the corner joints where two pieces meet at 90 degrees. Make sure your saw is calibrated correctly for true 45-degree cuts.
How do I prevent splintering or tear-out when cutting trim?
Using a sharp, fine-tooth blade (60 teeth or more) is key to preventing tear-out. You can also place painter’s tape along your cut line. This helps hold down wood fibers, giving you a cleaner edge.
Should I use wood glue on mitered trim joints?
Absolutely! Applying a thin bead of wood glue to your mitered joints before nailing them significantly strengthens the bond. It helps prevent gaps from opening up over time and keeps your trim looking neat.
What if my window opening isn’t perfectly square?
It’s common for windows to be slightly out of square. The “cut long, trim short” method helps immensely here. You can also slightly adjust your miter angle by a fraction of a degree (e.g., 45.5 degrees) to close any small gaps you see.
How do I get the trim to fit snugly against the wall?
After nailing, use a high-quality, paintable caulk to fill any small gaps between the trim and the wall. Apply a thin bead and smooth it with a damp finger. This creates a clean, seamless look against your wall surfaces.
