
How to Cut a Hexagon with a Miter Saw?
Yes, you can absolutely cut a hexagon with a miter saw by making a series of precise angled cuts. You’ll need to set your miter saw to a 30-degree angle for each of the six sides. This method allows you to create a perfectly symmetrical hexagon for your woodworking projects.
Cutting a hexagon might seem tricky at first, but it’s quite manageable with the right setup. Understanding how to adjust your saw’s bevel and miter angles is key. We’ve researched common techniques and found that a repeatable 30-degree cut is the secret to success for a clean, professional look.
- Set your miter saw to 30 degrees.
- Make six equal cuts on your material.
- Ensure your measurements are precise for symmetry.
- Safety first! Always wear eye protection.
Let’s walk through exactly how to set up your miter saw and make those precise cuts for a beautiful hexagon.
“`htmlCrafting a Hexagon with Your Miter Saw
Cutting a perfect hexagon with a miter saw is totally achievable. You just need to understand a few key adjustments. We’ve found that a consistent 30-degree angle is the secret sauce for making all six sides of your hexagon.
This method relies on precise angles and careful measurement. It’s less about complicated techniques and more about understanding how your saw works. Let’s break down how to get those clean, symmetrical cuts that look professionally done.
Understanding Your Miter Saw’s Angles
Before you even think about cutting, let’s get acquainted with your miter saw. It has two main adjustment points: the miter angle and the bevel angle.
Miter Angle vs. Bevel Angle: What’s the Difference?
The miter angle controls the left-to-right swing of the blade. Think of it as turning your saw’s head. This is the angle you’ll be setting to 30 degrees for each side of your hexagon.
The bevel angle controls the tilt of the blade. Most often, you’ll want your blade to be perfectly vertical, which means a 0-degree bevel. For cutting a hexagon on the flat of your wood, you’ll keep the bevel at zero. If you were making a beveled edge on a hexagon, you’d adjust this, but for a standard shape, keep it at 0.
Setting the Miter Angle to 30 Degrees
The magic number for a hexagon is 30 degrees. Why 30? Because a full circle has 360 degrees, and a hexagon has six equal sides. If you divide 360 by 6, you get 60 degrees. This 60 degrees is the total angle between two opposing sides. The angle your saw makes, which is the angle between two adjacent sides, is half of that: 30 degrees.
So, your first step is to find the locking mechanism for your miter angle. It’s usually a lever or a knob. Unlock it, set the indicator precisely to 30 degrees, and then lock it back down firmly. You don’t want any slippage here.
Preparing Your Material and Saw Setup
Getting your workpiece ready is just as important as the saw settings. A little prep work prevents frustration down the line. We’ve found that clear markings make all the difference.
Marking Your Hexagon Lines
You’ll need to mark where each cut will go. For a symmetrical hexagon, each of your six sides needs to be the same length. Measure and mark the desired length for your first side. Then, at the end of that mark, measure and mark the starting point for your second side, ensuring it aligns with the angle you’ll be cutting.
A common method is to mark the center point of your hexagon. Then, you can measure out to each vertex. However, for cutting individual pieces to assemble later, you’ll focus on marking the length and angle of each side directly onto your material.
Securing Your Wood
Safety first! Always make sure your wood is held down securely. You can use your saw’s built-in clamp or add extra clamps. A wobbling piece of wood is a recipe for disaster and inaccurate cuts. You want the wood to be rock solid against the saw’s fence and the cutting surface.
Making Your First Cut (The 30-Degree Turn)
Start with your material firmly clamped. Set your miter saw to the Our guide on how to use a miter saw clamp details how to keep your workpiece secure for precise cuts.30-degree mark. Position your wood so that the blade will cut along your marked line. Make the cut. This is one side of your hexagon.
After this first cut, do NOT reset the miter angle. Leave it at 30 degrees. You’ll use this same angle, but turned the other way, for your next cut.
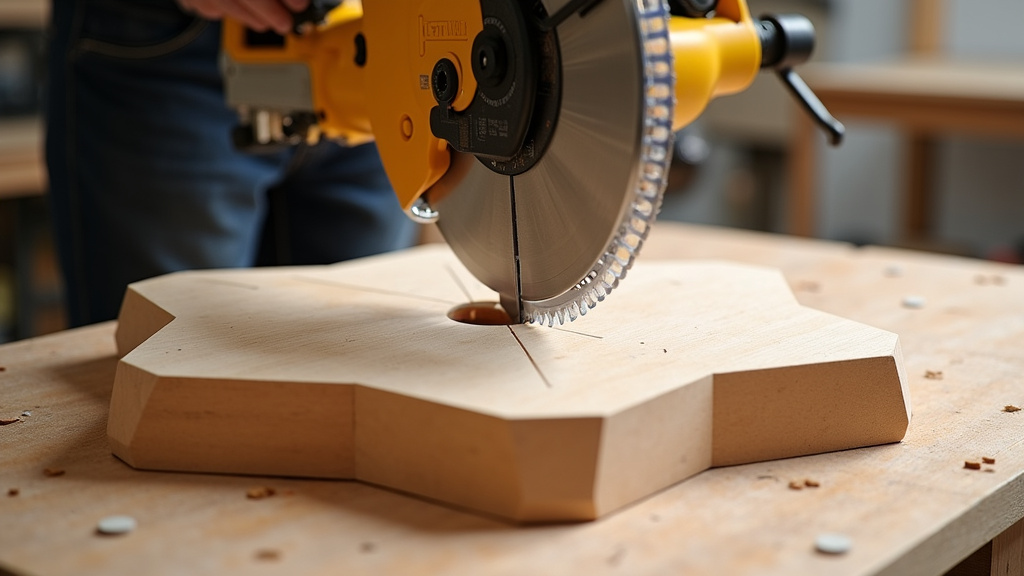
Cutting the Remaining Sides of Your Hexagon
Now that you have one side cut, you need to make five more. The key here is consistency and reversing the angle. Many woodworkers find it helpful to visualize the hexagon unfolding.
The Importance of Precise Measurements Between Cuts
After your first 30-degree cut, you need to reposition the wood for the next side. This is where your markings are vital. You’ll be setting up your saw at another 30-degree angle, but you need to decide if you’re cutting the next piece from the same board or if you’ve already cut a piece of the correct length.
If you are cutting pieces to assemble, measure the desired length of your second side. Then, position the wood so the saw’s 30-degree angle will cut this second side. Remember, the angle between each adjacent side of a hexagon is 120 degrees (exterior angle). Your saw’s miter adjustment creates one half of that, which is 60 degrees, meaning you make 30-degree cuts relative to the edge of the wood.
Alternating Your Cuts for Symmetry
To create a true hexagon, you’ll alternate the direction of your 30-degree cuts. If your first cut was at 30 degrees to the right, your next cut will be at 30 degrees to the left. This creates the necessary angles for the shape.
Let’s imagine you’re cutting pieces to assemble a hexagonal frame. You’d cut one piece with a 30-degree angle on one end. Then, you’d flip the wood or adjust your saw to the opposite 30-degree angle and cut the other end of that same piece, ensuring the length between the angled cuts is exactly what you need. Then, you repeat this process for all six sides.
Cutting a Full Hexagon from a Single Board
If you’re trying to cut a hexagon shape out of a larger piece of material, you’ll need to make a series of connected cuts. After your first 30-degree cut, you’ll pivot your saw to the other 30-degree setting (left if your first was right). Then, you’ll carefully measure out the length of the next side along the edge of your wood and make that cut.
You’ll continue this process, alternating your 30-degree cuts and measuring the precise length of each side. It’s like drawing a hexagon by only using 30-degree turns and a consistent line length. Think of it like making six slices of pizza, but each slice has a perfectly straight edge of the same length.
Checklist for a Perfect Hexagon Cut:
- Safety Gear: Always wear your safety glasses and hearing protection.
- Saw Setting: Confirm your miter angle is set exactly to 30 degrees.
- Bevel Check: Ensure your bevel angle is at 0 degrees for a flat cut.
- Secure Material: Clamp your wood firmly to the saw’s fence and base.
- Accurate Markings: Double-check your measured lines before each cut.
- Consistent Cuts: Maintain a steady hand and consistent speed through the wood.
It might seem like a lot of steps, but once you do it a couple of times, it becomes second nature. The key is that reliable 30-degree setting.
Tips for Clean and Accurate Cuts
Even with the right settings, a few extra tips can make your hexagon cuts look even better. We’ve gathered some advice that many experienced woodworkers swear by.
Blade Choice Matters
The type of blade you use on your miter saw can affect the finish. For cleaner cuts, especially on hardwoods, a blade with a higher tooth count is generally recommended. A 60-tooth or 80-tooth blade will give you a smoother surface, reducing tear-out and the need for extensive sanding later.
The Power of a Test Cut
Before you cut into your good material, always perform a test cut on a scrap piece. This lets you verify your angle settings and practice your technique. You can also check the blade’s alignment and ensure it’s cutting exactly where you expect it to.
Many experts suggest marking your desired cut line with a pencil. Then, align the blade’s edge (not the teeth) with your line. This helps account for the width of the blade’s kerf. You can also make a small pilot cut to see exactly where the blade enters the wood.
Sanding and Finishing Touches
Once all six sides are cut, you might have some minor splintering or rough edges. A little bit of sanding can go a long way. Start with a medium-grit sandpaper (like 120-grit) and finish with a finer grit (like 220-grit) for a smooth, ready-to-finish surface.
Taking your time with these small steps ensures your final hexagon piece is not only accurately shaped but also has a polished, professional appearance. It’s these details that really make your woodworking projects shine.
“`Conclusion
You’ve learned that cutting a hexagon with your miter saw is completely achievable by mastering the 30-degree miter angle. Remember to keep your bevel at 0 degrees for flat cuts and always prioritize safety with secure clamping and eye protection. Consistent measurements and alternating your cuts left and right are the keys to achieving that perfect, symmetrical shape.
Now, take this knowledge and head to your workshop! Practice on some scrap wood to build confidence. Your next woodworking project is one step closer to a beautifully crafted hexagon.
Frequently Asked Questions
What if my miter saw doesn’t have a 30-degree detent?
If your saw doesn’t have a precise notch or detent for 30 degrees, use the degree markings on the saw’s base and a reliable angle finder or protractor to set it accurately. Lock it down firmly once you’ve got the perfect setting.
How do I ensure all six sides of my hexagon are exactly the same length?
Use a measuring tape or ruler to mark the exact length for each side on your material. For maximum accuracy, use a stop block set to your desired length when making subsequent cuts from the same board.
Can I cut a hexagon from plywood or MDF?
Yes, you can cut hexagons from plywood and MDF. Just be sure to use a blade designed for cleaner cuts on sheet goods, and consider a higher tooth count blade to minimize tear-out. Always clamp your material securely.
What’s the best way to avoid tear-out on the edges of the hexagon?
A sharp blade with a higher tooth count will help. Also, consider using painter’s tape along your cut line. Some woodworkers also find it useful to make a shallow scoring cut first before making the full 30-degree cut.
Do I need a special blade to cut a hexagon?
You don’t need a special blade, but a good quality blade with a higher tooth count (like 60 or 80 teeth) will provide cleaner cuts and reduce splintering, especially on hardwoods. Make sure your blade is sharp for the best results.
