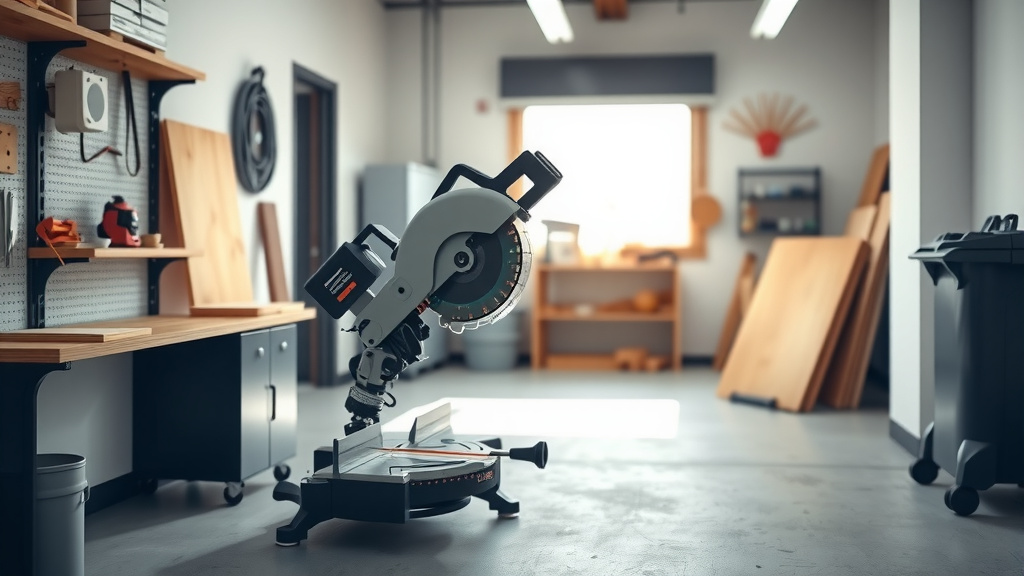
How to C-Clamp a Miter Saw to a Table
To c-clamp a miter saw to a table temporarily, clamp the saw’s mounting feet or base to a solid, level work surface, then check for movement before cutting. Use enough clamps to stop shifting, and follow the saw manual’s mounting and safety instructions.
On this page (7 sections)
To C-clamp a miter saw to a table temporarily, clamp the saw’s mounting feet or base to a solid, level work surface and check that it cannot slide, lift, or rock before cutting. Keep each clamp clear of the blade, fence, handle, and any moving parts.
This is a temporary mounting method, not a replacement for a permanent bolt installation when the saw manual or your work requires one. Read the manual first, and don’t use a table that flexes or shifts under pressure.
How do you c-clamp a miter saw to a table?
Set the saw on a stable table, position the clamps over secure parts of its base, and tighten them until the base stays put. The saw should sit flat with its fence and controls unobstructed.
- Put the table on a firm, level floor and lock or secure its legs.
- Set the saw near the table’s center, leaving room for the fence, handle, and workpiece.
- Find solid points on the saw base or mounting feet that a clamp can reach.
- Place a protective scrap between the clamp pad and any surface that could be marked.
- Tighten the clamps by hand until the base no longer shifts. Don’t force the handle.
- Push the saw gently from the front, sides, and top to check for movement.
The saw base should remain flat on the table as you tighten. If the clamp lifts one corner or pulls the base out of position, stop and choose a better clamp location or a different support.
For a wider overview of woodworking clamps, compare clamp types and the kinds of holding jobs they suit. A C-clamp is useful when its frame can reach the saw base and the table edge without blocking the cut.
Where should the C-clamps go?
Place clamps at sturdy parts of the saw base, near the table edge, where the clamp screw can press down without blocking the saw. The best location depends on the base shape and how much table edge is available.
Use two or more stable points if the saw can still twist around one clamp. Keep the clamp frame away from the blade path, sliding rails, fence adjustments, and any saw controls.
Don’t clamp thin plastic guards, handles, rails, or unsupported edges. If the saw has no reachable mounting feet or solid base points, use a support designed for that saw rather than improvising around delicate parts.
A C-clamp’s throat must reach from the table edge to the saw’s base. The IRWIN Quick-Grip C-Clamp has a 6 in clamping capacity and 3-1/2 in throat depth, so check your actual table and base dimensions before relying on it.
Its swivel pad is designed to reduce marring and improve stability, but a scrap of wood under the pad can add protection. Stop tightening when the base is secure; extra force can damage the table or saw.
How do you check the table before clamping?
Choose a table that stays level and steady under the saw’s weight and cutting movement. A wobbly or flexible surface can make a clamped saw unsafe even if the clamps are tight.
Check that the legs are fully open and locked, the floor is firm, and the top doesn’t flex when you press near the saw’s feet. Avoid narrow surfaces that leave the saw base partly unsupported.
The sliding miter saw table guide can help when you need a longer surface for a sliding saw. Long stock also needs support at the same height as the saw table so it doesn’t tip or pull the setup sideways.
The BORA Centipede Folding Work Table 2x4 ft is a portable work surface with a 30 in working height, steel construction, and included quick clamps. Check its setup instructions and capacity, and make sure the saw sits flat before clamping it.
A work table is only a base; it doesn’t automatically secure the miter saw. Confirm the saw itself is held firmly, and support long boards separately.
Can a mini bar clamp hold a miter saw?
A mini bar clamp is usually better suited to smaller workpieces than to securing a full miter saw. Its size and shape may not reach around the saw base and table edge.
The IRWINQUICK-GRIPOne-Handed Mini Bar Clamp has a 6 in jaw opening, a 2-7/16 in throat depth, and non-marring pads. Those features can help hold a small workpiece or positioning block, but don’t assume it can anchor the saw.
Use a clamp for the saw only if it reaches a solid base point, fits the table, and passes the movement check. If it cannot do all three, choose a larger clamp or a mounting method approved by the saw manufacturer.
What should you check before making a cut?
Make sure the saw, table, clamps, and stock all stay in position before starting the motor. A secure saw can still be unsafe if a board shifts or hangs unsupported.
Check that:
- The table is level, steady, and fully set up.
- The saw base sits flat and cannot rock.
- Clamps are tight and clear of moving parts.
- The fence and blade path are unobstructed.
- Long material has support at the saw’s table height.
- The saw’s guard and controls move freely.
Wear eye and hearing protection, keep your hands out of the blade path, and wait for the blade to stop before reaching near the cut area. Follow the saw manual for operating and mounting instructions.
If the saw moves during the check or while cutting, stop and unplug it before adjusting the setup. Don’t try to hold a shifting saw in place by hand.
When should you bolt the saw down instead?
Use a permanent bolt installation when the saw manual calls for it or when temporary clamps cannot keep the saw stable. For a Keter bench, see how to attach a miter saw using an approved mounting method.
Bolts through suitable mounting points provide a fixed connection for a dedicated bench or stand.
Clamps can be useful for occasional work, shared tables, or temporary setups, but they need to be checked each time. For a permanent station, compare miter saw table saw workbench plans and build around the saw’s mounting pattern and support needs.
Choose a location with room for the saw to operate and for long stock to rest level. This guide to where to put a miter saw covers placement factors such as access and workspace.
For clamp selection, see our Best Miter Saw Clamp guide. For placement and safe use during a cut, read how to use a miter saw clamp.
What is the safest temporary setup?
A safe temporary setup has a flat, sturdy table, clamps attached to solid points on the saw base, and separate support for long stock. Test for movement before every cut and stop if anything shifts.
Choose a C-clamp when its throat reaches the base and table edge securely. Pick a larger or purpose-built support if the clamp can’t reach, the table flexes, or your saw manual requires fixed mounting.
Frequently asked questions
Can you use C-clamps to hold a miter saw to a table?
Yes, C-clamps can hold a miter saw base temporarily if the table is sturdy, the clamps reach the mounting feet, and the saw cannot shift or rock. Use the saw’s manual for mounting guidance, keep clamps clear of moving parts, and check stability before every cut.
How many clamps do you need to secure a miter saw?
Use enough clamps to keep the saw base from sliding, lifting, or rocking; the number depends on the base, table, and clamp positions. Place clamps at stable mounting points, then push the saw gently from several directions to check for movement before plugging it in.
Can you clamp a miter saw to a folding workbench?
You can use a folding workbench only if it is set up on a firm, level floor and supports the saw without rocking. Check the workbench’s instructions and capacity, secure the saw with clamps that fit the base, and support long stock separately.