How to Cut a Coped Joint on Baseboard with a Miter Saw?
On this page (5 sections)
You can absolutely cut a coped joint on baseboard with a miter saw, and it’s the You can absolutely cut baseboards with a miter saw, and it’s the most professional-looking way to handle inside corners.most professional-looking way to handle inside corners. For a different wall trim project, learn how to cut chair rail with a miter saw. This technique creates a tight, gap-free fit. Getting this perfect joint is easier than you think with the right setup.
A coped joint involves cutting one piece of baseboard at an angle and then shaping its edge to match the profile of the other piece. This allows the baseboards to fit snugly against each other, even if your walls aren’t perfectly square. Many pros prefer this method for its superior appearance.
- Cut one piece square.
- Cut the second piece at an angle to match the wall.
- Use a coping saw or jigsaw to remove excess material.
- Fit the coped piece snugly against the first.
Let’s walk through exactly how to achieve this clean corner using your miter saw and a few other key tools. You’ll be surprised how good your baseboards look.
Mastering Baseboard Inside Corners: The Miter Saw Coped Joint Method
You can absolutely achieve a professional-looking coped joint on your baseboard trim with a miter saw. This technique is the secret to those gap-free inside corners you see in beautifully finished rooms. It’s the best way to handle walls that aren’t perfectly square. Learning this skill will make your trim work look significantly more polished.
Why Choose a Coped Joint for Your Baseboards?
So, why go through the extra step of coping? Unlike a simple miter joint, which can easily gap open if walls aren’t at a perfect 90-degree angle, a coped joint allows your baseboard to flex and conform to the wall’s contour. It creates a snug fit that looks like it grew there. Many professional trim carpenters rely on this method for its superior aesthetic and reliability. It’s the mark of quality craftsmanship.
The Coped Joint vs. The Mitered Joint
Let’s break down the difference. A standard inside corner uses two pieces of baseboard cut at 45-degree angles, meeting in the middle. This works great for perfect corners. However, most walls are a little off. A coped joint takes one piece and cuts it square to meet the adjacent wall. The second piece is then cut at an angle (a reverse miter) and shaped with a coping saw or jigsaw to match the profile of the first piece. This creates an overlapping, interlocking fit that’s much more forgiving. For another way to join trim lengths, see our guide to cutting a scarf joint.
Tools You’ll Need for Coped Joints
You’re probably already familiar with most of these, but let’s run through them. Your trusty miter saw is the star here. You’ll also need a coping saw or a jigsaw for the shaping part. Safety glasses are a non-negotiable for any power tool use. A pencil for marking and a tape measure are essential. Some people like to use a small file or sandpaper to smooth the edges after coping. Don’t forget your baseboard trim, of course!
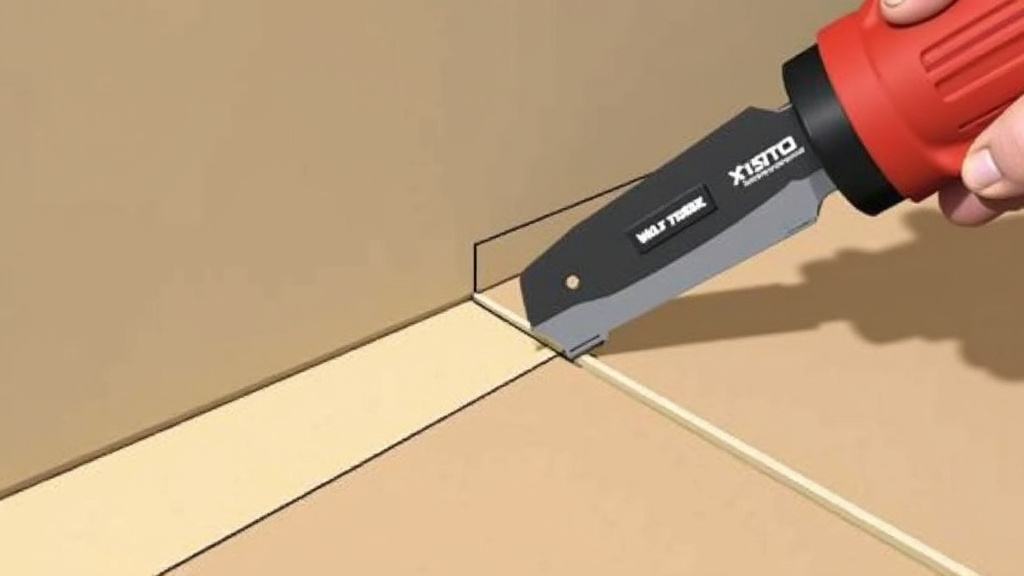
Setting Up Your Miter Saw for Coped Joints
This is where the magic begins. You need to set up your miter saw correctly to get that angled cut. It might feel a little backward at first, but trust the process. We’ll walk you through it step-by-step.
The Crucial Angle Cut: Setting Your Miter Saw
For an inside corner, one piece of baseboard will be cut square. This is the piece that sits against the wall that’s staying as is. The other piece needs that special angle. For a standard 90-degree inside corner, you’ll typically set your miter saw to 31.6 degrees. Wait, what? Why not 45 degrees? This is a common point of confusion. Many experts recommend a 31.6-degree cut because it provides a better surface area for the coping saw to work with, and it creates a more robust joint. You’re essentially cutting a “reverse miter” on the back of the baseboard. It sounds complicated, but it’s straightforward once you see it.
Here’s how to set it up:
- Adjust your miter saw’s bevel or miter angle.
- For most inside corners, you’ll want to set the saw to 31.6 degrees.
- Ensure the blade will cut into the “face” of the baseboard, not the back.
- This angle effectively prepares the trim for the coping saw work.
Making the Initial Angled Cut
Now, let’s make that cut. Place your baseboard firmly against the saw’s fence. Position it so the blade will cut at the 31.6-degree angle. Remember, you’re cutting the back edge at an angle, which will appear as a straight cut from the front once the excess is removed. Make the cut while holding the baseboard securely. Always remember to let
Conclusion
You’ve learned how to master coped joints for your baseboard trim using a miter saw. This technique, while requiring a bit of practice, offers a professional, gap-free finish that standard miter joints can’t match, especially on imperfect walls. Remember, the key is that specific 31.6-degree angle cut and careful shaping with your coping saw or jigsaw. Take your time with the setup and the cuts. Your next inside corner will look fantastic! Start practicing on scrap pieces to build your confidence before tackling your walls.
Frequently Asked Questions
What if my inside corner isn’t a perfect 90 degrees?
That’s exactly why the coped joint is so useful! It’s designed to handle walls that aren’t perfectly square. The shaped edge of your coped piece will conform to the wall’s contour, creating a snug fit even if the angle is slightly off.
Do I really need to use a 31.6-degree angle cut? Why not 45 degrees?
While a 45-degree cut might seem intuitive for a corner, research and expert practice show that 31.6 degrees provides a better surface for the coping saw to work with. This angle helps create a more robust and easier-to-shape edge, leading to a cleaner final joint.
Can I use a regular miter saw blade for this cut?
Yes, your standard miter saw blade will work fine for the initial angled cut. The angle is set on the saw itself, not by changing the blade. The precision of the miter saw is what ensures the correct starting angle before you shape the profile.
How do I know which piece to cope and which to cut square?
Typically, you’ll cut the piece that goes against the wall that is “less visible” or the wall that’s more consistently flat square. Then, you’ll cope the second piece to fit snugly against the first piece and the wall. It’s often easier to make the more precise, shaped cut on the piece that will be most visible.
What’s the best way to smooth the coped edge before installation?
After cutting with your coping saw or jigsaw, you’ll want to smooth out any rough areas. A small file or medium-grit sandpaper works well for this. Gently file or sand the edge until it feels smooth and can sit flush against the profile of the first piece of baseboard.