
How to Cut Baseboards with a Miter Saw?
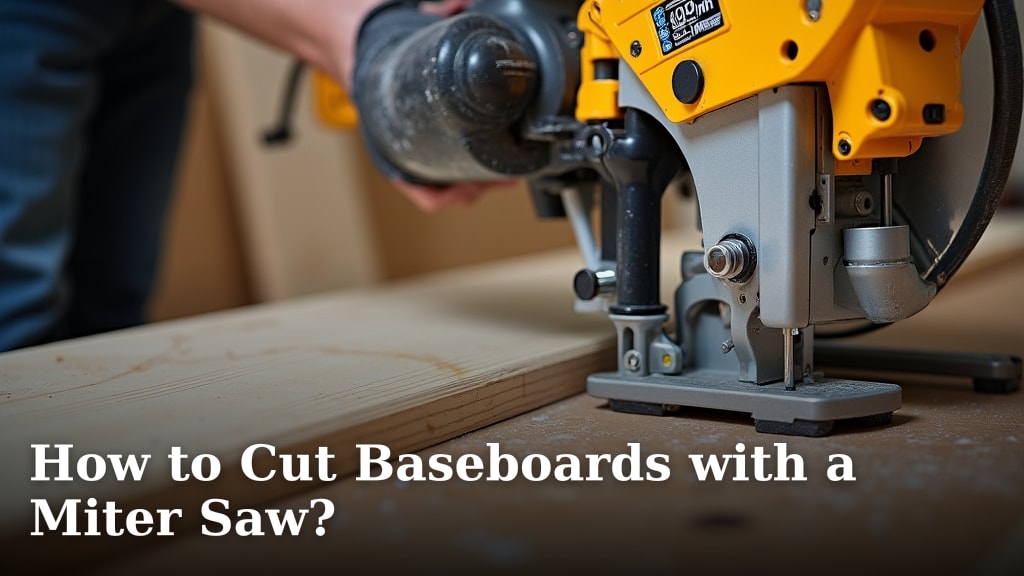
To cut baseboards with a miter saw, you first set the correct angle for your cut, usually 45 degrees, then firmly hold the baseboard against the fence and make a smooth, controlled pass through the wood. The key is to measure twice and cut once, ensuring your angles are perfect for a tight fit on your walls.
While it might seem tricky at first, mastering your miter saw for baseboard installation can save you a lot of time and frustration. We’ve found that proper setup and understanding your measurements are critical for clean joints. Are you ready to tackle those corners?
- Measure angles carefully
- Set your miter saw correctly
- Use proper safety gear
- Cut slowly and steadily
- Test fit before final installation
Let’s walk through exactly how to achieve those professional-looking baseboard cuts, step by step.
Mastering Baseboard Cuts with Your Miter Saw
Cutting baseboards with a miter saw might seem like a daunting task, but with the right approach, you can achieve professional-looking results. We’ll guide you through the essential steps, from setting up your workspace to making those perfect corner cuts.
Safety First: Protecting Yourself While You Work
Before you even plug in your saw, think about safety. Your miter saw is a powerful tool. It demands respect. Many woodworking safety guidelines stress the importance of personal protective equipment (OSHA).
Essential Safety Gear Checklist
- Eye Protection: Always wear safety glasses or goggles. Sawdust and splintered wood can fly unexpectedly.
- Hearing Protection: Miter saws are loud. Earmuffs or earplugs are a must to protect your hearing over time.
- Dust Mask: Cutting wood creates fine dust, which isn’t good for your lungs. A dust mask can keep you breathing easy.
- No Loose Clothing or Jewelry: Anything that can get caught in the blade is a hazard. Tie back long hair too.
- Gloves (Optional, but Recommended): Protect your hands from splinters and give you a good grip.
Remember, a safe worker is a happy worker. Don’t skip these steps. Your health is worth it.
Setting Up Your Workspace for Success
A well-prepared workspace is key to making accurate and safe cuts. Think of it as preparing a pilot for takeoff. You wouldn’t want them doing pre-flight checks in a cramped, dark space, right?
Ensuring a Stable Saw and Ample Support
Place your miter saw on a stable workbench or a dedicated miter saw stand. It needs to be firm. Wobbly saws can lead to inaccurate cuts and dangerous situations. We’ve found that a solid base dramatically improves cutting precision.
You’ll also need support for your baseboards. Long pieces of wood will sag without it. Use sawhorses, roller stands, or extension wings on your saw stand. This keeps the wood level with the saw’s cutting surface, preventing twists and ensuring a straight cut.
Lighting and Clearance
Good lighting is crucial. You need to see your measurements and cut lines clearly. If your workspace is dim, add a work light. Also, make sure you have enough room around the saw to maneuver long baseboard pieces without bumping into anything.
Understanding Your Baseboard Measurements and Angles
This is where the magic happens – or doesn’t, if your measurements are off! “Measure twice, cut once” isn’t just a catchy phrase; it’s a golden rule. Incorrect measurements are the leading cause of wasted material.
Basic Inside and Outside Corners
Most rooms have 90-degree corners. To fit baseboard neatly into these corners, you’ll typically make a 45-degree cut on each piece. When joined, these two 45-degree cuts form a perfect 90-degree angle. This applies to both inside and outside corners.
For an inside corner, the back of the baseboard (the part against the wall) will be longer than the front. For an outside corner, the front of the baseboard will be longer. This can be a bit mind-bending at first, but practice makes it clear.
Coping vs. Miter Cuts for Inside Corners
While we’re focusing on miter cuts, it’s worth knowing about coping. For inside corners, many professionals prefer coping one piece of baseboard. This involves cutting the profile of one piece to fit perfectly against the face of another. It handles wall imperfections better than two mitered pieces. However, cutting both pieces with a 45-degree miter is a popular and effective method, especially for DIYers.
Setting Your Miter Saw for the Cut
Now, let’s get down to the essential settings on your saw. Don’t rush this part. Your saw has specific controls designed for precision.
| Angle Type | Knob/Lever | Typical Setting | Purpose |
|---|---|---|---|
| Miter Angle | Turntable/Base Lever | 45 degrees | Rotates the blade left or right for angled cuts on the horizontal plane. Essential for corners. |
| Bevel Angle | Blade Tilt Lever | 0 degrees | Tilts the blade for angled cuts on the vertical plane. Usually 0 for baseboards unless combining with miter. |
| Depth Stop | Adjustable Screw | Full Depth (or set for specific dado/rabbet cuts) | Limits how far the blade can plunge. Less common for standard baseboard cuts. |
Adjusting the Miter Angle
Locate the Miter Angle adjustment on your saw. This is usually a lever or knob that allows the saw’s cutting head to swivel left or right on its base. For standard corners, you’ll set this to 45 degrees. Some saws have detents (preset stops) at common angles like 0 and 45 degrees. Use them! They help ensure accuracy.
Checking the Bevel Angle
Most baseboard cuts will have a 0-degree bevel angle. This means the blade is perfectly vertical. Check your saw to ensure the blade isn’t tilted. There’s usually another lever or knob for adjusting the bevel, allowing the blade to tilt to the left or right. Keep it at 0 unless your walls are very uneven or you’re doing something fancy.
Making the Cut: Precision and Control
With safety in mind and your saw set up, it’s time to cut. This is where a steady hand and good technique pay off.
Guiding the Baseboard and Aligning the Blade
Place your baseboard firmly against the saw’s fence. The fence is the vertical backstop your material rests against. Hold the baseboard with your non-dominant hand, keeping your fingers well away from the blade’s path. Many experts say to keep your hands at least 6 inches from the blade (Power Tool Institute).
Align your cutting line on the baseboard with the saw’s blade. Some saws have a laser guide, which can be super helpful, but always double-check the actual blade’s path by lowering it manually without powering it on. You want to cut on the waste side of your line, leaving the measurement intact.
The Cutting Motion
Turn on the saw and allow the blade to reach full speed before beginning your cut. Slowly and steadily lower the blade through the baseboard. Don’t force it. Let the blade do the work. Once the cut is complete, keep the blade lowered until it stops rotating, then raise it. This prevents tear-out on the wood.
For long pieces, your extra support stands will really prove their worth here. They prevent the wood from dropping and splintering as you cut.
Troubleshooting Common Baseboard Cutting Issues
Even with careful preparation, you might run into issues. Don’t get discouraged; it’s part of learning.
Gaps in Corners
If your corners have small gaps, the angle might be slightly off. Your walls are rarely perfectly 90 degrees. You might need to adjust your miter saw’s angle by a degree or two (e.g., 44 or 46 degrees) to achieve a tighter fit. A good trick is to use a scrap piece to test your angle before cutting your final baseboard.
Also, make sure the baseboard is held tightly against the fence during the cut. Any movement can throw off the angle.
Tear-Out on the Wood
When the blade exits the wood, it can sometimes splinter the edges, known as tear-out. To minimize this:
- Use a sharp blade designed for fine woodworking.
- Apply masking tape along your cut line before cutting.
- Use a zero-clearance insert on your saw (if available).
- Support the wood fully on both sides of the cut.
- Lower the blade slowly after the cut is complete.
Final Checks Before Installation
You’re almost there! Before you nail those freshly cut baseboards to the wall, do these quick checks.
Pre-Installation Checklist:
- Are all cuts smooth and free of tear-out?
- Do the corner pieces fit together snugly without large gaps?
- Is the orientation of each piece correct (left vs. right)?
- Are there any pencil marks that need erasing?
- Are you happy with the appearance of your first perfect corner?
Making a test fit for all your corner pieces is a fantastic idea. It allows you to make minor adjustments before you commit to fastening them permanently. Think of it as a dry run. If it fits well now, it’ll look amazing on the wall.
Conclusion
You’ve now got the tools and knowledge to confidently cut baseboards with your miter saw. Remember, safety always comes first. Take your time setting up your saw and workspace. Precise measurements and careful cuts will prevent frustrating gaps and wasted material. With each cut, you’ll gain skill and confidence. We’ve seen that patience and attention to detail bring the best results.
Now, go put these tips into practice. Your next home improvement project awaits your perfect mitered corners.
Frequently Asked Questions
Can I cut baseboards with a hand saw if I don’t have a miter saw?
Yes, you can. A miter box and a sharp hand saw can achieve similar results for angled cuts. It requires more effort and may not be as precise, but it’s a viable option for small projects or if you’re on a budget.
What kind of miter saw blade is best for cutting baseboards?
For clean baseboard cuts, use a blade with a high tooth count, typically 60-80 teeth for a 10-inch saw. A higher tooth count creates a smoother finish and reduces splintering on delicate trim work.
How do I get perfect outside corners even if my walls aren’t exactly 90 degrees?
If your walls aren’t perfectly square, you’ll need to use a T-bevel or angle finder to measure the exact corner angle. Then, divide that measurement by two to find the correct miter saw setting for each piece of baseboard.
Is it better to cut baseboards a little long or a little short?
It’s generally better to cut baseboards slightly long. You can always trim a little more off if needed. If you cut too short, you’ll have a gap that’s much harder to fix.
Why does my baseboard tear out on the top edge even with a sharp blade?
Tear-out on the top edge often happens when the baseboard lifts slightly during the cut. Ensure you’re holding the baseboard firmly against the fence and the saw’s table throughout the entire cutting motion. Using a zero-clearance insert can also help.
