
How to Cut Hardwood Flooring with a Miter Saw?
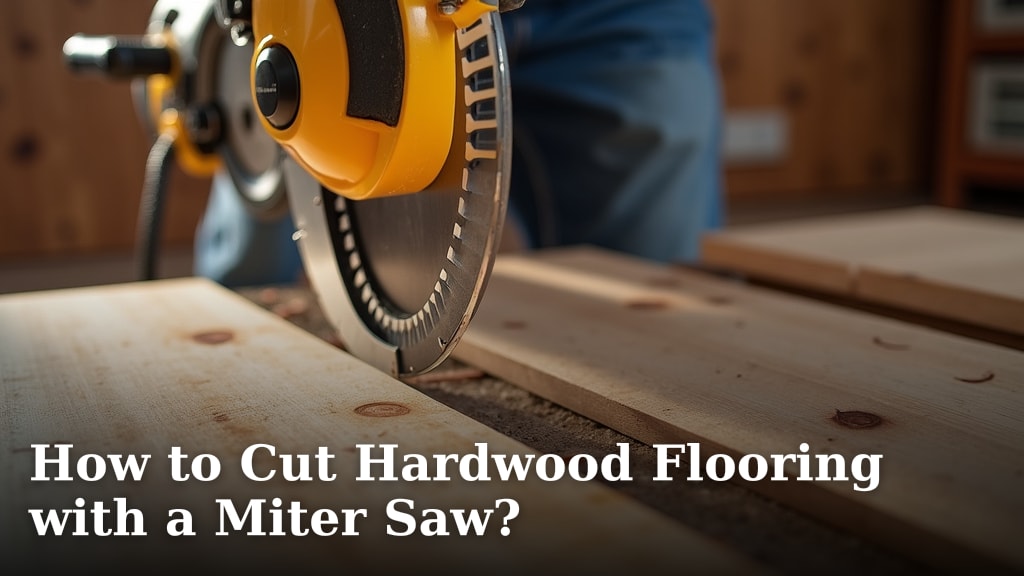
The easiest way to cut hardwood flooring with a miter saw is by using a sharp, high-tooth-count blade and setting up your saw correctly. This method helps you achieve clean, precise cuts for a professional finish.
You want to avoid splintering the wood, which often happens with the wrong blade or technique. We found that taking your time and ensuring your measurements are accurate prevents costly mistakes. A good setup makes all the difference when you cut hardwood flooring.
- Choose the right miter saw blade.
- Measure your cuts carefully.
- Set up your workspace safely.
- Make clean, accurate cuts.
Ready to make those perfect cuts for your new hardwood floor? Let’s walk through exactly how to use your miter saw for this task, step by step.
Making Perfect Cuts in Hardwood with Your Miter Saw
Cutting hardwood flooring needs the right tools and a little know-how. You want each piece to fit perfectly, right? We’ll show you how to get those clean, professional cuts every time.
Choosing the Right Miter Saw Blade
Your miter saw is only as good as its blade when cutting hardwood. This isn’t just about making a cut; it’s about making a clean cut without splintering. The right blade makes all the difference.
Tooth Count and Material
For hardwood, you need a blade with a high tooth count. We’re talking 60 to 80 teeth, or even more for very fine cuts. More teeth mean smaller bites into the wood, resulting in a smoother finish. A lower tooth count, like 24 or 40 teeth, is great for framing but will likely tear out your hardwood, creating ugly splinters.
Look for blades with carbide-tipped teeth. Carbide stays sharp much longer than standard steel, especially when working with dense hardwood. A dull blade can quickly ruin your flooring material.
Blade Geometry
The shape of the teeth also matters. An Alternate Top Bevel (ATB) or High Alternate Top Bevel (Hi-ATB) blade works very well for hardwood. These teeth alternate their angle, slicing through the wood fibers cleanly. This design helps to prevent tear-out on both the top and bottom of your flooring boards.
Some blades also have a “negative hook angle.” This means the teeth angle backward slightly. A negative hook angle can make the saw feel a bit safer and less aggressive when cutting dense materials, giving you more control.
Setting Up Your Workspace Safely and Efficiently
Before you make any cuts, take a moment to set up your area. A safe and organized workspace Ensuring your miter saw is properly aligned is also part of creating a safe and organized workspace. not only protects you but also helps you work more accurately. Think of it like a chef preparing their ingredients before cooking; it makes the whole process smoother.
Essential Safety Gear
Safety first, always! When operating a miter saw, you absolutely need to wear safety glasses or goggles. Wood chips and dust can fly at high speeds. Hearing protection is also a must. Saws are loud, and prolonged exposure can damage your hearing. Many experts recommend protecting your hearing when using power tools (National Institute for Occupational Safety and Health).
Consider wearing a dust mask, especially if you’re making many cuts. Hardwood dust can be fine and irritating to your lungs. We found that even a simple disposable mask makes a big difference.
Stable Saw and Supports
Your miter saw needs to be on a stable, level surface. A dedicated miter saw stand is ideal, but a sturdy workbench works too. Make sure the saw won’t wobble or tip during operation. Secure it if necessary.
Hardwood flooring boards can be long. You’ll need supports on both sides of the saw to keep the wood level. Roller stands or adjustable saw horses are perfect for this. When the wood is fully supported, it won’t bind or shift, leading to a much safer and more accurate cut.
Accurate Measurement and Marking Techniques
Measure twice, cut once – it’s a classic saying for a reason! Precision in measuring and marking is key to a successful flooring installation. You don’t want gaps or short pieces, do you?
How to Measure Correctly
Use a reliable tape measure. Make sure it’s straight and not bent at the end. When measuring, account for any expansion gaps needed around the perimeter of your room. Your flooring manufacturer will have recommendations for this.
Measure from the factory-cut end of your flooring board. If you’re cutting a piece that needs to fit between two existing points, measure that distance precisely. Don’t eyeball it! We found that getting down to eye level with your tape measure can prevent errors.
Marking Your Cut Line
Once you have your measurement, mark the board with a sharp pencil or a fine-point marker. A thin, clear line is much better than a thick, fuzzy one. Accuracy here directly translates to the quality of your finished floor.
Many pros mark a small “X” on the waste side of the line. This helps you remember which side of the line the blade should cut on. The blade itself has thickness, and you want that thickness to remove material from the piece you’re throwing away, not the piece you’re keeping.
Making the Cut: Step-by-Step Process
Now for the main event! With your setup ready and measurements marked, you’re prepared to make some perfect cuts. Take your time and focus on each step.
Positioning the Hardwood Board
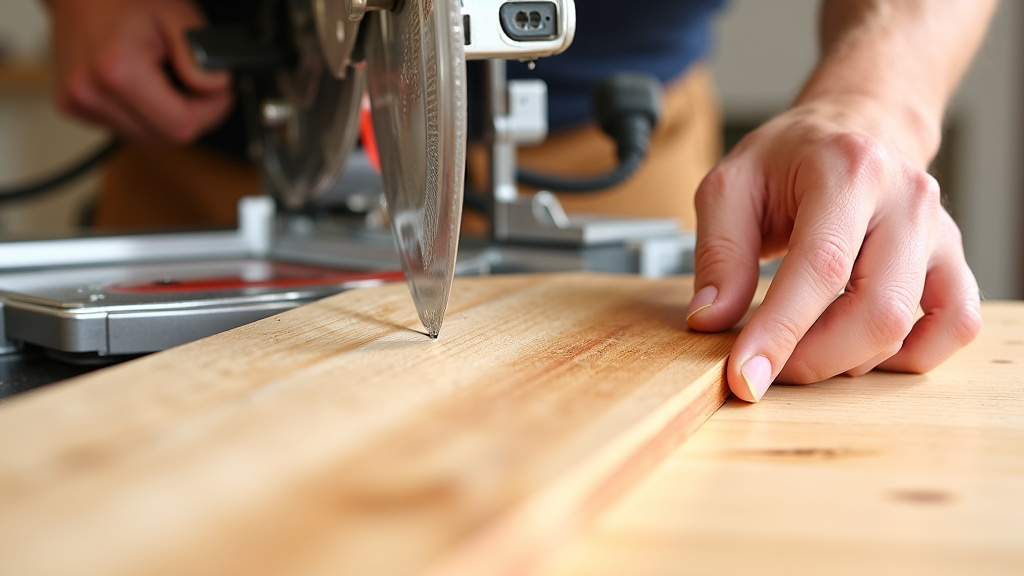
Place your hardwood board on the miter saw table. Align your pencil mark with the blade. Remember that “X” you drew? Make sure the blade will cut on the waste side of your line. If you’re unsure, do a quick “dry run” with the saw off to confirm alignment.
Hold the board firmly against the fence of the saw. The fence helps keep your cut straight and prevents the board from moving sideways. You want the board to be completely stable and flat against the saw table.
Executing the Cut Smoothly
With the board securely in place, turn on the saw. Let the blade reach full speed before you begin the cut. This helps ensure a cleaner start and reduces the chance of splintering. Don’t just plunge the blade in; let it spin up.
Gently and steadily bring the blade down through the hardwood. Don’t force it. Let the saw do the work. A smooth, consistent motion will give you the best results. Once the cut is complete, allow the blade to stop spinning before raising it completely from the board.
Tips for Reducing Splintering and Tear-Out
Nobody wants a jagged edge on their beautiful new floor. Avoiding splintering is a common challenge with hardwood, but there are some tricks to help.
Using a Zero-Clearance Insert
If your miter saw allows it, a zero-clearance insert can dramatically reduce tear-out. This is a piece of wood or plastic that fits snugly around your saw blade opening. It provides support to the wood fibers right where the blade exits, preventing them from blowing out.
You can often buy these inserts or even make your own if you’re handy. We found that this simple addition makes a noticeable difference in cut quality.
Backer Board Technique
Another excellent method for preventing tear-out is to use a sacrificial backer board. This is just a scrap piece of wood placed directly underneath your hardwood flooring where the blade will exit. When you cut through your hardwood, the blade also cuts into the backer board.
The backer board provides support to the fibers on the underside of your flooring, essentially tricking the blade into thinking it’s still cutting continuous material. This results in a much cleaner exit cut and reduces splintering significantly.
Troubleshooting Common Miter Saw Issues with Hardwood
Sometimes things don’t go perfectly, and that’s okay. Knowing how to fix common problems can save you frustration and material.
| Problem | Possible Cause | Solution |
|---|---|---|
| Splintered Cuts | Dull blade, low tooth count, wrong blade type, forcing cut | Use a sharp, high-tooth-count carbide blade. Use a backer board or zero-clearance insert. Let saw reach full speed. |
| Uneven Cuts | Board not stable, fence not square, saw blade deflection | Ensure board is firmly against fence and table. Check fence for squareness. Inspect blade for damage or wobble. |
| Blade Binding | Forcing cut, wood pinching blade, dull blade | Do not force the cut. Ensure wood is fully supported. Replace or sharpen the blade. |
| Burning Wood | Dull blade, forcing cut, too slow feed rate | Replace or sharpen blade. Maintain a consistent, appropriate feed rate. Don’t linger during the cut. |
Checklist for Cutting Hardwood Flooring with a Miter Saw
Here’s a quick checklist to help you remember the key steps for making great cuts.
Verify your miter saw blade is a sharp, high-tooth-count (60-80+) carbide-tipped blade.
Set up your saw on a stable surface with proper outfeed supports for long boards.
Wear safety glasses and hearing protection every time you make a cut.
Measure your board precisely and mark the cut line clearly on the waste side.
Position the hardwood board firmly against the saw fence and table.
Allow the saw blade to reach full speed before gently and smoothly cutting through the wood.
Conclusion
You’ve now got the knowledge to make beautiful, precise cuts in your hardwood flooring. We’ve shown that choosing the right blade and setting up your workspace thoughtfully makes a huge difference. Accuracy in measuring and a smooth cutting technique prevent frustration and wasted material. Remember the tips for reducing splintering, like a zero-clearance insert or backer board. By following these steps, you’re ready to lay a floor that looks truly professional. Now, go confidently tackle your hardwood flooring project!
Frequently Asked Questions
Can I use a regular wood blade to cut hardwood flooring?
While you technically can, it’s not recommended. A standard blade (like one with 24-40 teeth) will likely cause significant splintering and tear-out in hardwood. For clean results, always use a blade specifically designed for fine cuts in dense wood, typically with 60-80+ teeth and carbide tips.
What’s the best way to prevent the wood from moving while cutting?
Always hold the hardwood board firmly against the miter saw’s fence. You can also use clamps for extra stability, especially with longer pieces. Ensure your saw is on a stable surface and you have proper supports (like roller stands) for the ends of long boards. This prevents shifting and ensures a straight, safe cut.
How do I get perfectly square cuts on my hardwood?
First, make sure your miter saw’s fence is perfectly square to the blade. You can check this with a framing square. When cutting, press the board firmly against the fence and the saw table. Let the blade reach full speed before starting the cut and maintain a steady, gentle feed rate. Avoid forcing the blade through the wood.
Should I cut hardwood flooring face up or face down?
For a miter saw, it’s generally best to cut hardwood flooring face up. This is because the blade’s teeth enter the top surface first, providing a cleaner cut there. If you’re concerned about tear-out on the underside, a backer board or zero-clearance insert will offer support where the blade exits the wood.
My miter saw seems to be burning the wood edges. What’s wrong?
Burning is usually a sign of a dull blade or an improper cutting technique. Check if your blade needs sharpening or replacement, especially if it’s not carbide-tipped. Also, ensure you’re not forcing the cut or moving too slowly; a consistent, appropriate feed rate prevents the blade from lingering and generating excessive friction.
